How to Make Bulkier Yarn with Chain-Plying

Yarn thinner than you like? Learn how to chain-ply commercial yarn into the thicker, bulkier yarn you want!  #spinning #knitting | withwool.com

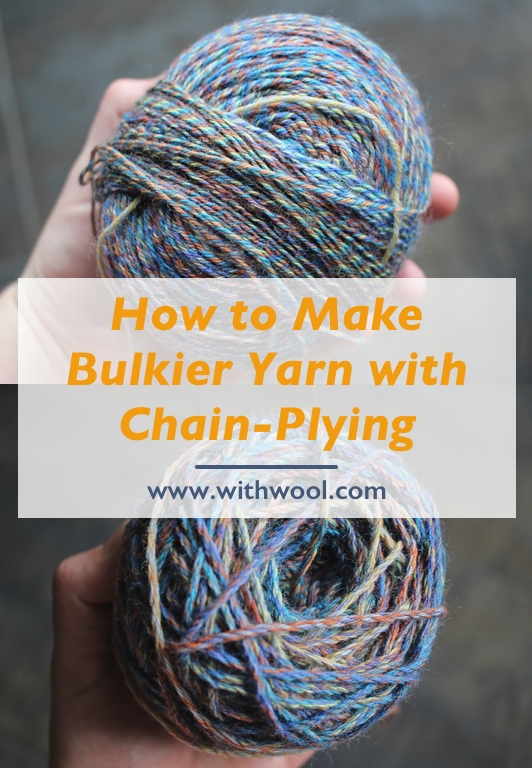
Way back when, at least on the internet time-scale, I wrote a tutorial about how to chain-ply commercial yarn to manipulate color which you can read here. The variegated yarn I used flashed and pooled no matter how I knit with it, and chain-plying it created a beautiful marled yarn. Then I used that yarn for an easy (and free) hat pattern. Now I’m chain-plying another commercial yarn because I wanted to make it bulkier. So consider this part 2.

Yarn thinner than you like? Learn how to chain-ply commercial yarn into the thicker, bulkier yarn you want!  #spinning #knitting | withwool.com

I’ve had the Opal Sock Yarn Bunny by Susan B. Anderson pattern in my Ravelry queue for months. It’s so cute, but I have had the hardest time picking out the right yarn. I wanted something durable and hard-wearing because I like to imagine that this would become THE favorite toy; however, I also wanted the colors to be something whimsical and fun. Turns out durable and whimsical is a hard combination to find.  I eventually found a ball of sock yarn hiding in the deep stash. Seriously, I bought this ball of Zitron Trekking XXL 9 years ago on vacation. I almost turned it into a pair of socks, but didn’t want to knit socks on size 0 needles.

I don’t want to knit this totally adorable bunny on size 0 needles either. Plus, I’d like the bunny to be a little bigger than the 6.5” height stated in the pattern. Chain-plying to the rescue. The first and most important step to chain-plying any commercial yarn is to figure out how the yarn is plied. Commercial yarn is generally plied to the left, AKA with S twist, so you’ll need to chain-ply to the right, AKA with Z twist. If you’re plying a single ply yarn, you’ll probably be plying to the left. You can find the full tutorial for how to chain-ply commercial yarn here.

Yarn thinner than you like? Learn how to chain-ply commercial yarn into the thicker, bulkier yarn you want!  #spinning #knitting | withwool.com

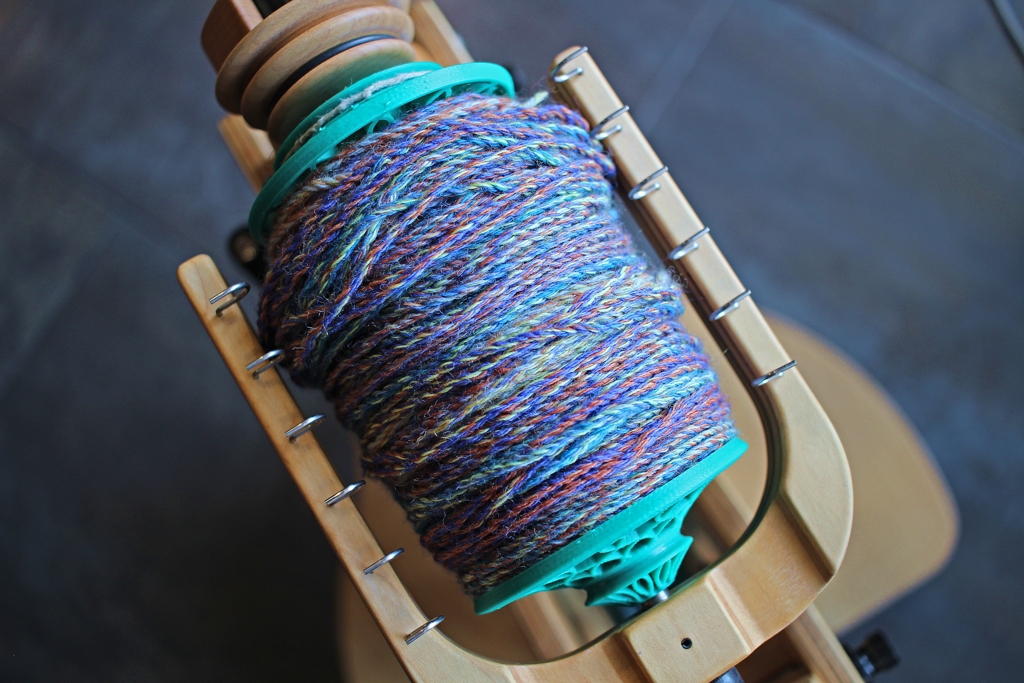
And a helpful tip: If you’re working on a wheel, and have the option, use a jumbo bobbin. The plied yarn will take up more space than you expect. I plied 459 yards of fingering weight yarn and just barely got it all on to a single regular bobbin.

Yarn thinner than you like? Learn how to chain-ply commercial yarn into the thicker, bulkier yarn you want!  #spinning #knitting | withwool.com

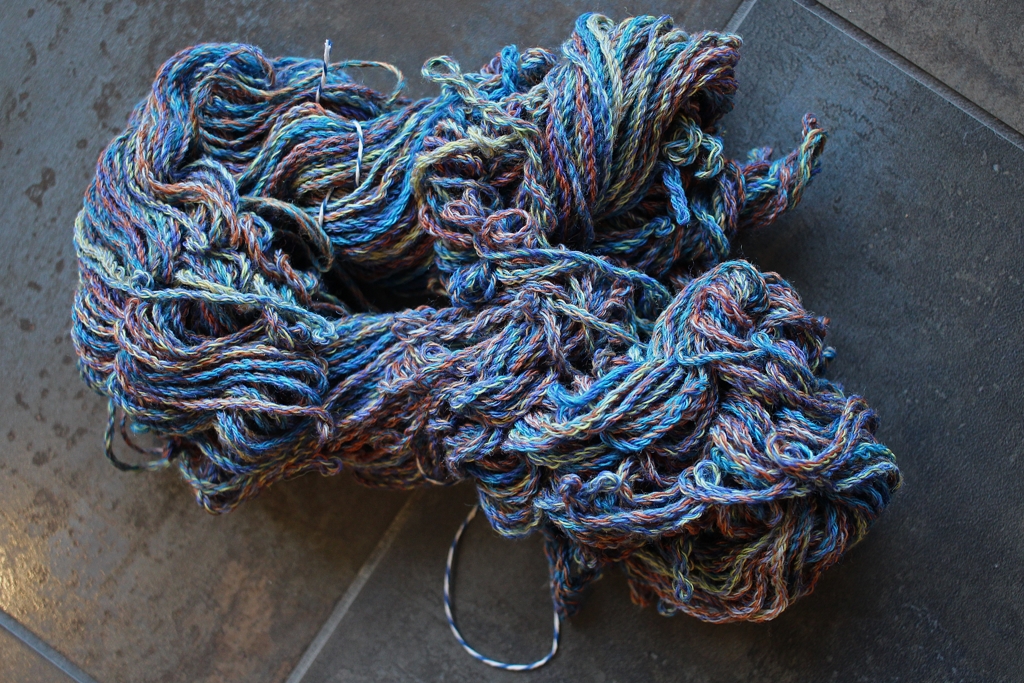
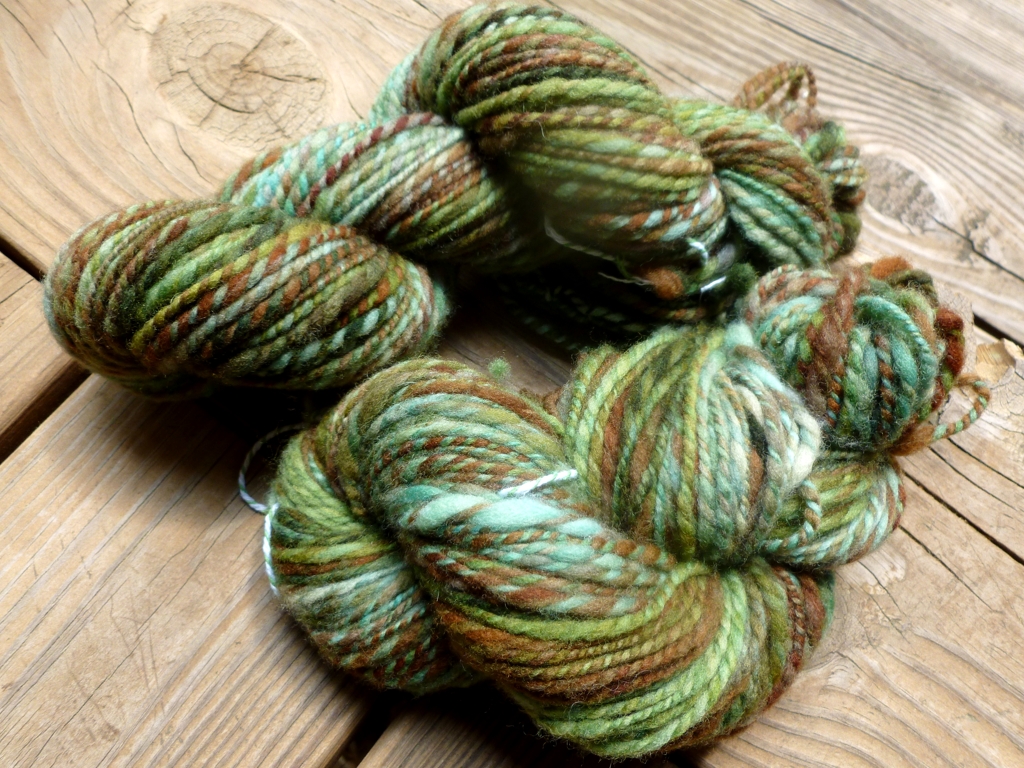
I finished the newly-plied yarn just like any other handspun yarn because you still have to set the twist. I skeined it and measured the results before dunking it in a bath. I had about 137 yards of worsted weight yarn. Then I soaked it in cool soapy water for 20 minutes, rolled it in a towel to squeeze out extra water, and snapped it out my arms to even out the twist one last time. Then I let it dry over night.

Yarn thinner than you like? Learn how to chain-ply commercial yarn into the thicker, bulkier yarn you want!  #spinning #knitting | withwool.com

The twist really really relaxed and evened out. There are still a few over twisted and kinked spots, but most of the yarn is well behaved and smooth. I measured the skein again to see if setting the twist changed anything. The yarn was still a worsted weight, but I did “lose” 23 yards to the yarn plumping up. So I’m down to 114 yds, and really hoping I have enough yarn because I love it even more now.

Yarn thinner than you like? Learn how to chain-ply commercial yarn into the thicker, bulkier yarn you want!  #spinning #knitting | withwool.com

Before you go, here’s a few things to keep in mind before chain plying for bulkier yarn.

  • Even though chain-plying a fingering weight yarn will make a worsted weight yarn, the “new” yarn won’t have the same feel as a commercial or handspun worsted weight skein. Why? It’s much heavier and denser than either.
  • Because of how chain-plying works, expect to reduce your yardage to at most a third of it’s original number. My original 459 yds turned into 114 yds.

  • Sample a small piece of yarn first to see if you like the weight, drape, and density of the chain-plied version. It’d be really frustrating to do all that work and turn out with something you don’t like or wish you could undo. Take it from me, undoing a chain-plied yarn is not quick or easy.

How to Clean Stubborn Fiber Out of a Drum Carder

Chunks of fiber stuck in your drum carder? Get a pair of forceps to get those pesky fibers! | withwool.com

My drum carder has been sitting unused and unloved for the past few months. Why? All this green fiber stuck in the tines. I bought 4 ounces of Corriedale wool locks, AKA the green fiber, to practice making batts and figure out the carder’s quirks. Making the batts turned out to be a struggle because the locks were matted, but I didn’t realize how matted until it was time to feed them into the carder. I had to crank the drum while pulling back on the fiber to get them to open and pull apart instead of just feeding onto the main drum in one big clump. I made 2 batts before calling it quits because the all the  fiber stuck on the main drum. To make things even more aggravating, the stuck fiber only seemed to trap more fiber down there with it. The bent paper clip I attempted to pick the fibers out with didn’t do that great job and none of my other tools did a thing. So the carder went back on the shelf until I could figure out how to clean it.

The answer to my problem turned out to be in a blog post from 2009 (!) that listed the basic tools to use with your drum carder. Definitely worth a read if you’re thinking about getting your hands on a carder. Anyway, one of the recommended tools was a pair of long thin forceps, extra long tweezers, because they’re thin enough to get between the tines without damaging the carding cloth. So I picked up a pair at the hardware store.

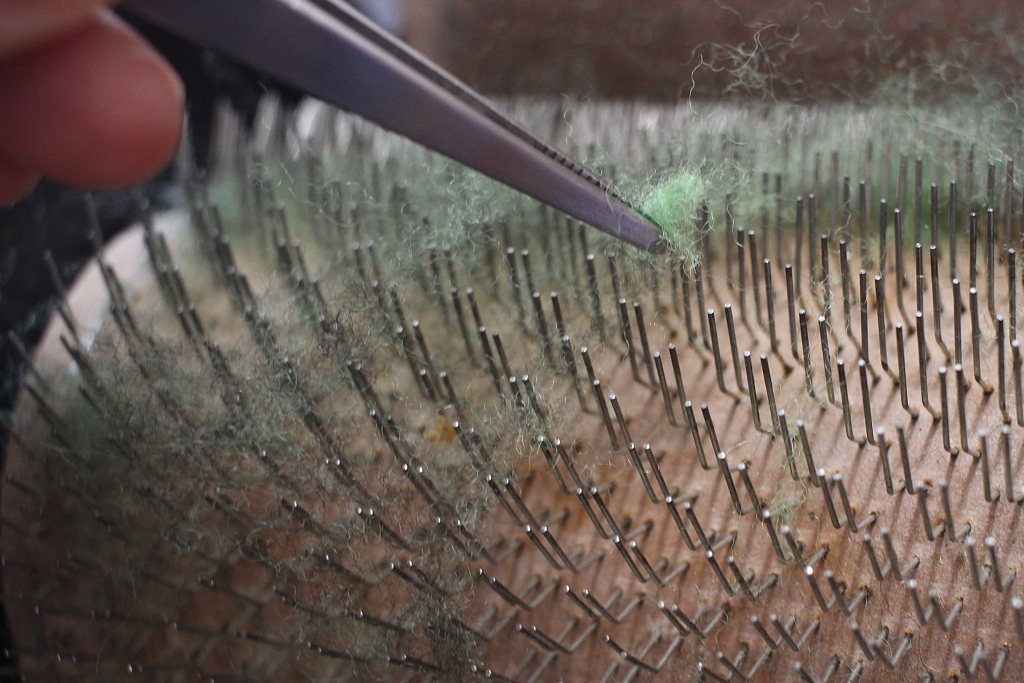
This is what my carder looked like before:

Chunks of fiber stuck in your drum carder? Get a pair of forceps to get those pesky fibers! | withwool.com

And this is what the carder looked like after the 23 minutes I spent picking at with the forceps:

Chunks of fiber stuck in your drum carder? Get a pair of forceps to get those pesky fibers! | withwool.com

I didn’t pull off every bit of green since I’m going to try carding the rest of the fiber (it’s a point of pride and stubbornness now), but the difference is night and day. The forceps were great for picking up both small and large bits of fiber. Even better I was able to work them under the larger sections and push the fiber up so I could grab it.
Chunks of fiber stuck in your drum carder? Get a pair of forceps to get those pesky fibers! | withwool.com

Cleaning the the carder wasn’t quick, but the forceps did a great job. They grabbed every stuck strand big or small. Plus, I didn’t scrape or poke my fingers on the tines. Glad I’ve got the forceps as part of permanent drum carder cleaning kit. They’re cheap, work well, and don’t take up a lot of space. Get a pair.

Chunks of fiber stuck in your drum carder? Get a pair of forceps to get those pesky fibers! | withwool.com

Stitch Markers Make Cables Easier

Losing count of cable rows? Use a locking stitch marker to keep track! #knitting | withwool.com

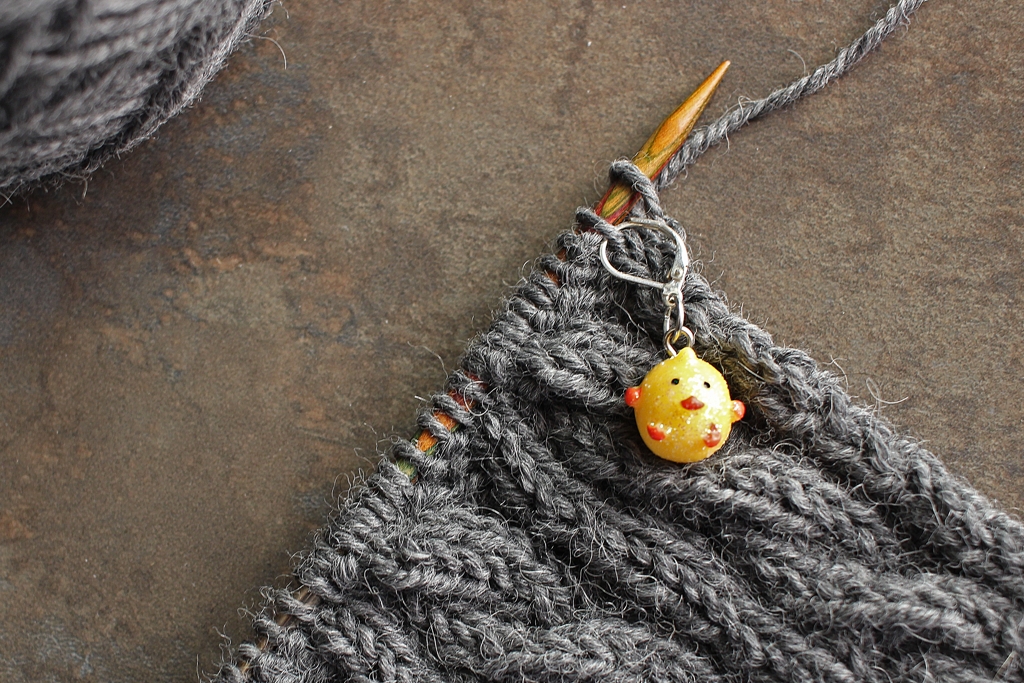
It is go time here on the holiday gift knitting. The current project is a cabled scarf with a hard deadline that I can’t miss. Much to my surprise, I’m already past the halfway point and might actually finish with time to spare. I’m attributing part of this speed to my favorite stitch marker trick. 

Losing count of cable rows? Use a locking stitch marker to keep track! #knitting | withwool.com

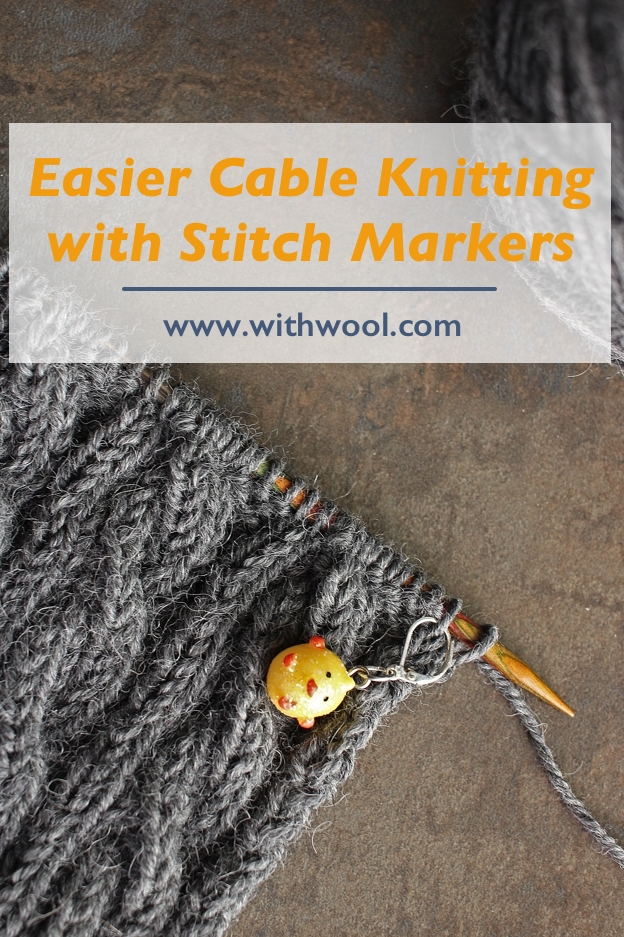
I can never pinpoint exactly which row I twist cables on which is frustrating when you have to work them every 8 rows or so. Locking stitch markers to the rescue! After I finish a cable row, I put a marker on that row. Then I keep knitting and can easily count the rows as I go. And it’s easy to put down and come back to a project because there’s no question about what row to work. 

I much prefer this method to row counters because I’m not always sure if I counted a row after I knit it. Maybe I did, maybe I didn’t. Without the marker, I’d have no way of knowing for sure.  

P.S. Stitch markers are some of my favorite knitting tools. Here’s 5 more ways that stitch markers can help with your knitting. 

Wander the Web 6: Link Love Edition

Once again joining up with Crafty Pod and Link Love to share goodness from across the web. This week’s theme stays close to home and focuses on the most popular posts from yours truly. When I first read through the schedule several weeks ago, it got me thinking about how I haven’t made many tutorials in the past few months. That had to change so I started brainstorming and writing and photographing and editing. In the past two weeks I’ve managed to post two tutorials, How to Ply Leftover Singles and How to Clean Dye Off Spindles, and have a few more in the works. 

While I’m working on the new stuff, check out my most popular tutorials.

ButtonTutorial2.jpg

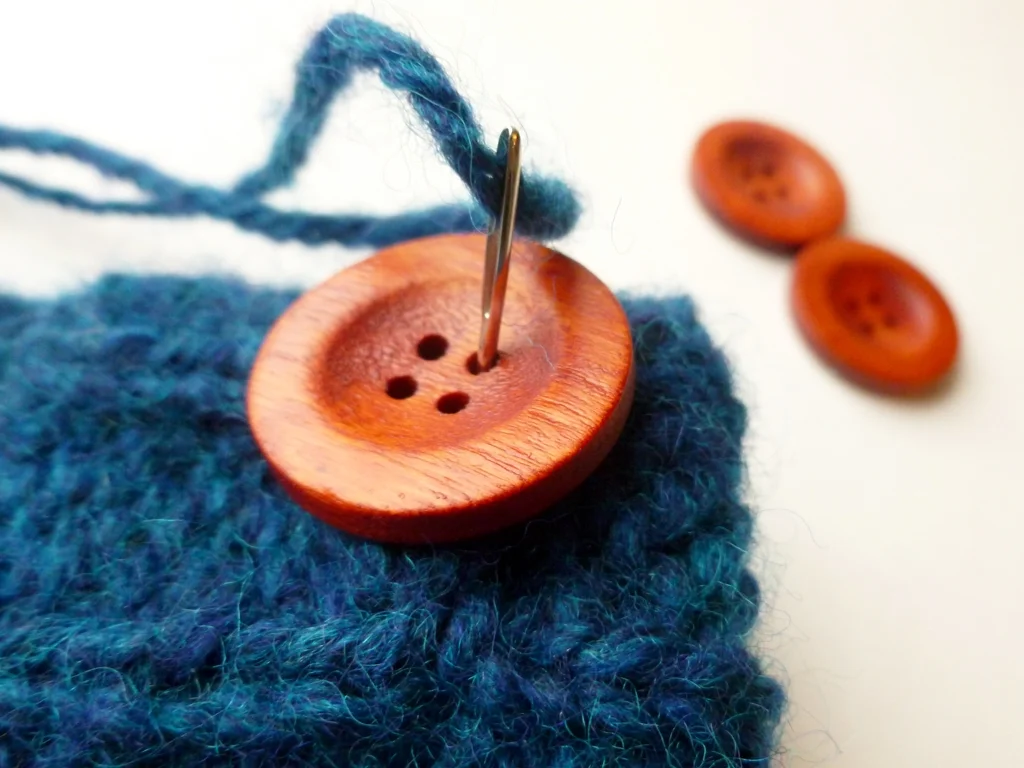
How To Sew On A Button With Yarn - Can’t find matching thread? Use yarn from your knitting or crochet project to sew on buttons without extra bulk. 

KumihimoBraid.jpg

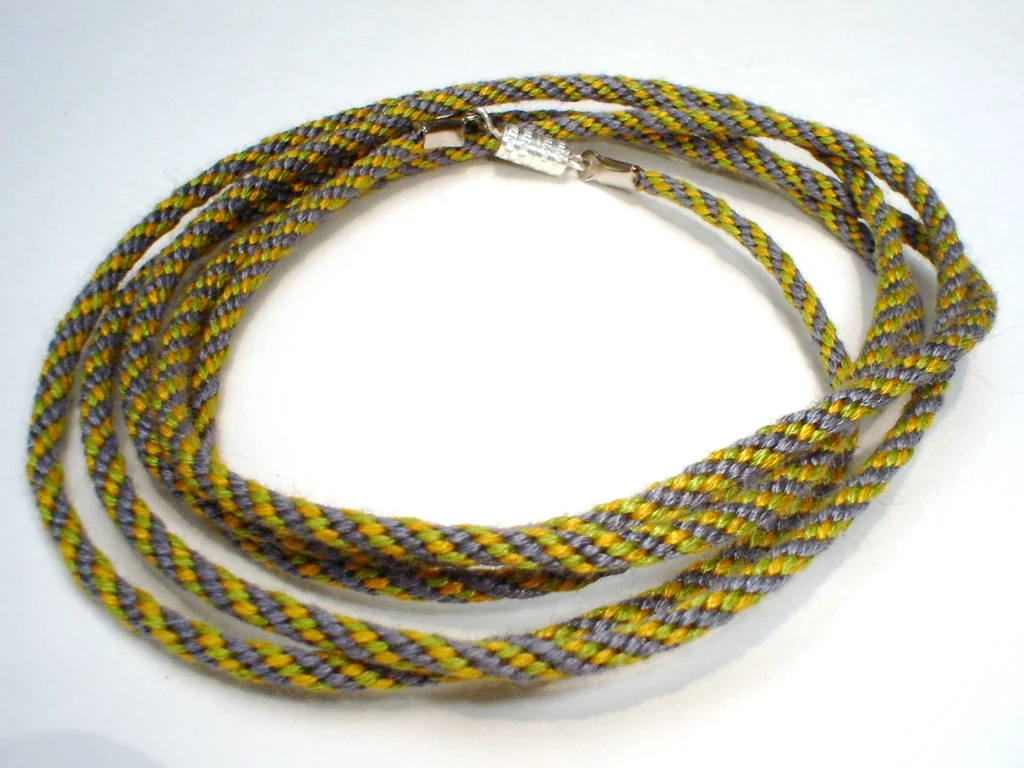
Kumihimo Tutorial: Part One and Part Two - A step-by-step tutorial for making a round kumihimo braid complete with clasp.

PlyingOrigami.jpg

Origami For Plying - Learn how to fold a simple origami star to help ply yarn off a spindle.

AfterthoughtHeel.jpg

How to Knit Afterthought Heels - A how-to and tips for knitting afterthought heels that won’t suffer from gaps or require picking up stitches. Bring your scissors!

Make A Bow Label.jpg

Make a Bow Gift Tags - Use leftover yarn and bits of cardstock to make care labels and tags for knitted and crocheted gifts. 

How to Skein Handspun Yarn with a Swift

Skeining-Yarn-On-An-Umbrella-Swift.jpg
SkeiningYarnHowTo.jpg

Ah, the niddy-noddy. Why does such as simple tool have such a strange name? In all the research I did before taking the plunge and finally learning to spin, I never found the origin of its name. Only that I needed one to make skeins. A niddy-noddy is basically a bar with an offset handle at each end. So, I bought one before I started spinning to pad out a yarn order. I did finally use my niddy-noddy and it was fine for small skeins; however, as I started producing more yardage, using the noddy became cumbersome and took a good chunk of time. Time I would rather have spent spinning.

I also had a swift but never thought to use it to skein handspun because all I saw people using were niddy-noddys. You want to know what makes an umbrella swift perfect for skeining yarn? A loop of string and a clothespin. That’s it. With a swift you can make large skeins and small skeins, know the exact yardage, and spend less time doing it. Using a swift instead of niddy-noddy is also easier on your arms and shoulders too.

CordMaterials.jpg

To make the loop, you’ll need:

  • a button
  • string that won’t stretch (I used baker’s twine)
  • scissors
  • marker
  • tape measure
  • tapestry needle

SkeiningYarn1.jpg
SkeiningYarn2.jpg

You can make any size loop you want as long as it will fit on your swift. I made mine really long so I could double and triple it for smaller skeins without having to make another loop. 

Tie a loop large enough to fit around the button at one end of the string. From the end of the loop, measure the string to the length you want and mark that spot. I wanted a cord 72” long so I measured to 36” twice. Cut the string plus a few extra inches. Thread the string through the button holes till the mark is between them and tie a double knot. A button with a shank works well too. Optionally, you can dap some glue on the knot to help keep it together. All that’s left is to write the length of the loop on the button.

SkeiningYarn4.jpg

Now you’re almost ready to skein your handspun! Set up your swift and slip the buttoned loop around the arms just like a skein of yarn. Here’s where the clothespin comes in. Use the clothespin to clip one end of the yarn to an arm. The pin will hold the end in place and make it easy to find when it’s time to tie up the yarn. Now, just spin the swift and get all that wonderful handspun off the spindle or the bobbin. You don’t need to put tension on the yarn just don’t give it any slack. When you’re finished, tie up the skein at the ends. If you tie up the loop with the skein like I do half the time, just unbutton the loop and pull it out

SkeiningYarn6.jpg

Knowing the size of the finished skein makes it easy to determine how many yards you’ve spun. Just count how many times the yarn went around the swift and multiply by the length of your loop. You’ll also need to divide by 36” if your measurement is in inches so you’ll get the total in yards.

For example, my loop is 72” (2 yards) long and the handspun went around the swift 59 times.

(72” x 59)/36” = 118 yards

Now that I know that skein has 118 yards, it’ll be much easier to find just the pattern to show it off.

SpinningTarghee10.jpg

Scales help Knitting - 4KCBWday6

Knitting Scale-4KCBWday6.jpg

One of the great things about knitting is that it requires so few tools to accomplish. All you really need to start is yarn, needles, and a pair of functional hands (thanks to SillyLittleLady for the reminder). With those three things you can knock out garter stitch scarves till you run out of yarn. Tape measures, stitch markers, tapestry needles, stitch counters, and scissors are helpful tools that help kick your knitting up to the next level. It’s worth having multiples of that list and, especially, multiple tape measures since they seem to pop into an alternate dimension whenever you’re not looking. Honestly, with a full set of those 8 items you’d be set but I’m going to suggest one more. The humble and handy kitchen scale. 

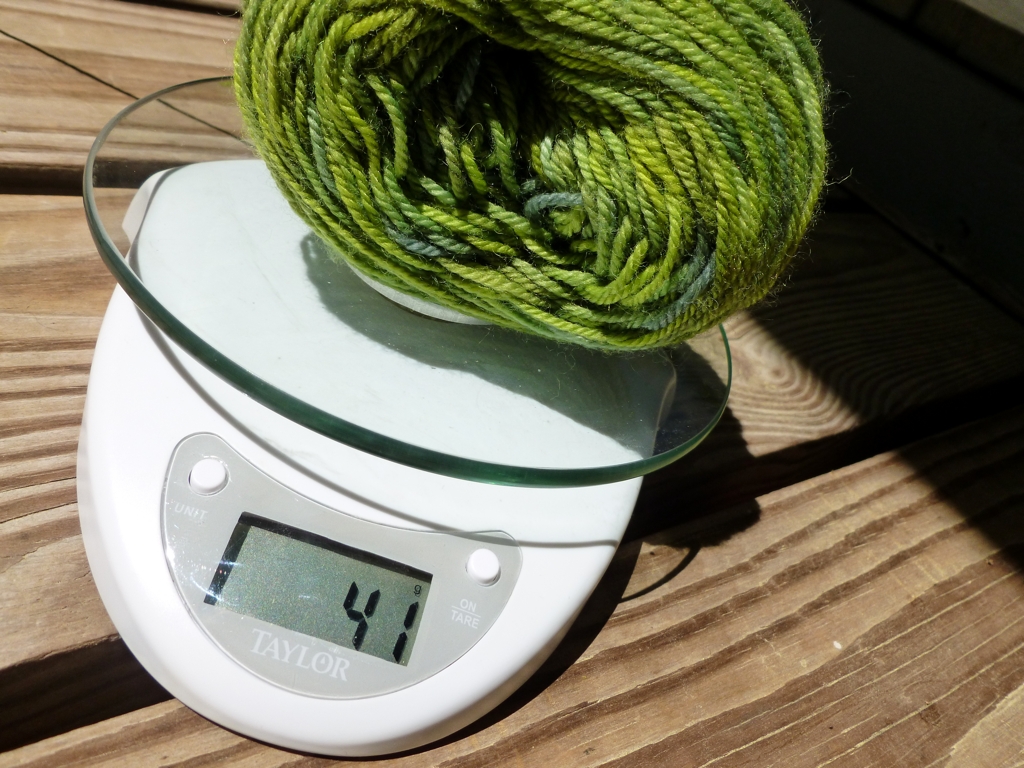
  • Scales can tell you exactly how much yarn you used for a project such as pair of socks of or a kid’s sweater. If you’re making multiples of an item, you’ll know exactly how much yarn you’ll need for the rest.
  • Have yarn or handspun and don’t know the yardage? This tutorial from FreshStitches details how to use a digital scale to calculate yardage. 
  • Scales make it trivial to split skeins of yarn in half to make socks and sleeves easier to knit. Making kits and dividing yarn for a group project is also much easier with a scale. 
  • Like tracking data and knowing how much yarn you’ve actually knit in a month or a week or a day? The scale is your friend.
  • There are patterns with the instruction, “Knit half of the skein before beginning the next section.” Baktus Scarf, I’m looking at you. Measure the yarn before you cast on and regularly weigh the remainder until you’re at the right number.

I knit for years without a scale but, now that I use one and know how helpful it is, I don’t want to be without one. My scale hangs out with my knitting needles and other helpful gadgets which are always close at hand. Plus, you don’t have to use it just for knitting. Use a scale to help you cook or mail packages or spin yarn. 

Today’s post is part of the 4th Knitting and Crochet Blogging Week. See what it’s all about at Eskimimi Makes. ​

How to Sew on a Button with Handspun Yarn

How to Sew on a Button with Handspun Yarn | withwool.com

The snow made me do it. Seriously, the only reason I finally sewed the buttons on my latest pair of mitts was because it was cold and snowing. Being able to take photos of said mitts in the snow might also have had something to do with it.  Part of the reason for the wait was that I could never find thread to match the handspun. The thread was too blue, too purple, not blue enough, or not even close. The yarn itself was made of so many different shades of blues and purple that I couldn’t find a good match. Thankfully, I still had a few useable scraps of leftover yarn. Then it was a just problem of attaching the buttons in a way that looked finished instead of just tied on. Solved.

How to Sew on a Button with Handspun Yarn | withwool.com

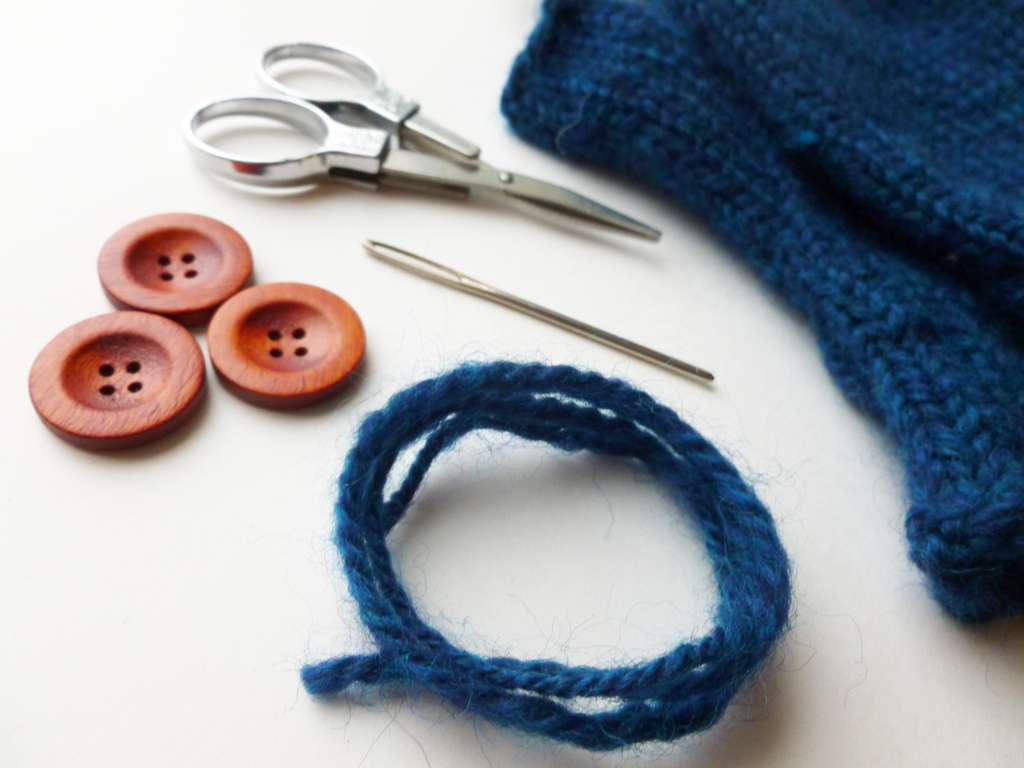
1. Gather your supplies: buttons, yarn, scissors, your almost finished object, and a tapestry needle to fit through the button holes.

How to Sew on a Button with Handspun Yarn | withwool.com

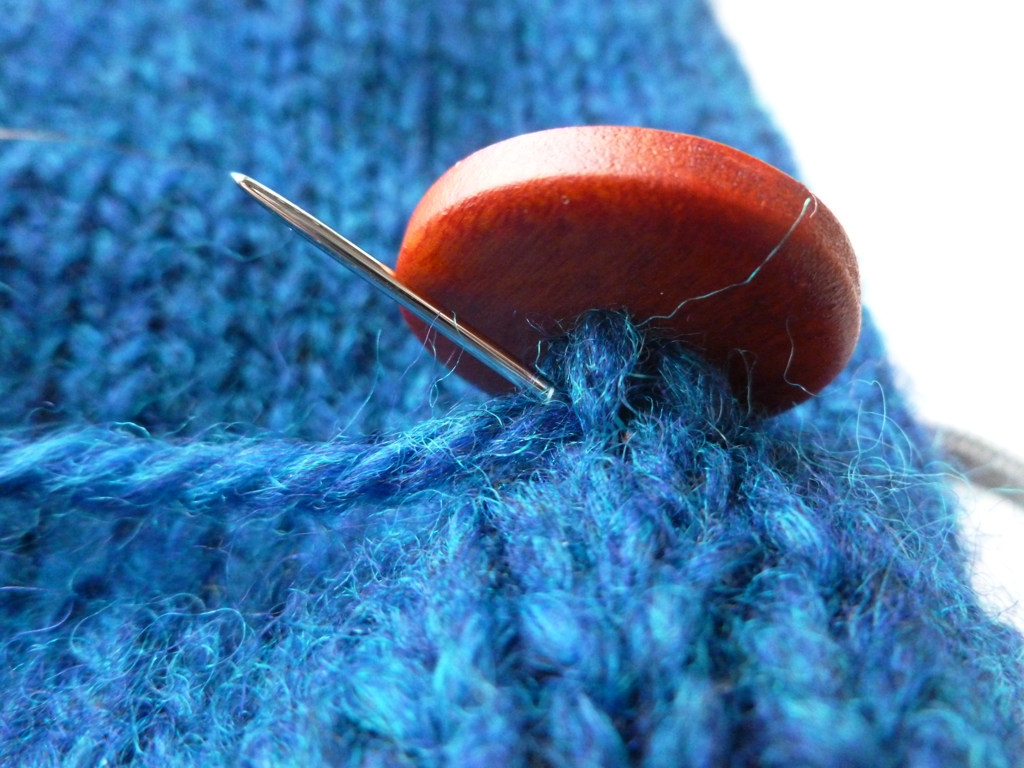
2.  Decide where the button will go and push the threaded needle through the button and fabric.

3. Sew through all the buttons holes, into the fabric, and finish with both yarn ends on the wrong side of the piece.

How to Sew on a Button with Handspun Yarn | withwool.com

4. Pull both ends through the fabric underneath the button but do not go through the button holes again.

How to Sew on a Button with Handspun Yarn | withwool.com

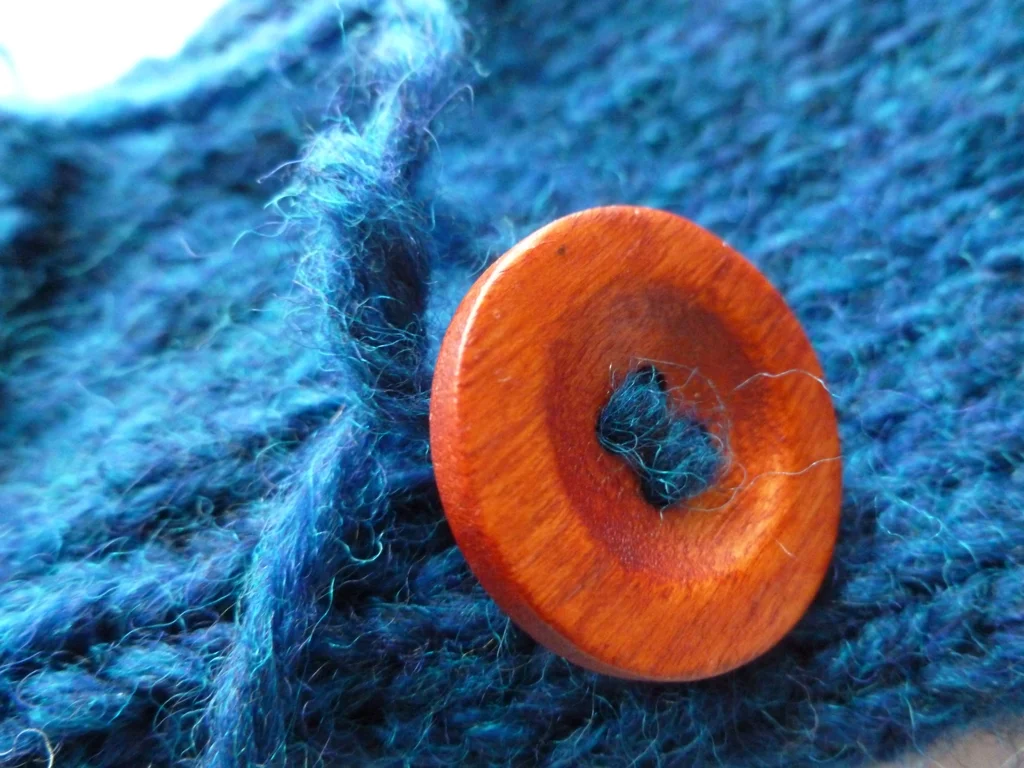
5. With the ends, tie a double knot and trim off the extra yarn. 

6. Repeat as necessary.

How to Sew on a Button with Handspun Yarn | withwool.com

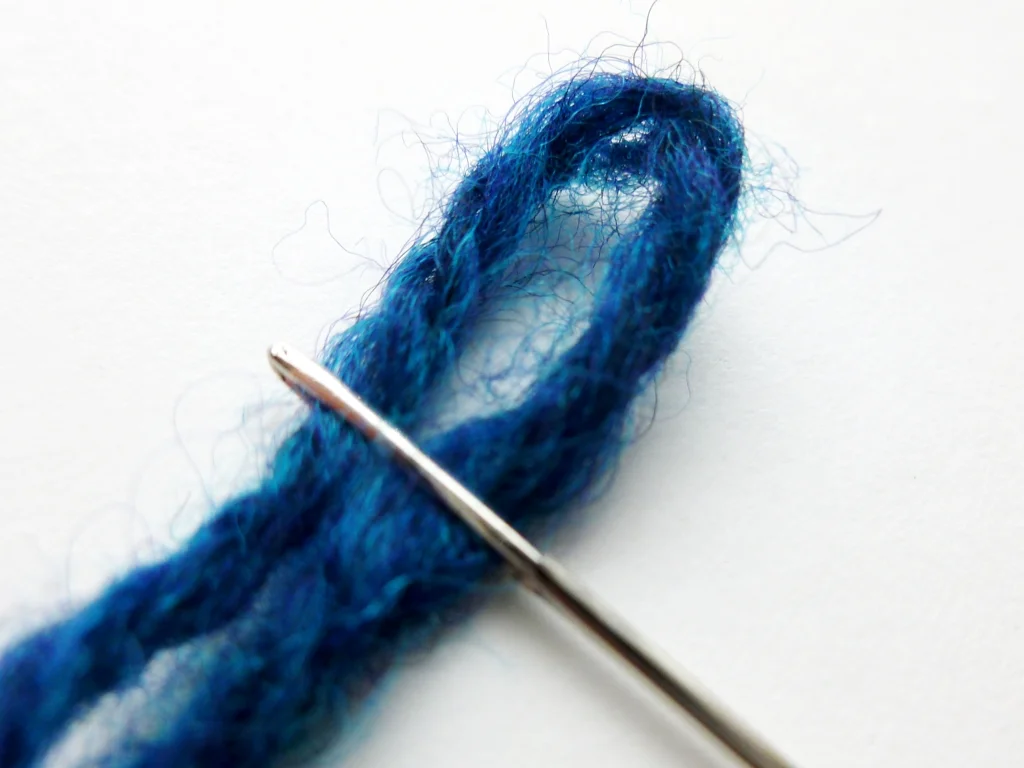
If you’re having trouble threading the yarn through the tapestry needle, fold the yarn in half to form a loop. Tightly hold the top of the loop and push it through the eye of the needle. 

How to Sew on a Button with Handspun Yarn | withwool.com