Journey of the Aviator Hat

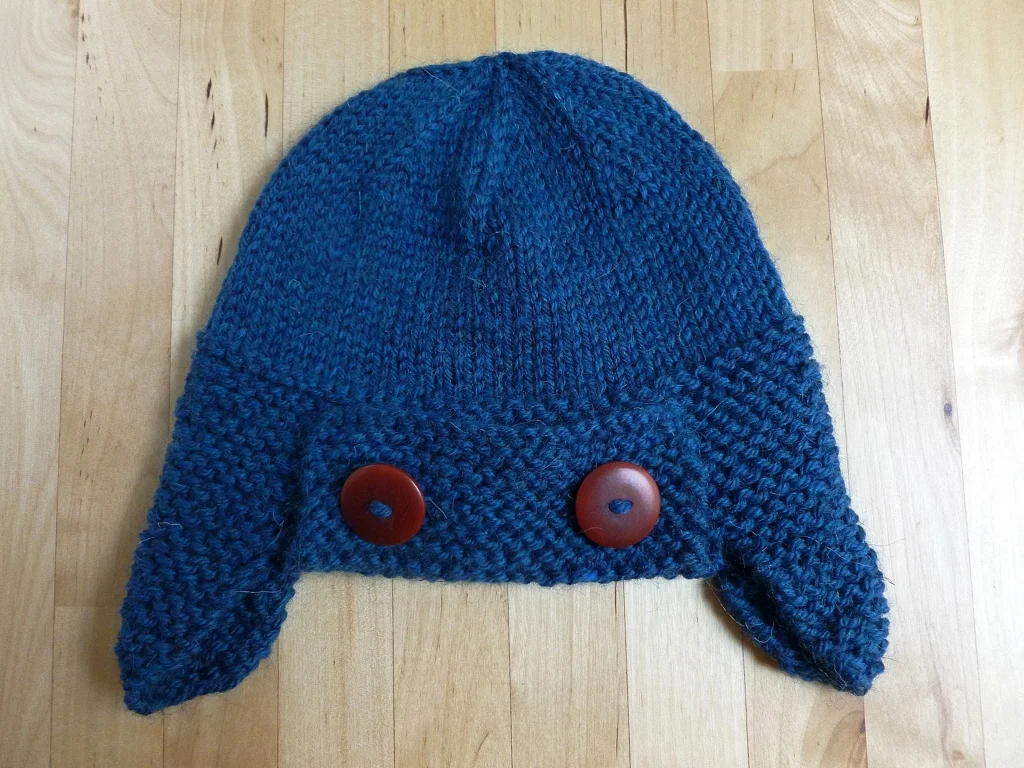
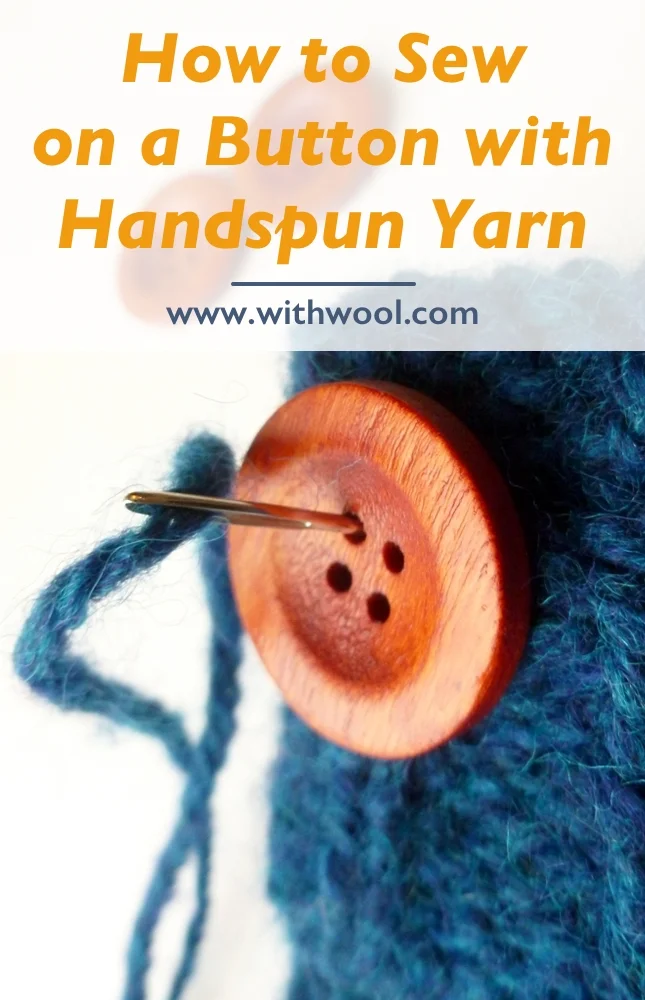
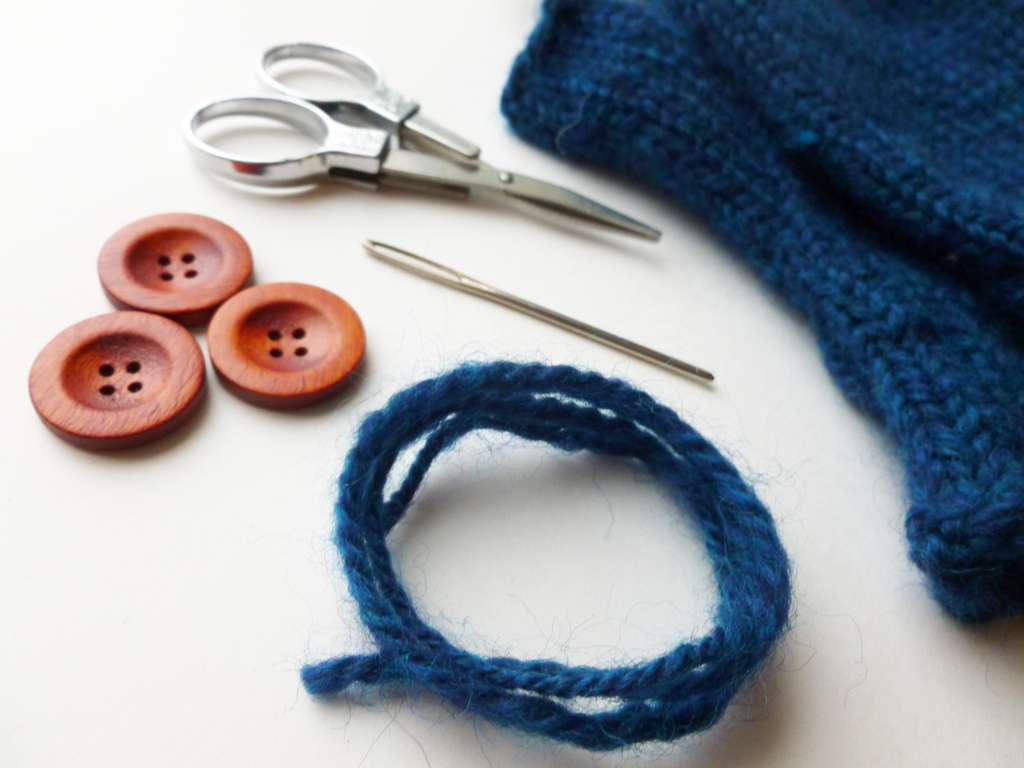
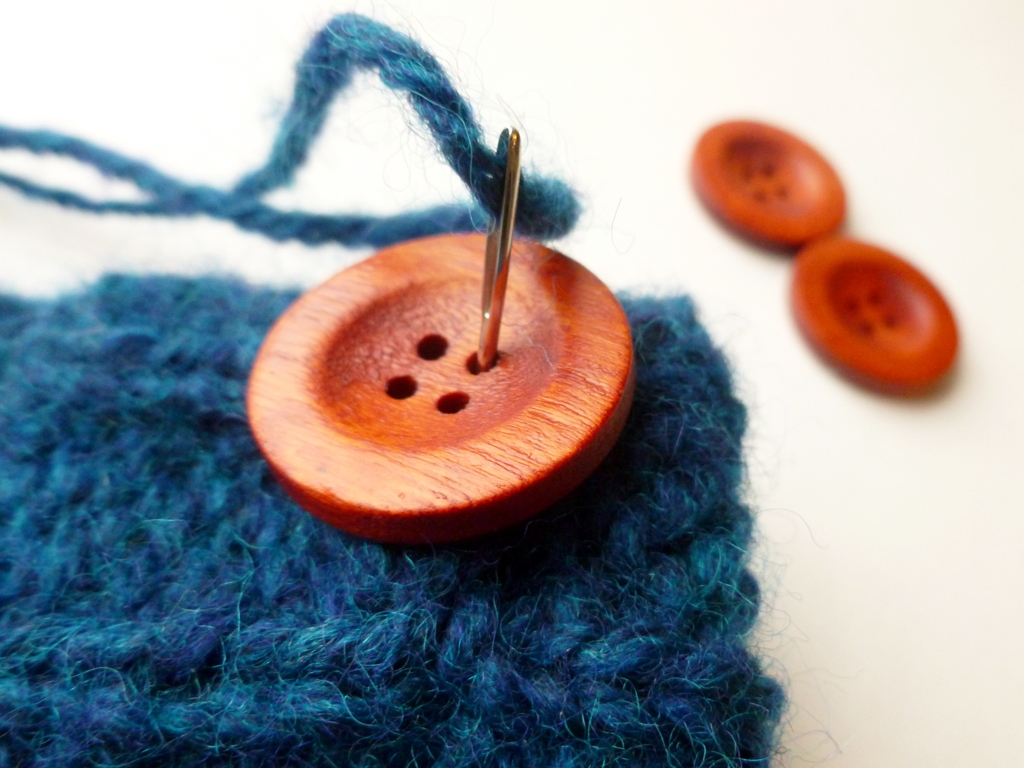
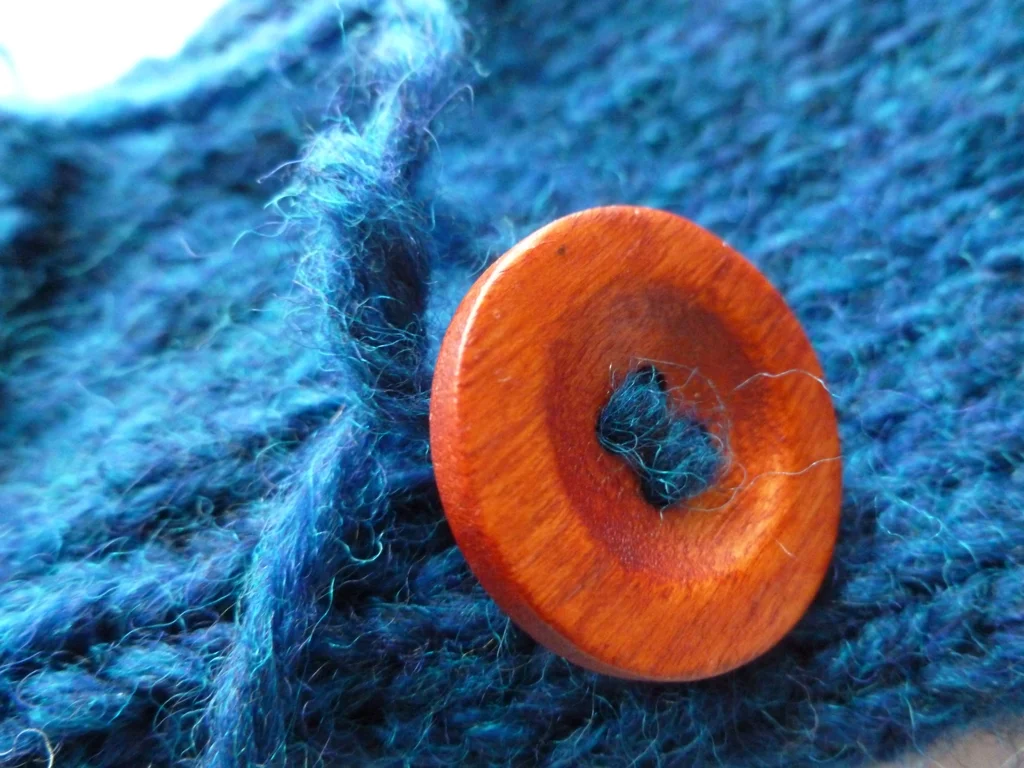
Now that this aviator hat has gone on its own cross-country journey, I can finally write about it. Knit for a brand-new baby boy, it was an easy knit that came out adorable. The hardest part was picking just the right buttons. My only mod was to tack down the corner edges of the front flap so it didn’t stick out due to sturdy button stitching. Thanks to the multiple sizes, all the way up to an adult small, I’m sure I’ll be making many more for both boys and girls.

It wasn’t until the hat was in front of the camera that I noticed something. The hat was staring back at me. Now I can’t un-see that face with it’s stubby legs and bulky body. What does it want? Cuddles, I hope, and maybe cookies. When I picked out this pattern, I never noticed the face. It was just a cute hat. To be fair, it’s still a cute hat and not all of the finished projects on Ravelry look like silly creatures. I’m glad this one does though.

The Specs:

Pattern: The Journey of the Aviator by Gabrielle Danskknit

Yarn: Rowan Pure Wool Worsted - Electric (143)

Needles: US 7 & 6

Dates: July 17 - August, 2014

@Ravelry

Wander the Web 18

Santa-Monica-Sunset.jpg

I’d forgotten how wonderful it is stand on the beach and watch the sun set over the Pacific Ocean. 

DyeYourYarn.com

DIY Button and Crochet Necklace - I really want to blow up the scale and make an extra long garland. 

Take-Out Fake-Out: Chicken Lo Mein

Cranberry Orange Breakfast Buns - Can never have too many recipes for early morning sweets. 

Five Ways to Find Inspiration Offline - I’m really fond of getting out of my own four walls and going for a long walk. 

Kelpies, Giant Horse Head Sculptures in Scotland

The Knitting Collection of Loes Veenstraand 

Hypnotic Kinetic Sculptures by Anthony Howe - "What matters is putting human feeling into your design."

Wander the Web 6: Link Love Edition

Once again joining up with Crafty Pod and Link Love to share goodness from across the web. This week’s theme stays close to home and focuses on the most popular posts from yours truly. When I first read through the schedule several weeks ago, it got me thinking about how I haven’t made many tutorials in the past few months. That had to change so I started brainstorming and writing and photographing and editing. In the past two weeks I’ve managed to post two tutorials, How to Ply Leftover Singles and How to Clean Dye Off Spindles, and have a few more in the works. 

While I’m working on the new stuff, check out my most popular tutorials.

ButtonTutorial2.jpg

How To Sew On A Button With Yarn - Can’t find matching thread? Use yarn from your knitting or crochet project to sew on buttons without extra bulk. 

KumihimoBraid.jpg

Kumihimo Tutorial: Part One and Part Two - A step-by-step tutorial for making a round kumihimo braid complete with clasp.

PlyingOrigami.jpg

Origami For Plying - Learn how to fold a simple origami star to help ply yarn off a spindle.

AfterthoughtHeel.jpg

How to Knit Afterthought Heels - A how-to and tips for knitting afterthought heels that won’t suffer from gaps or require picking up stitches. Bring your scissors!

Make A Bow Label.jpg

Make a Bow Gift Tags - Use leftover yarn and bits of cardstock to make care labels and tags for knitted and crocheted gifts. 

How to Sew on a Button with Handspun Yarn

How to Sew on a Button with Handspun Yarn | withwool.com

The snow made me do it. Seriously, the only reason I finally sewed the buttons on my latest pair of mitts was because it was cold and snowing. Being able to take photos of said mitts in the snow might also have had something to do with it.  Part of the reason for the wait was that I could never find thread to match the handspun. The thread was too blue, too purple, not blue enough, or not even close. The yarn itself was made of so many different shades of blues and purple that I couldn’t find a good match. Thankfully, I still had a few useable scraps of leftover yarn. Then it was a just problem of attaching the buttons in a way that looked finished instead of just tied on. Solved.

How to Sew on a Button with Handspun Yarn | withwool.com

1. Gather your supplies: buttons, yarn, scissors, your almost finished object, and a tapestry needle to fit through the button holes.

How to Sew on a Button with Handspun Yarn | withwool.com

2.  Decide where the button will go and push the threaded needle through the button and fabric.

3. Sew through all the buttons holes, into the fabric, and finish with both yarn ends on the wrong side of the piece.

How to Sew on a Button with Handspun Yarn | withwool.com

4. Pull both ends through the fabric underneath the button but do not go through the button holes again.

How to Sew on a Button with Handspun Yarn | withwool.com

5. With the ends, tie a double knot and trim off the extra yarn. 

6. Repeat as necessary.

How to Sew on a Button with Handspun Yarn | withwool.com

If you’re having trouble threading the yarn through the tapestry needle, fold the yarn in half to form a loop. Tightly hold the top of the loop and push it through the eye of the needle. 

How to Sew on a Button with Handspun Yarn | withwool.com

Button Back Mitts

SnowyLeaves.jpg

Wednesday night, I heard rumors of approaching snow and was quite skeptical. I’ve heard these tales before but this one actually turned out to be true. When I looked out the window Thursday morning, snow was falling at a lovely diagonal. The flakes were so heavy that they didn’t land. They plopped. Dry snow this was not. Still, it’s snow and I took the opportunity to get some photos of knitwear in it’s natural environment.

ButtonBackMitts2.jpg

Button Back Mitts by Cosette Cornelius-Bates

Needles: US 7 (4.5 mm) 

Dates: December 29, 2012 - January 17, 2013

@Ravelry

This is another pattern that’s been sitting in the queue for ages. I finally decided to cast on for them the last time it got cold and didn’t have anything wooly or long enough to cover my fingers. Putting these mitts on instantaneously warms my hands. I’d like to think that it’s because I’m using my own wonderful 3-ply handspun (it debuted as the sea a few months back) but it’s probably just the thicker than normal layer of wool. Either way, still great. 

The mitts are also extra special because this is the first time I’ve really knit with my own handspun. To be honest, I wasn’t sure what to expect. I worried about the gauge. I worried about the stitches being too open where the yarn was thin. I worried about the stitches being too bulky and bulging where the yarn was thick. I worried about running out of yarn since this was the only skein I had. Eventually, I just put those anxieties on the shelf and knit a swatch. I picked the needle size that gave me a nice fabric and got to work.  I kept an eye out for problems and tried on the mitts frequently. Know what I found? Perfectly good yarn that knit up evenly and at a consistent gauge. There were no open spots or bulging stitches. There were no breaks. There was just a good, solid yarn that I would love to knit with again. Handspun, I’m officially and unapologetically in love.

ButtonBackMitts1.jpg

Back to the mitts. The fact that I could knit them long enough to cover my fingers and fold back the extra fabric when it wasn’t needed is what made me queue these mitts to begin with. Cute buttons don’t hurt either. To get the best coverage and the most out of the yarn, I knit the mitts from the fingers down and completely reversed the pattern. Used the same numbers though. 

While I was photographing the mitts, the snow was already starting to melt and turn to slush. See you next time, snow. I’ll be waiting with handspun mitts.

Testing Sophiti-cuffs

I like test knitting even though I don’t do it too often because of schedule conflicts or being waist deep in my own designs and projects. When the opportunity presents itself, I sign up whole heartedly because I like supporting people and designers that I like. I also get to knit the cool stuff before anyone else.

The latest bit of testing was for the Squares Sophiti-Cuffs from Gwen Erin. I’ve been following Gwen’s blog for years now and I’ve never once considered culling it from my RSS feeds. She recently started spinning yarn and dying fiber full time and it’s been to resist. I have a few ounces of her fiber and it’s been elevated to such high status that I can’t help but feel the urge to improve my spinning skills so I can do the fiber justice.

The cuffs turned out to be a quick little project. I might have spent more time picking out buttons than knitting. The grey yarn is leftover from a few different projects and the cream is some of my very own handspun. First time I’ve knit with my own handspun too. Full technical details on Ravelry.

Besides from being quick, the pattern’s pretty versatile too. I think the cuffs would be cute buttoned around gifts, flower pots, or naked table legs. I’m looking at you, Ikea table legs.