Postcards From Summer #1
/
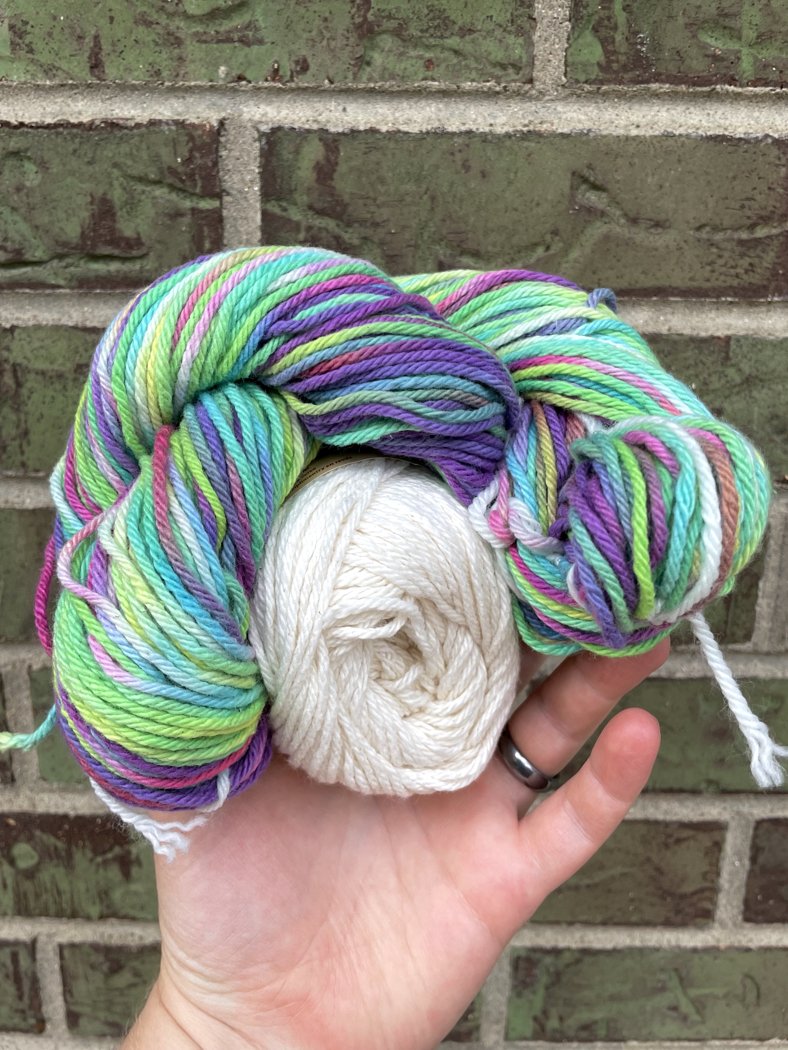
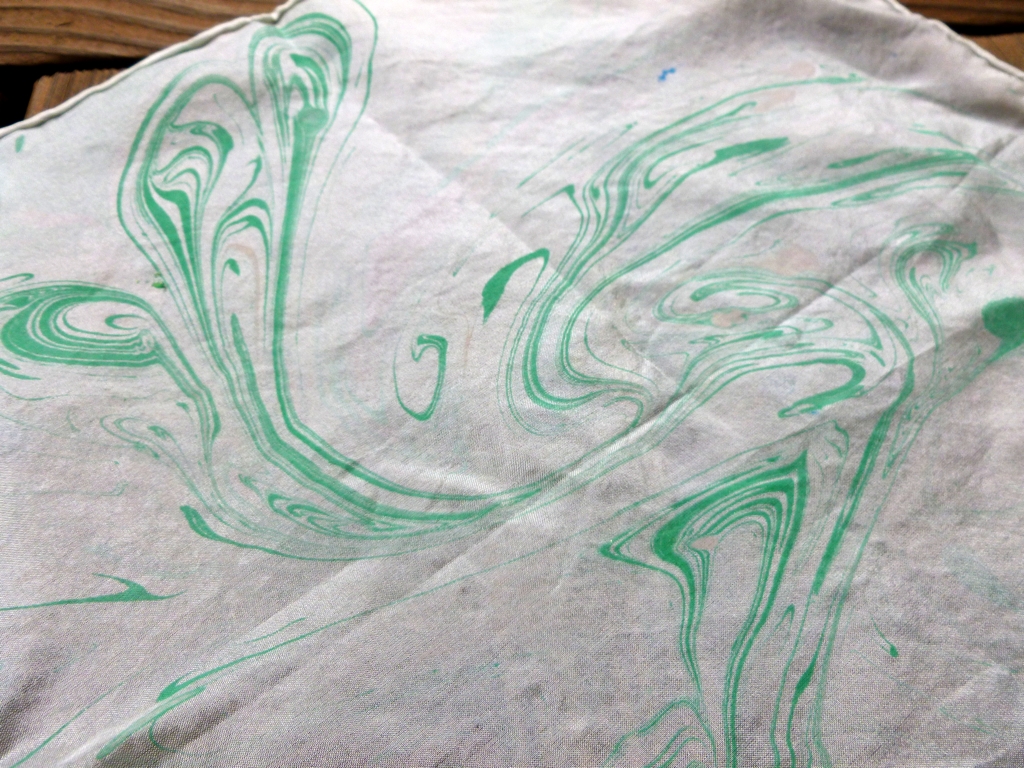
2 skeins of cotton yarn and a sock blank - all dyed with the same Colors
Putting a #1 in the title might be a bit much, but I finally had the opportunity and energy to write. Feels nice to scratch that itch after so long. I’m hoping to make these postcards a short and sweet little series about random summertime crafty goodness just because it’s fun. Now, about the yarn…
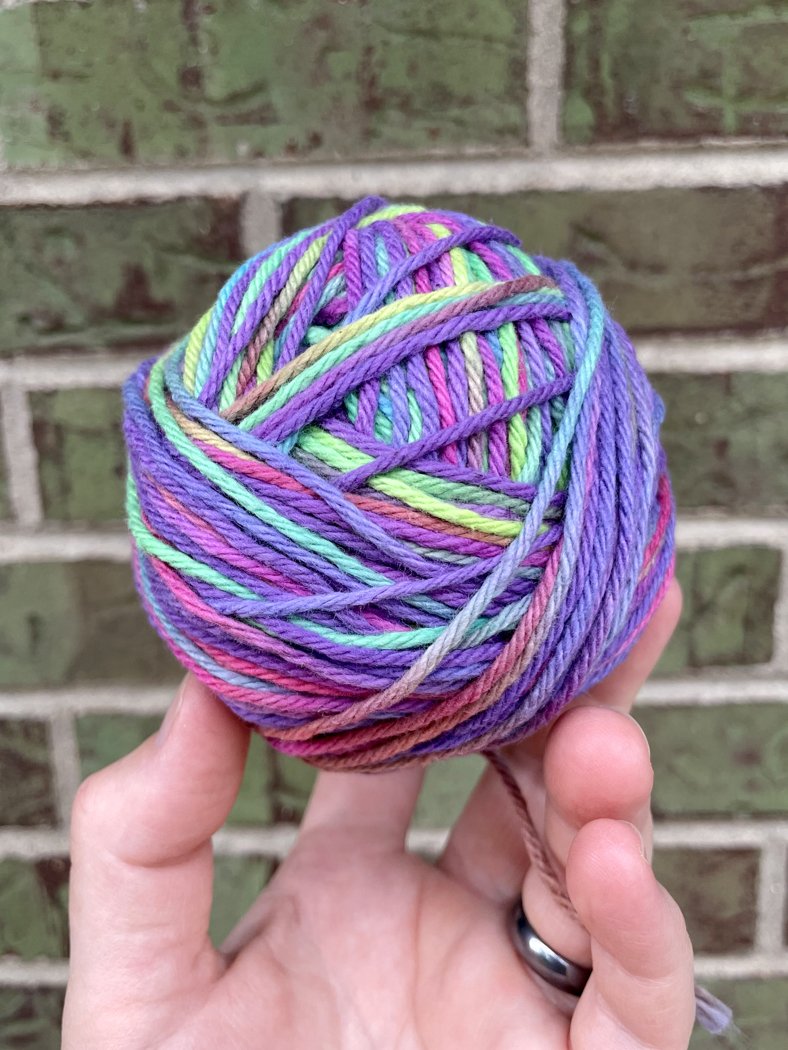
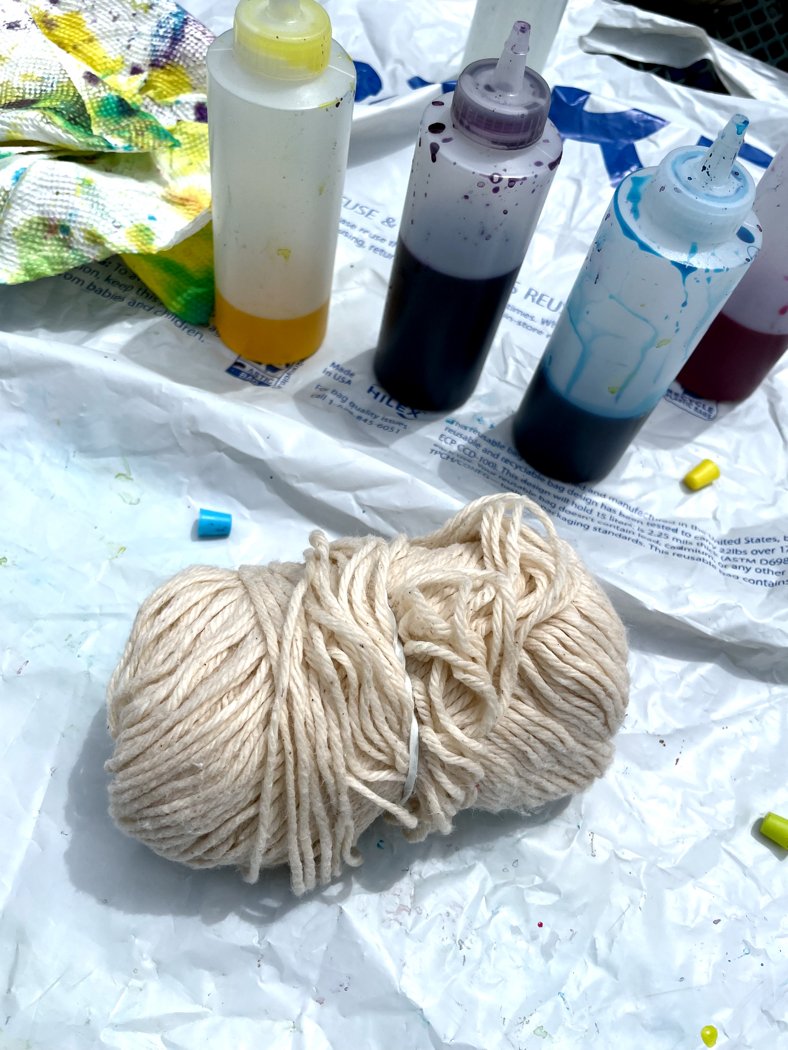
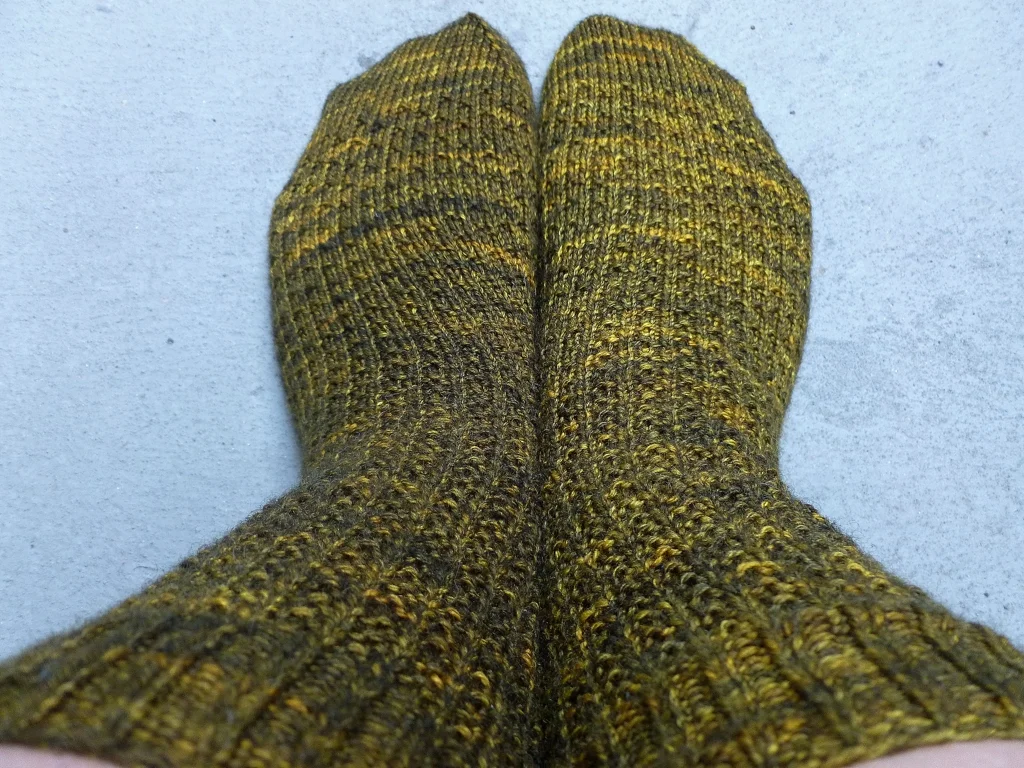
Kiddo and I started summer with an afternoon of tie-dye! I prepped 2 skeins of cotton yarn and a sock blank along with a mess of shirts, bandanas, socks, and totes. The yarn got the leftover dye which turned out to be a lot of pink, a little dark blue, a smidge of purple, and some black. The muted, washed-out tones make my goth heart happy.
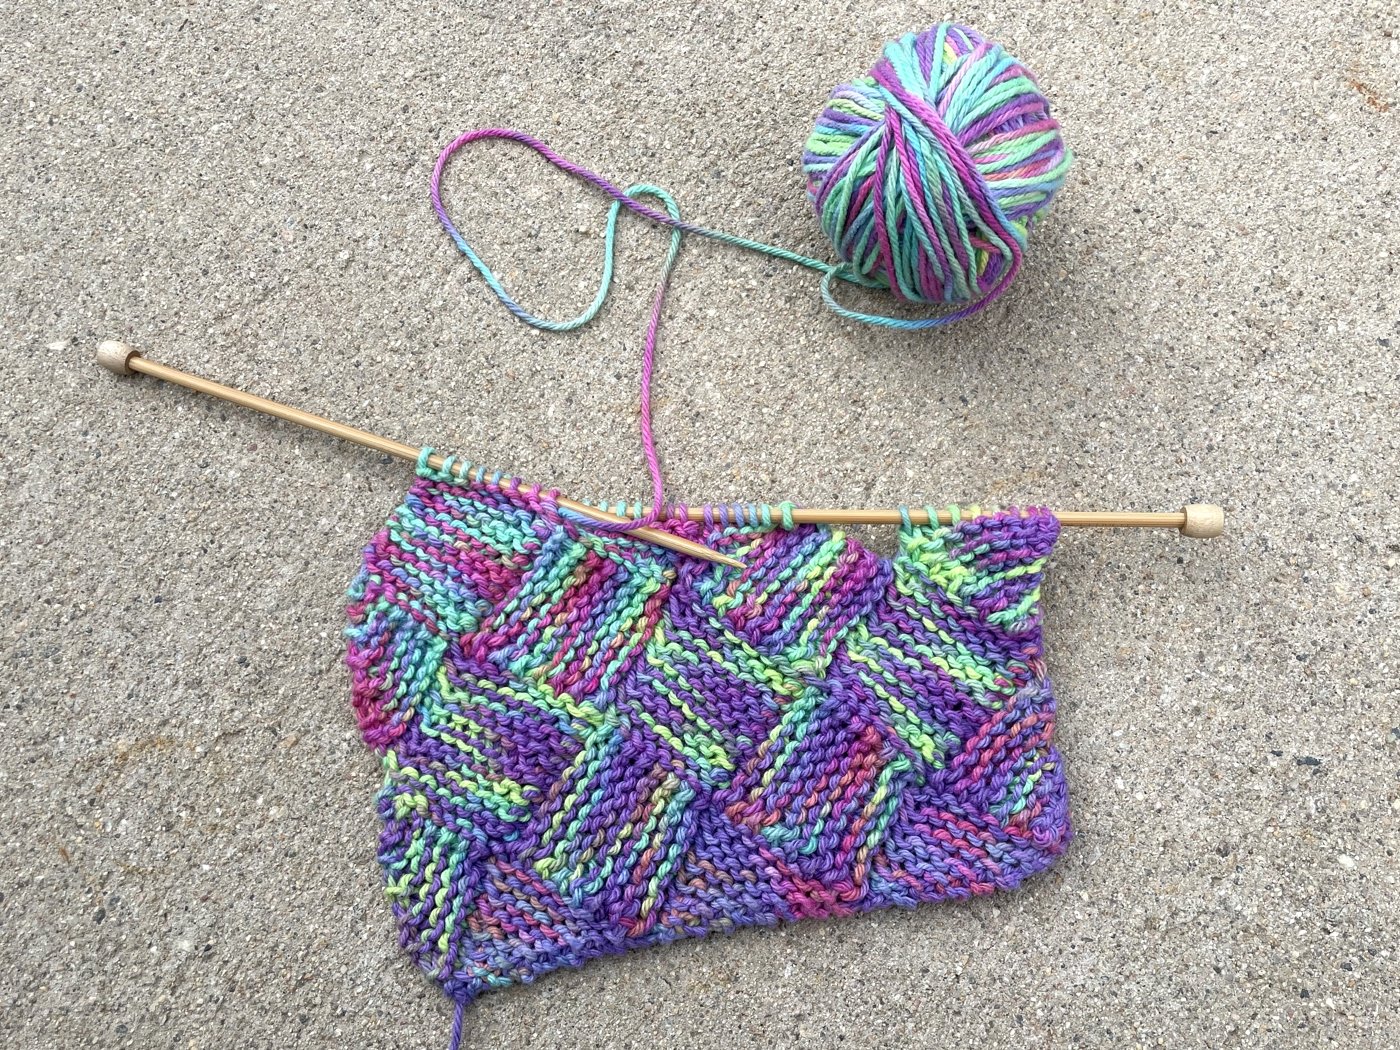
Both of the cotton skeins are destined become kitchen towels to replace some much used and falling apart towels I made 15 years (!) ago. As for the sock blank, I’ll knit that into a pair of default vanilla socks. If only I could figure out how I want to work with the double-strand blank. Pull it out and wind it into 2 separate balls? Knit one sock straight from the blank and wind the other strand? Decisions, decisions.