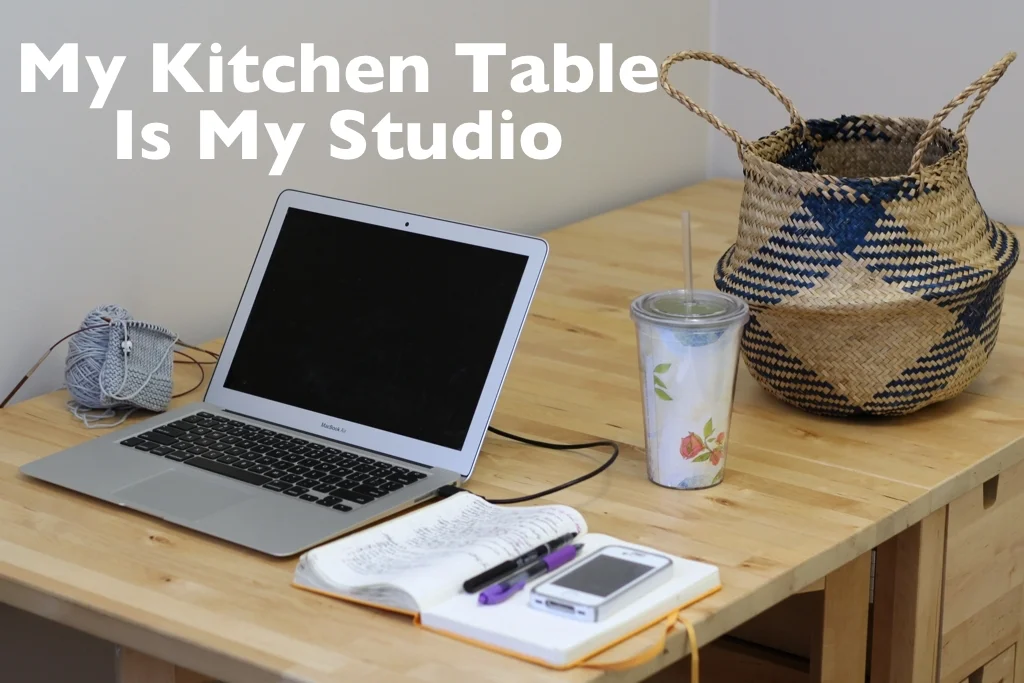
I’ve got so many plans and goals for this year, that I could fill a Bullet Journal keeping track of them all. And I intend too, but we’re here to talk knitting. So, here are my knitting goals for 2023:
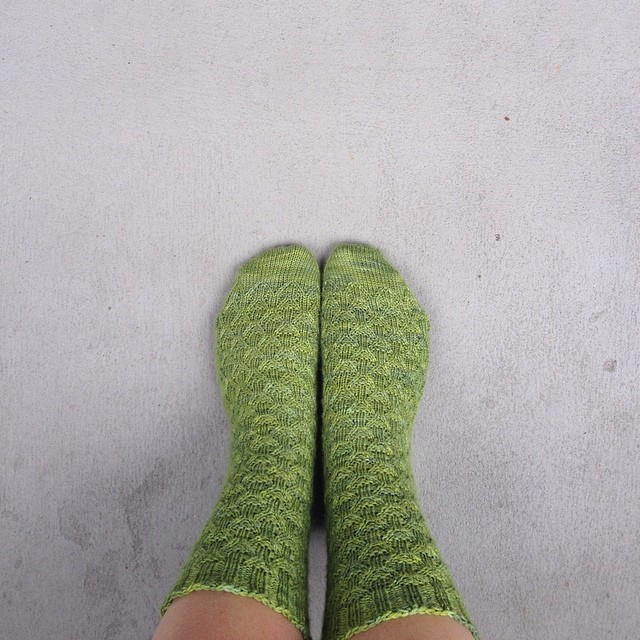
1. Knit fun stuff for me, not just others.
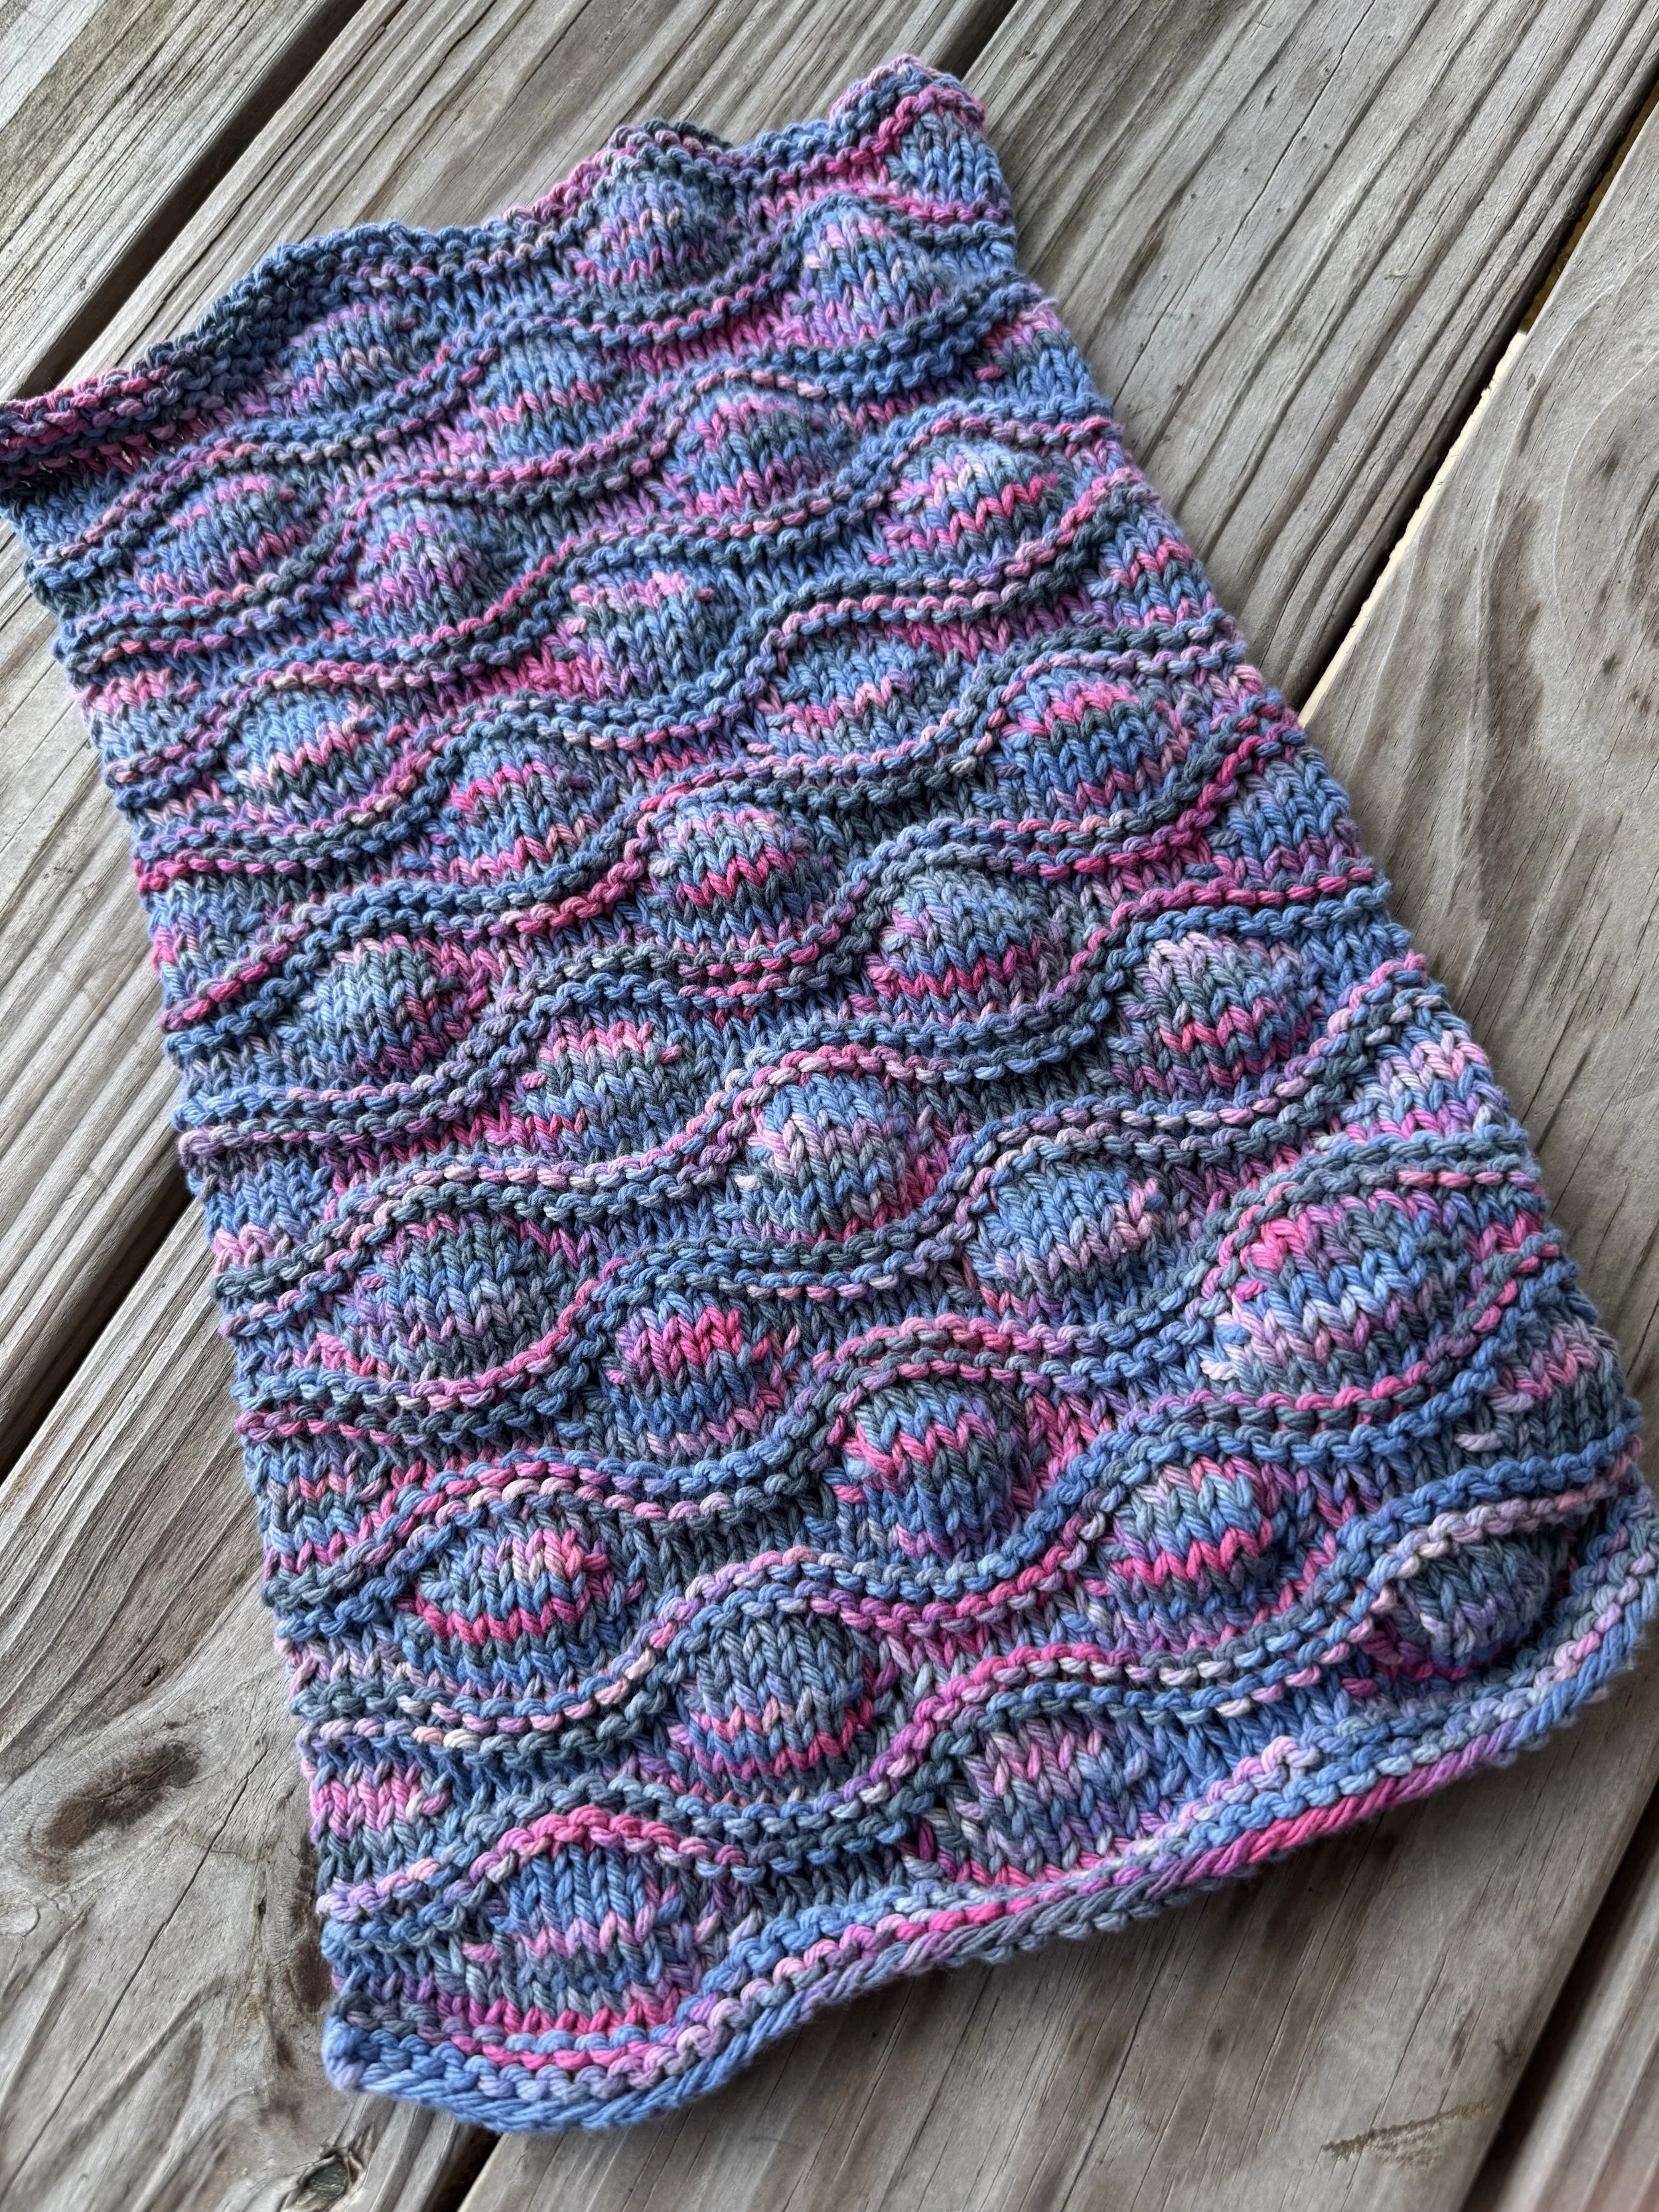
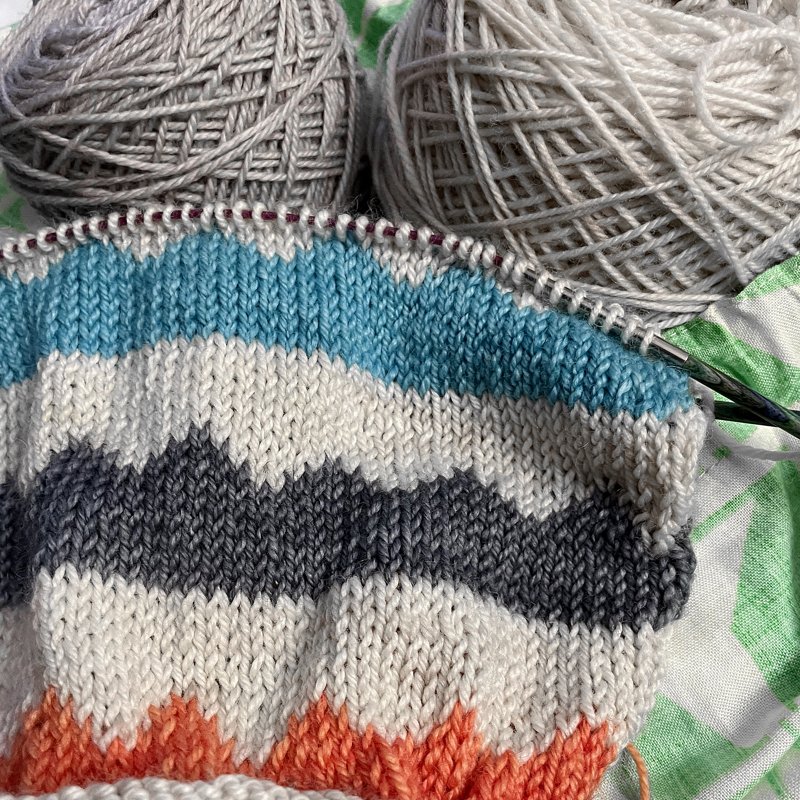
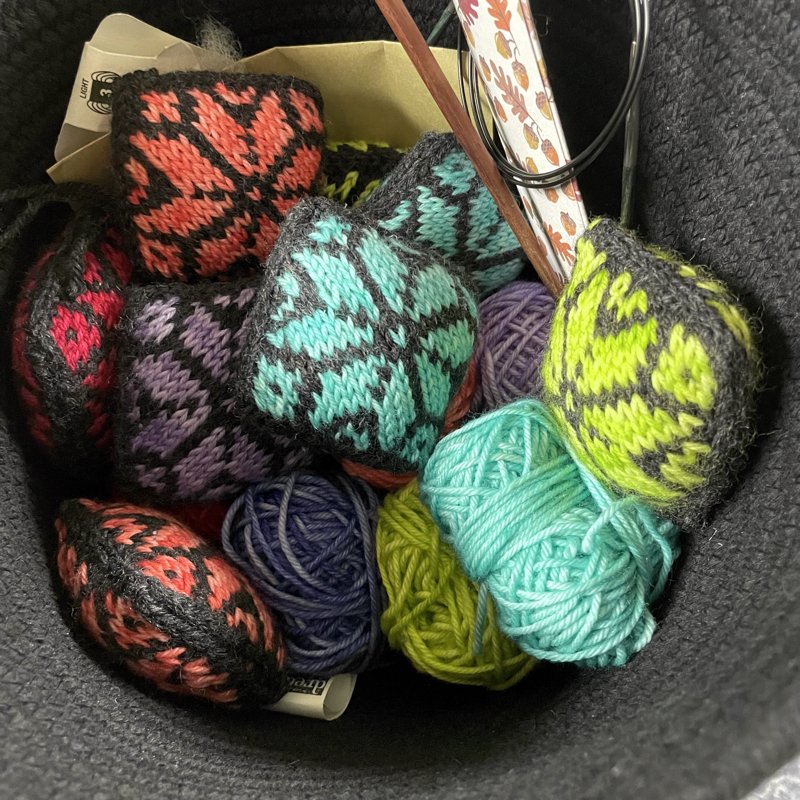
This goal is pretty self-explanatory. Don’t worry, I’ve got a list filled with color work (Cowls, mitts, and hats! Oh my!), cute socks, complicated shawls, and a sweater or two to keep me busy.
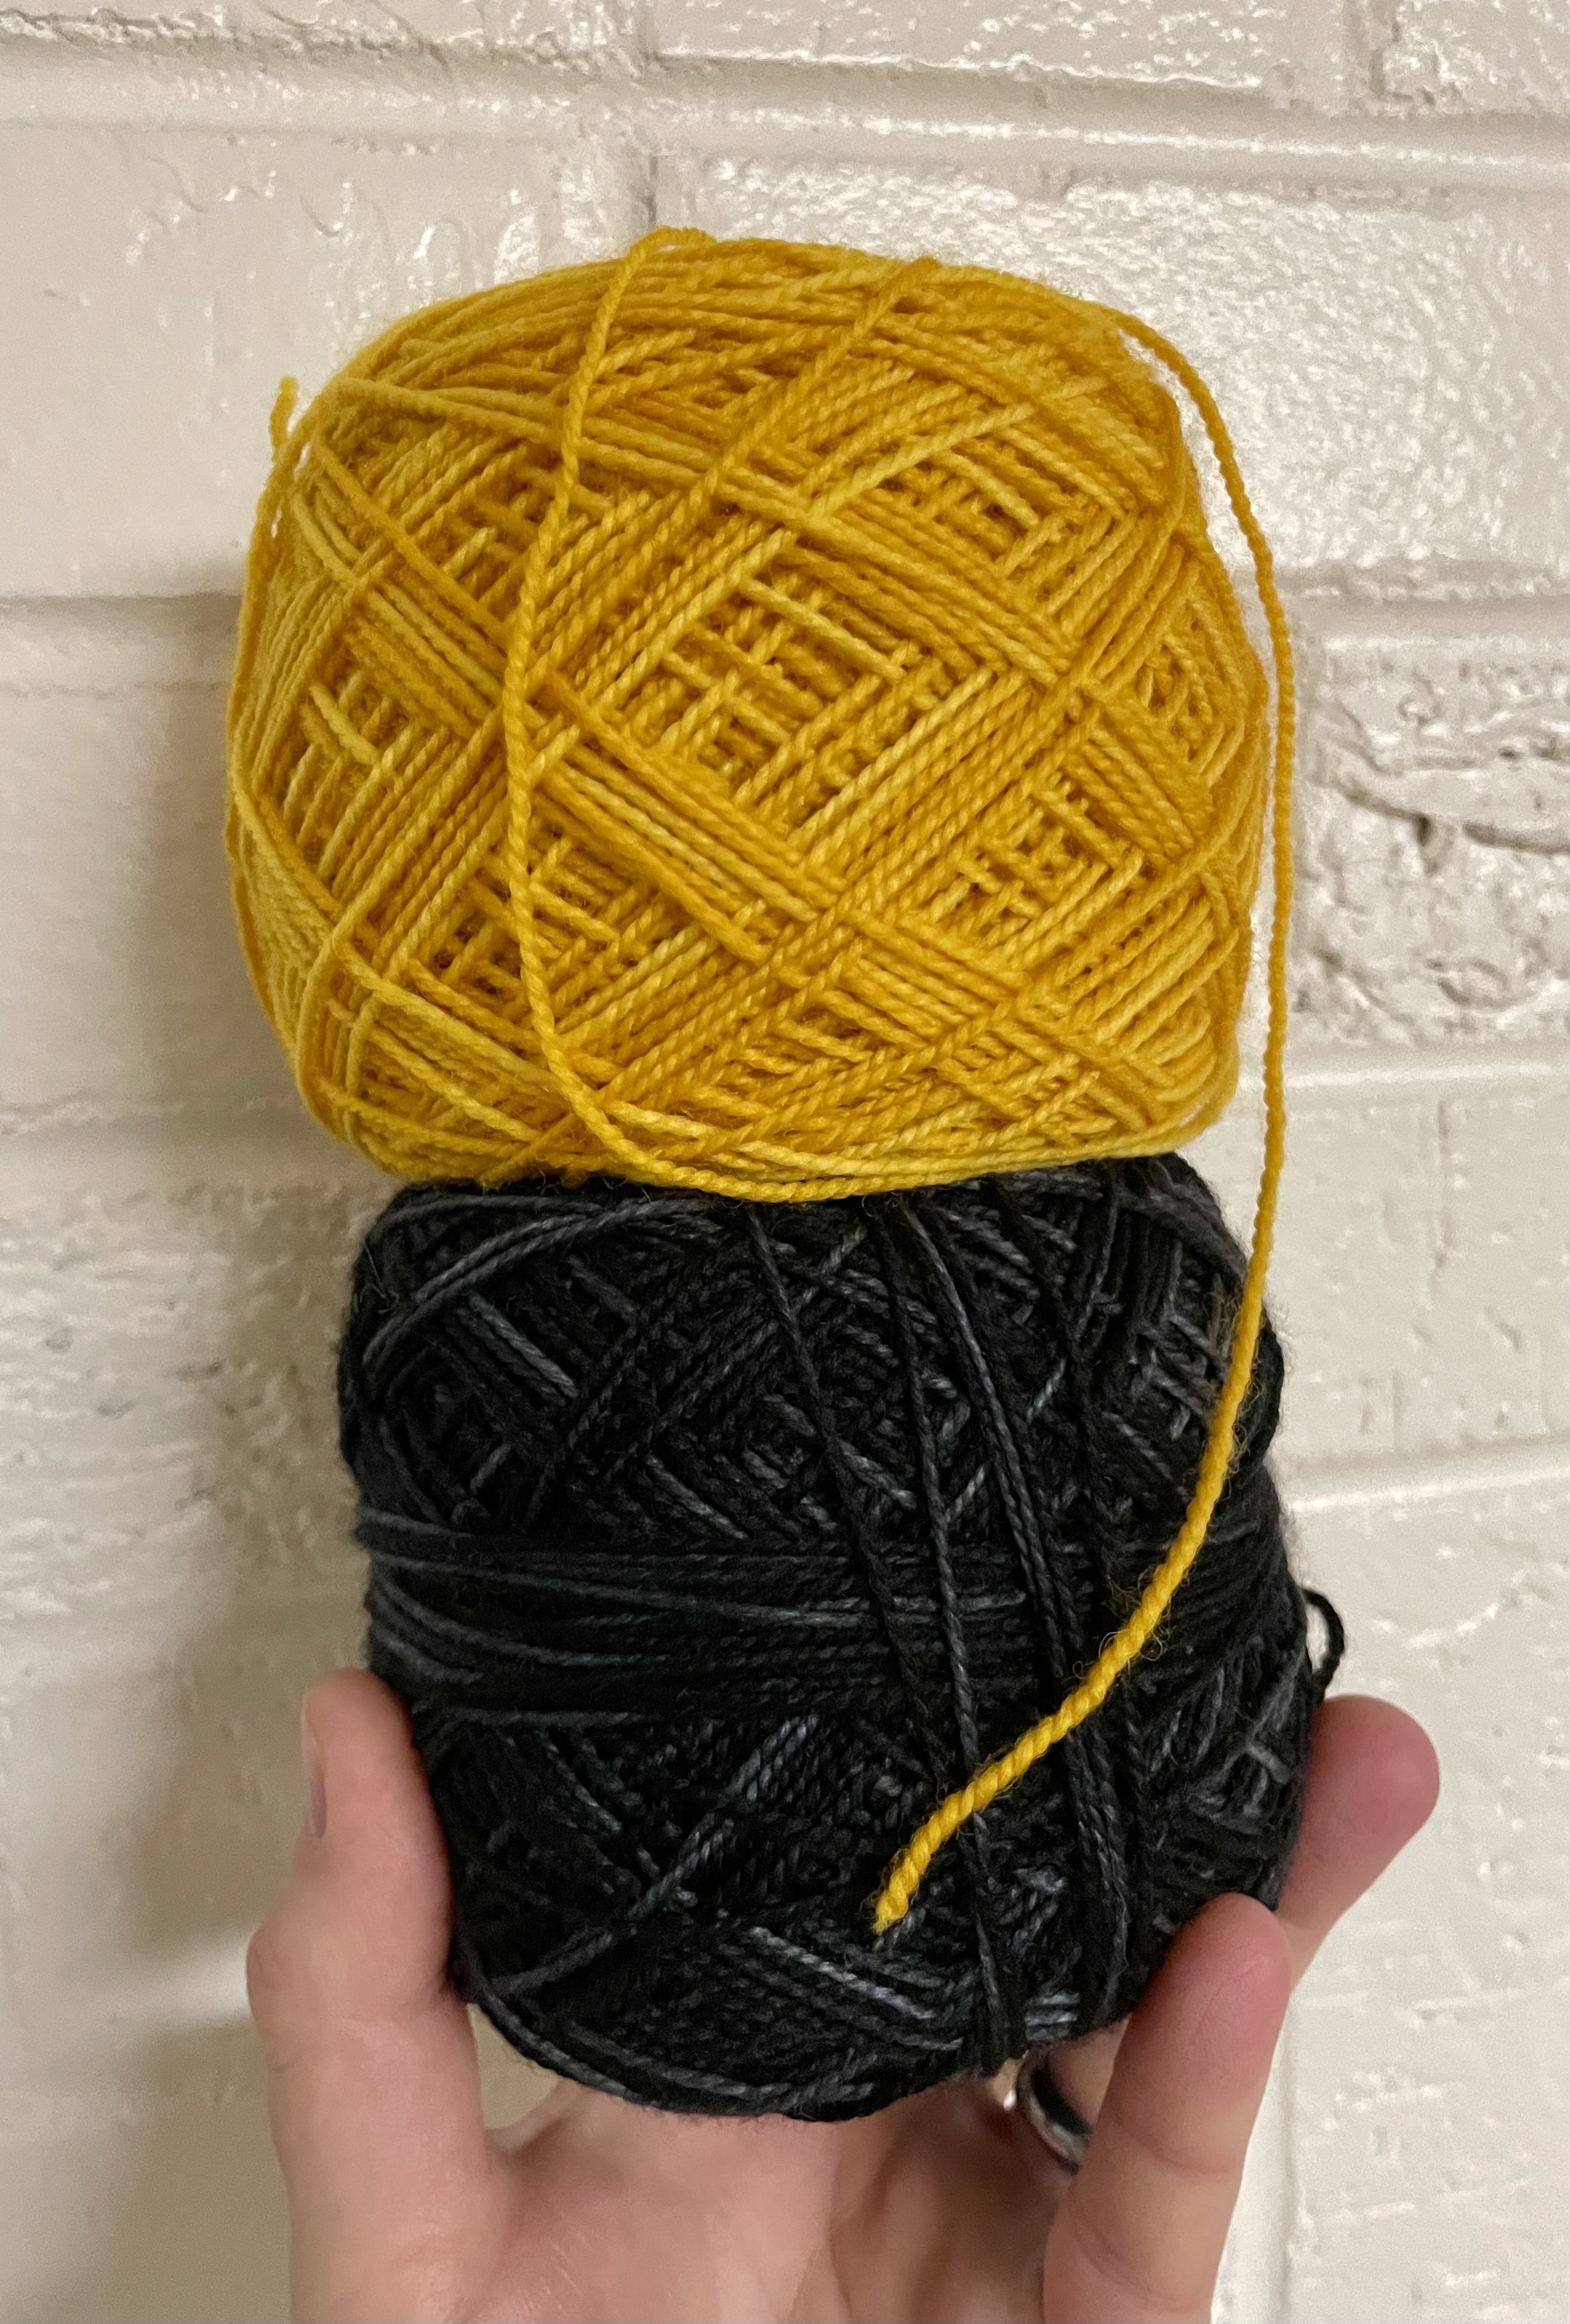
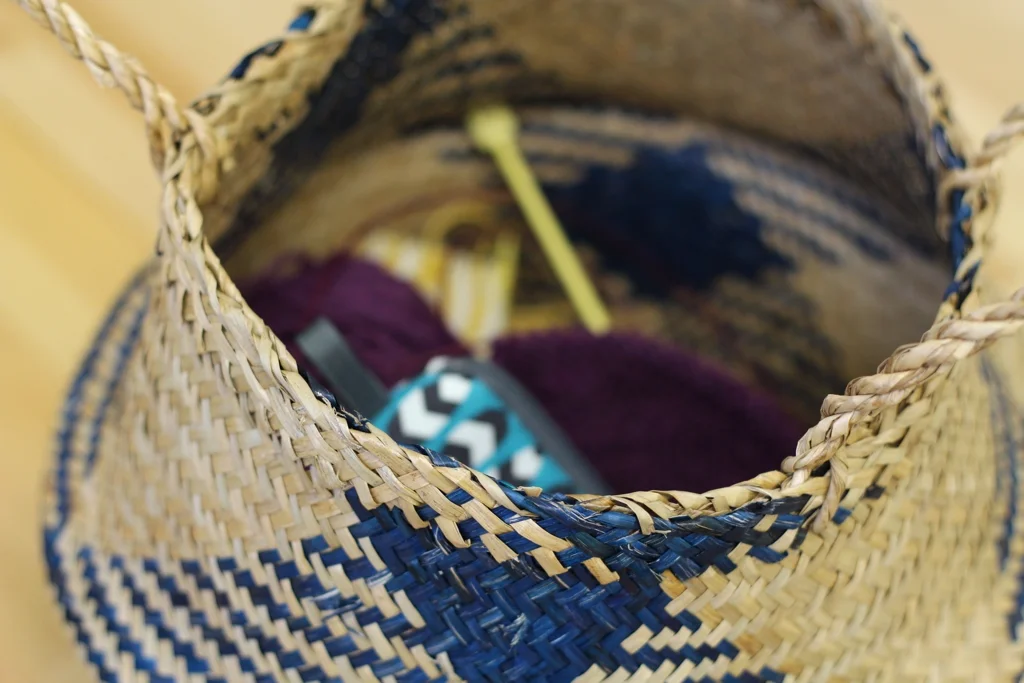
2. Knit with new yarn while it’s exciting.
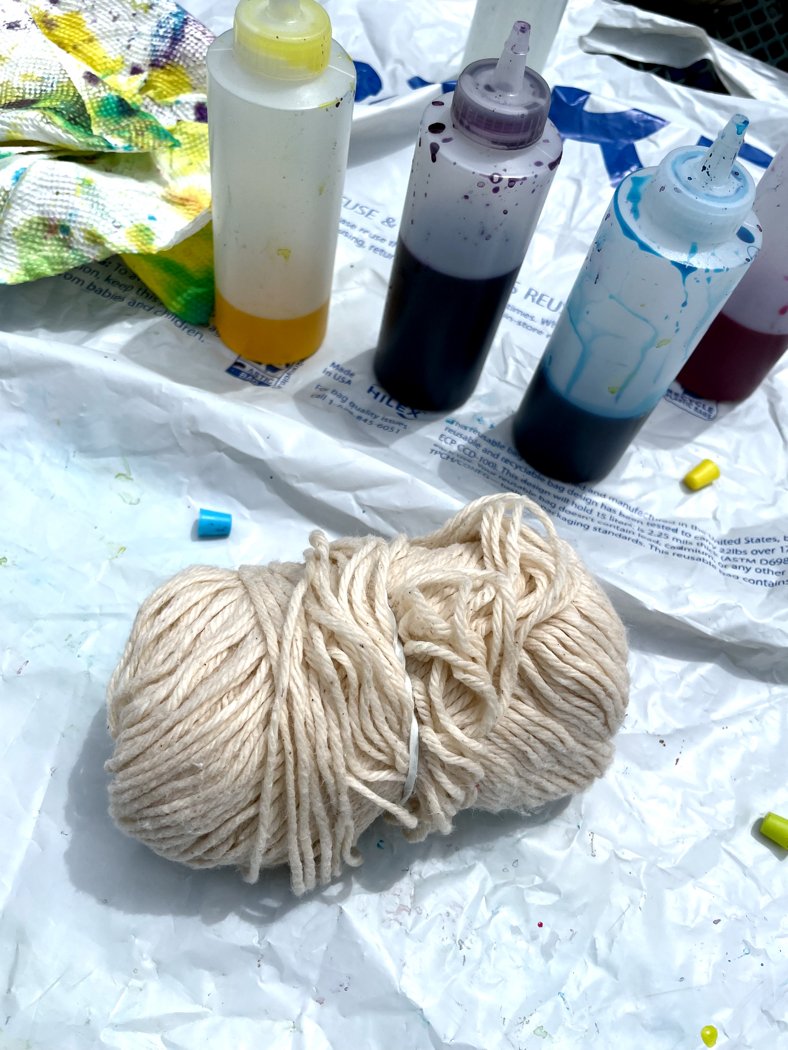
I have the irritating habit of buying yarn for a project and then not knitting with it because I feel obligated to finish lingering WIP’s. By the time I’m done, that new yarn/project just isn’t as exciting. Just once I’d like to jump in for the fun of it.
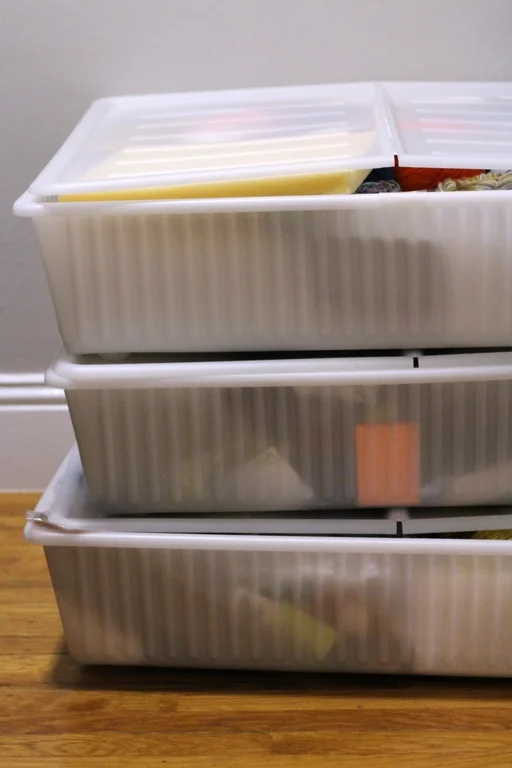
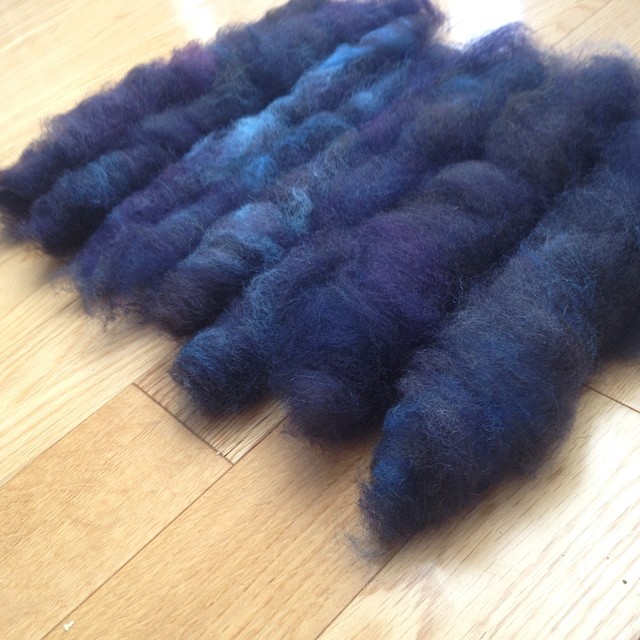
3. Knit with really old stash.
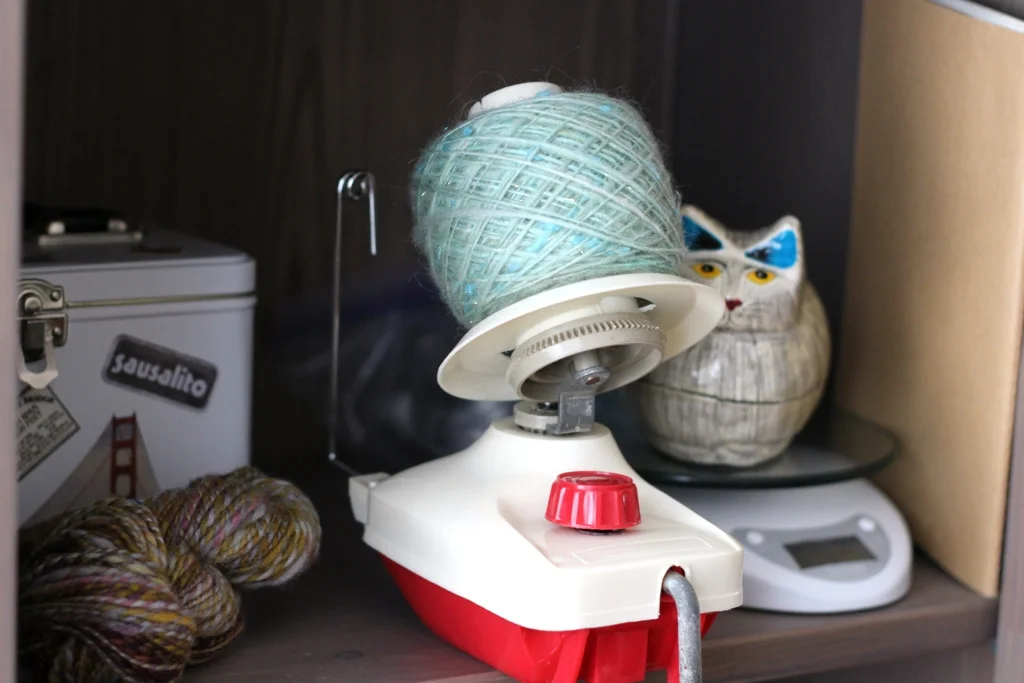
4. Just knit - not every day, but most days.
I set myself the Challenge to knit every day in November. When I accomplished that goal, I did it again in December. It was nice knitting, actually finishing stuff, and spending less time on my phone. I’d love to do more of that this year, whether I challenge myself to knit every day for a month or not.
5. Mend holey socks.
6. Finish lingering WIP’s.
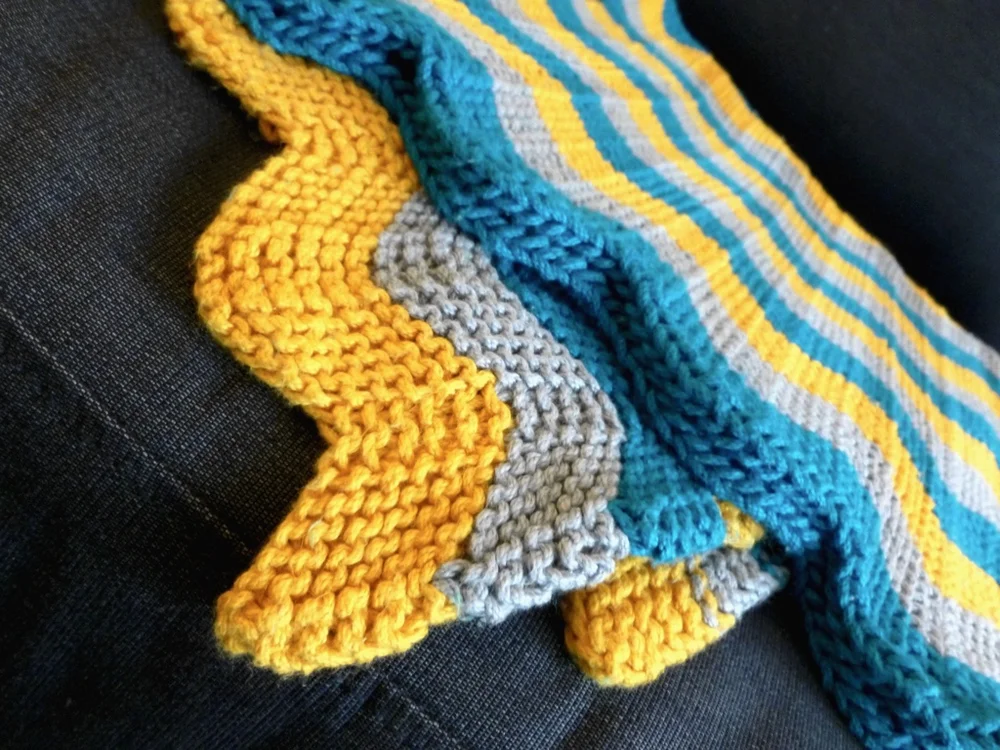
7. Knit a blanket for a friend.
I finally found the perfect pattern after years of looking. I’ve got most of the yarn too, though now I’m on the search for a few more skeins to make it truly large and in charge. Not sure if I’ll finish it this year, but I’d like it to be mostly done.
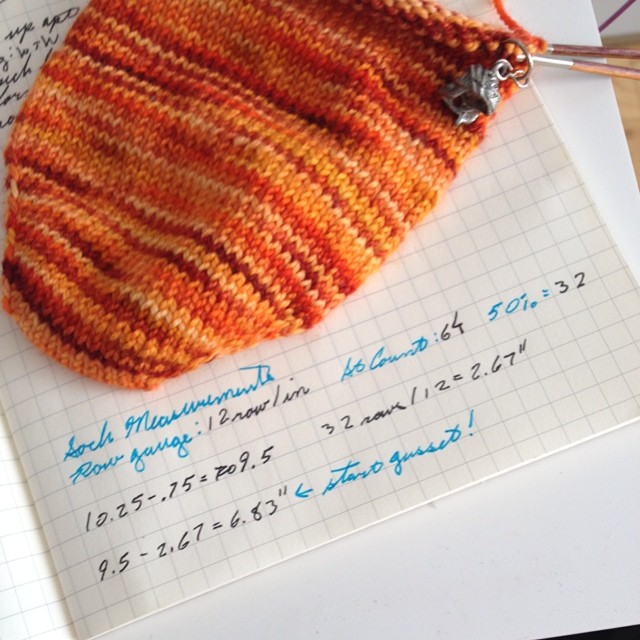
8. Try knitting different sock heels.
The gusset and heel flap is a tried and true favorite for me. The construction fits everyone I knit socks for, and I can pretty much do it in my sleep. Same with afterthought heels. But I want to branch out and learn something new. It’s time to figure out how to make short row heels fit me. I also want to try out the strong heel and give the sweet tomato heel another shot. Plus, I’m sure there’s more heel types that I haven’t heard of, and I might want to give them a try too.