FO: DRK Everyday Cowl

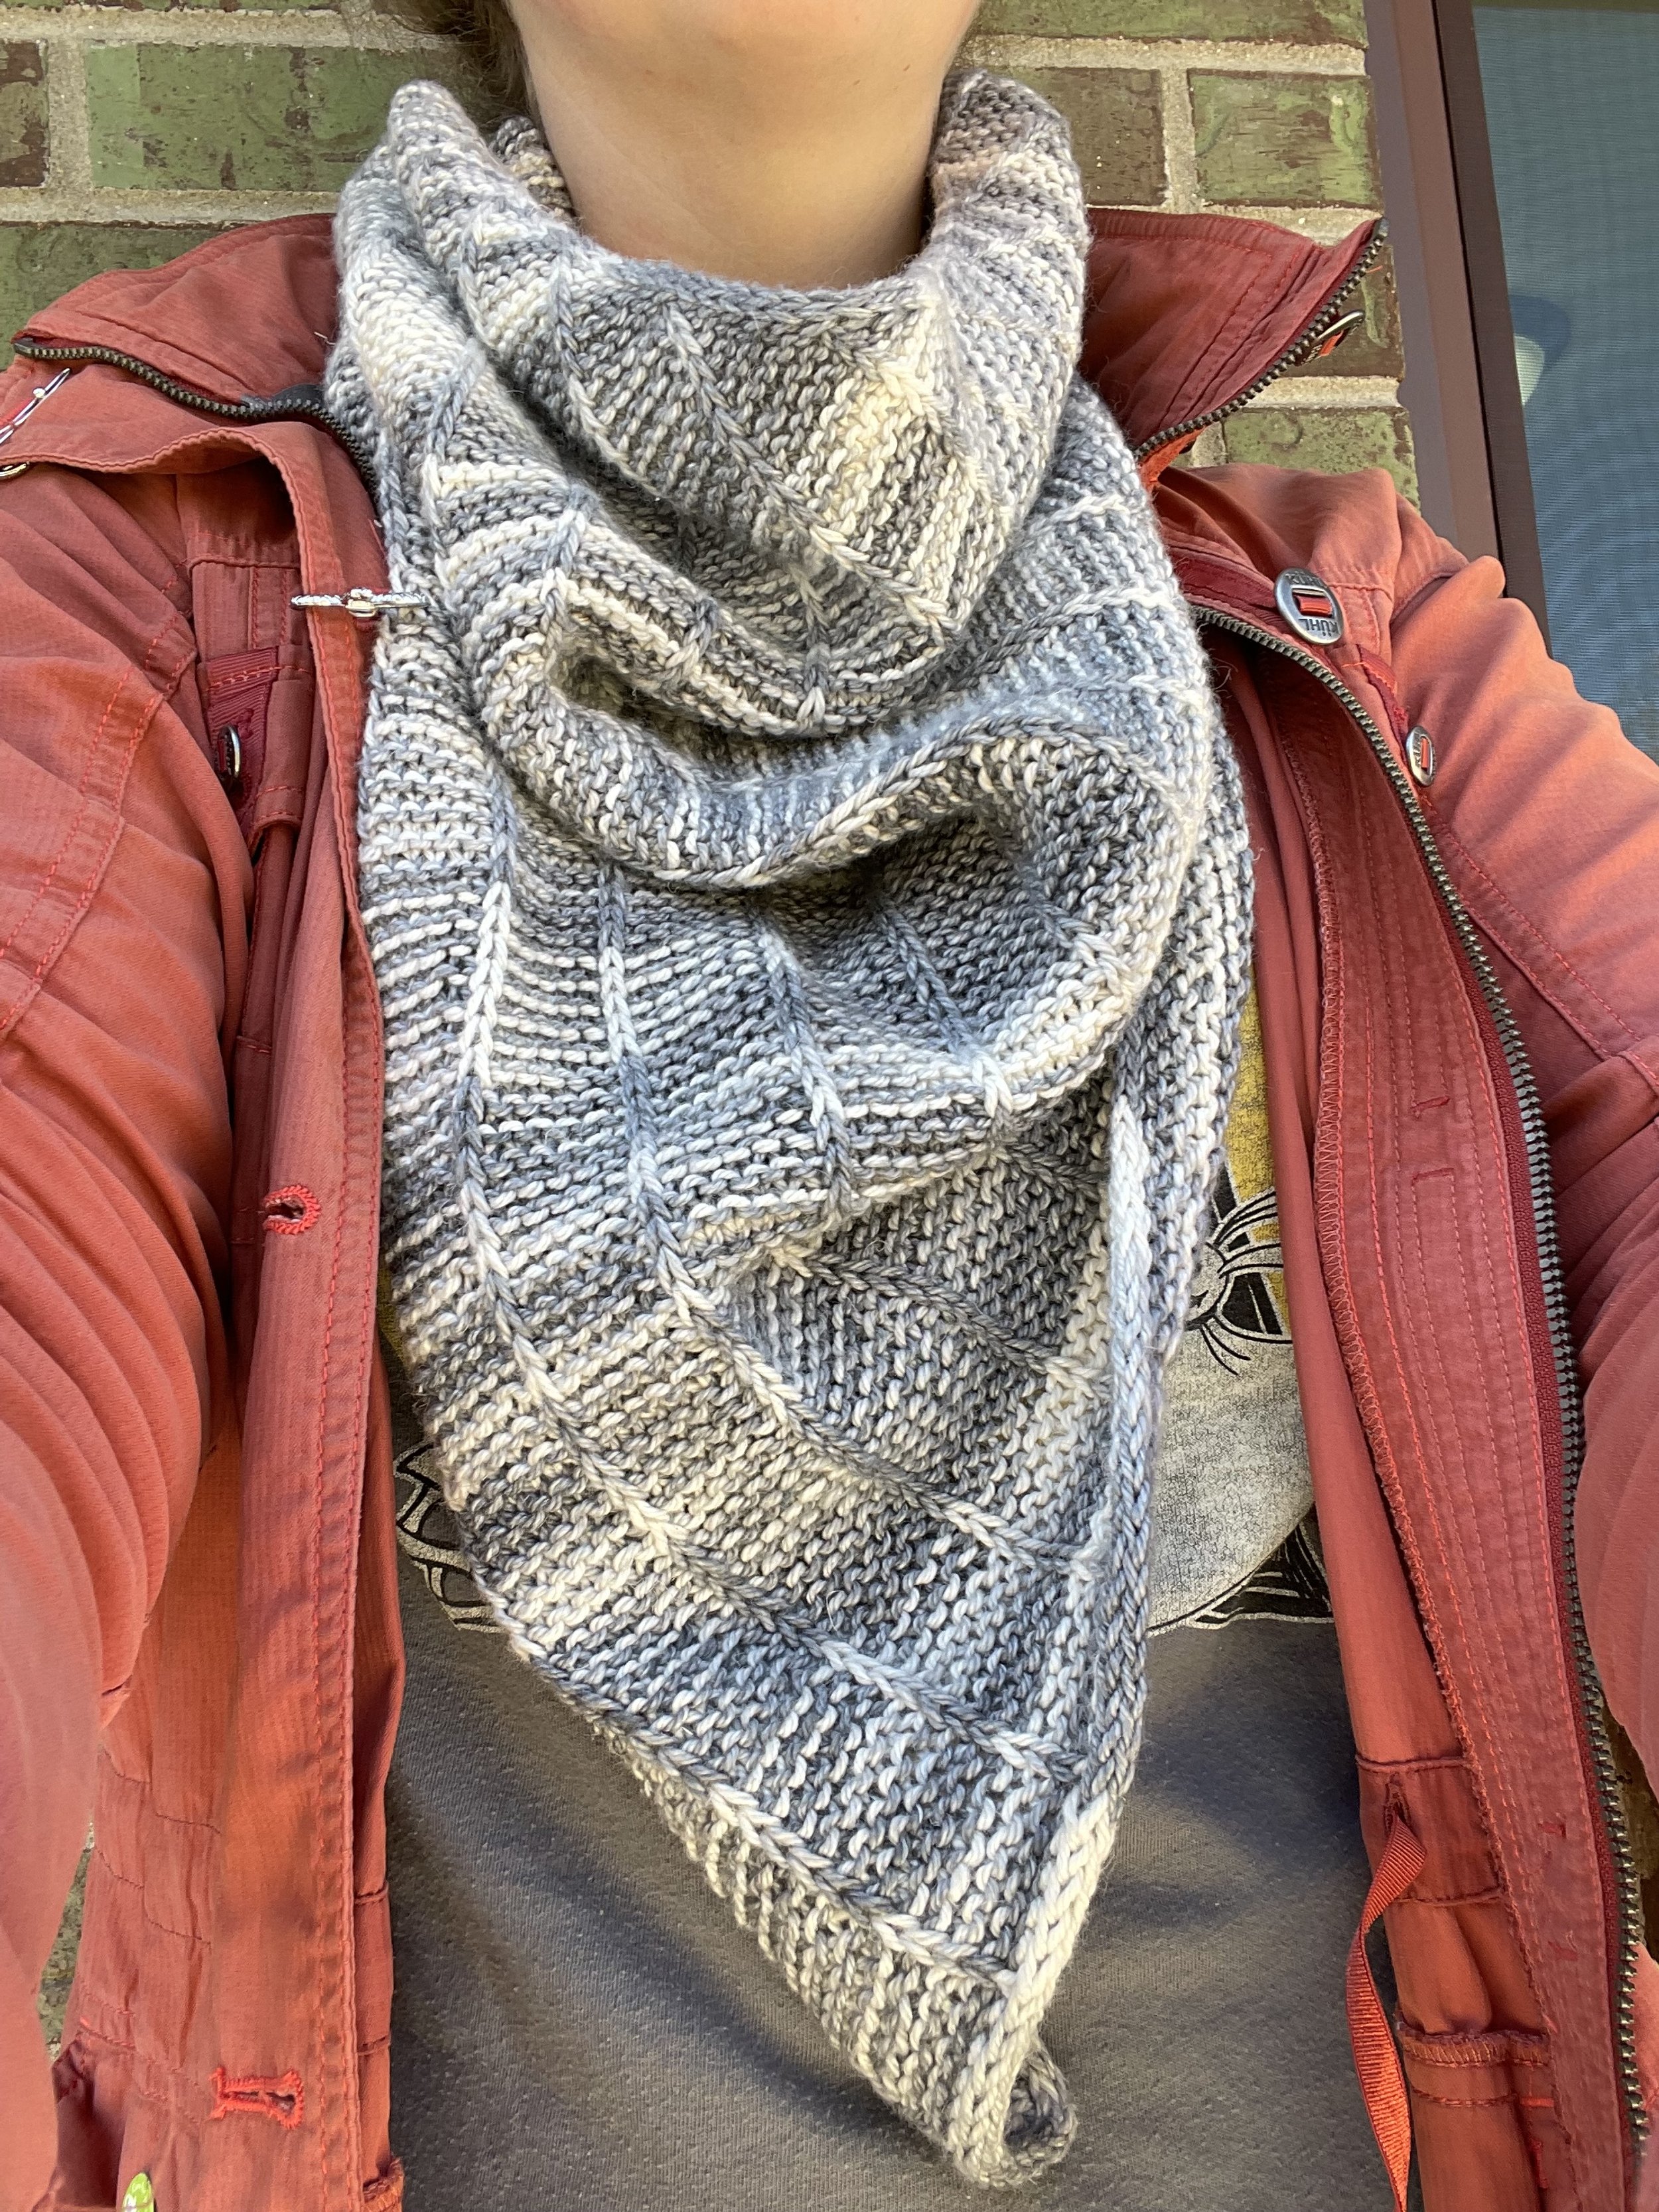
How I like to wear my DRK Everyday Cowl - paired with a lightweight jacket and a tee.

Taking a break from the inconsistent gauge issues of my Low-Key Halloween socks proved to be a good decision. The DRK Everyday Cowl was calling my name and not having to worry so much about gauge sounded nice. The hard part was actually finding enough DK weight yarn in my stash. Yarn Fort did come through though with 2 skeins of Araucania Copiapo which is a blend of cotton, rayon, and linen. I picked up the yarn a few years ago with the aim of making a lightweight shawl to block the sun and wind on warmer days. That shawl pattern never materialized, but this cowl should do the job just fine.

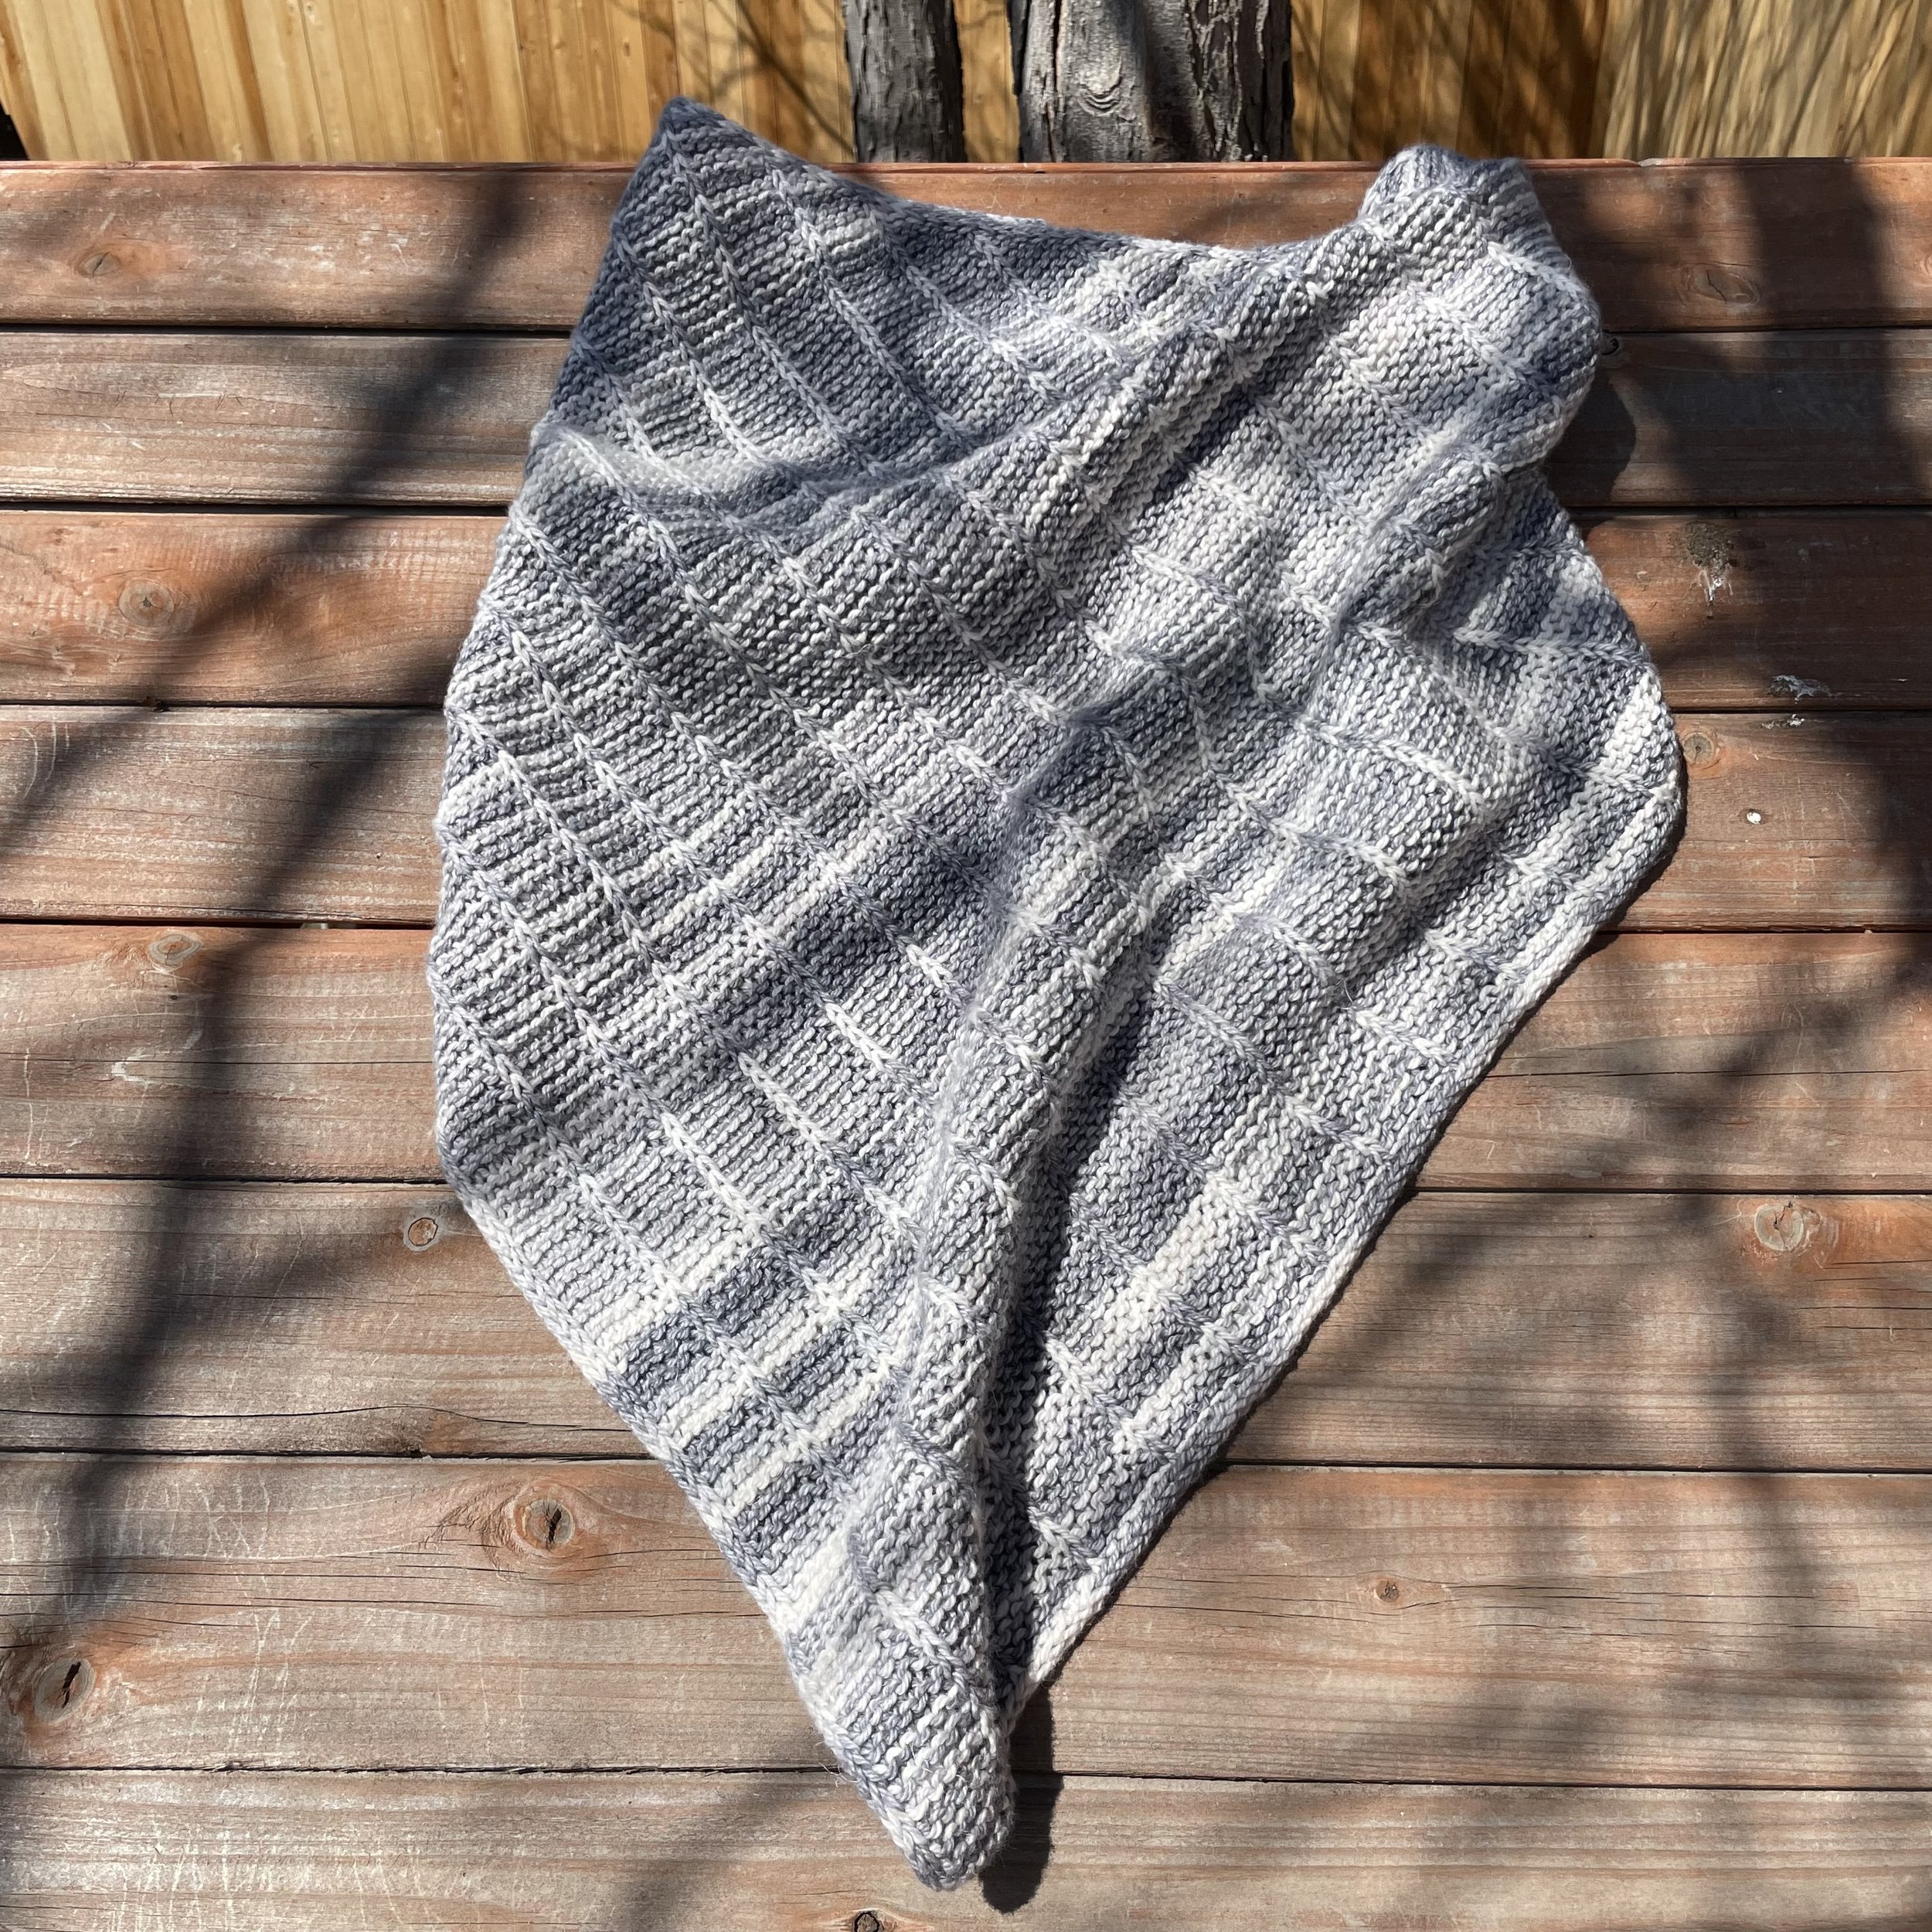
My grey and white DRK Everyday Cowl looking good in the afternoon sun.

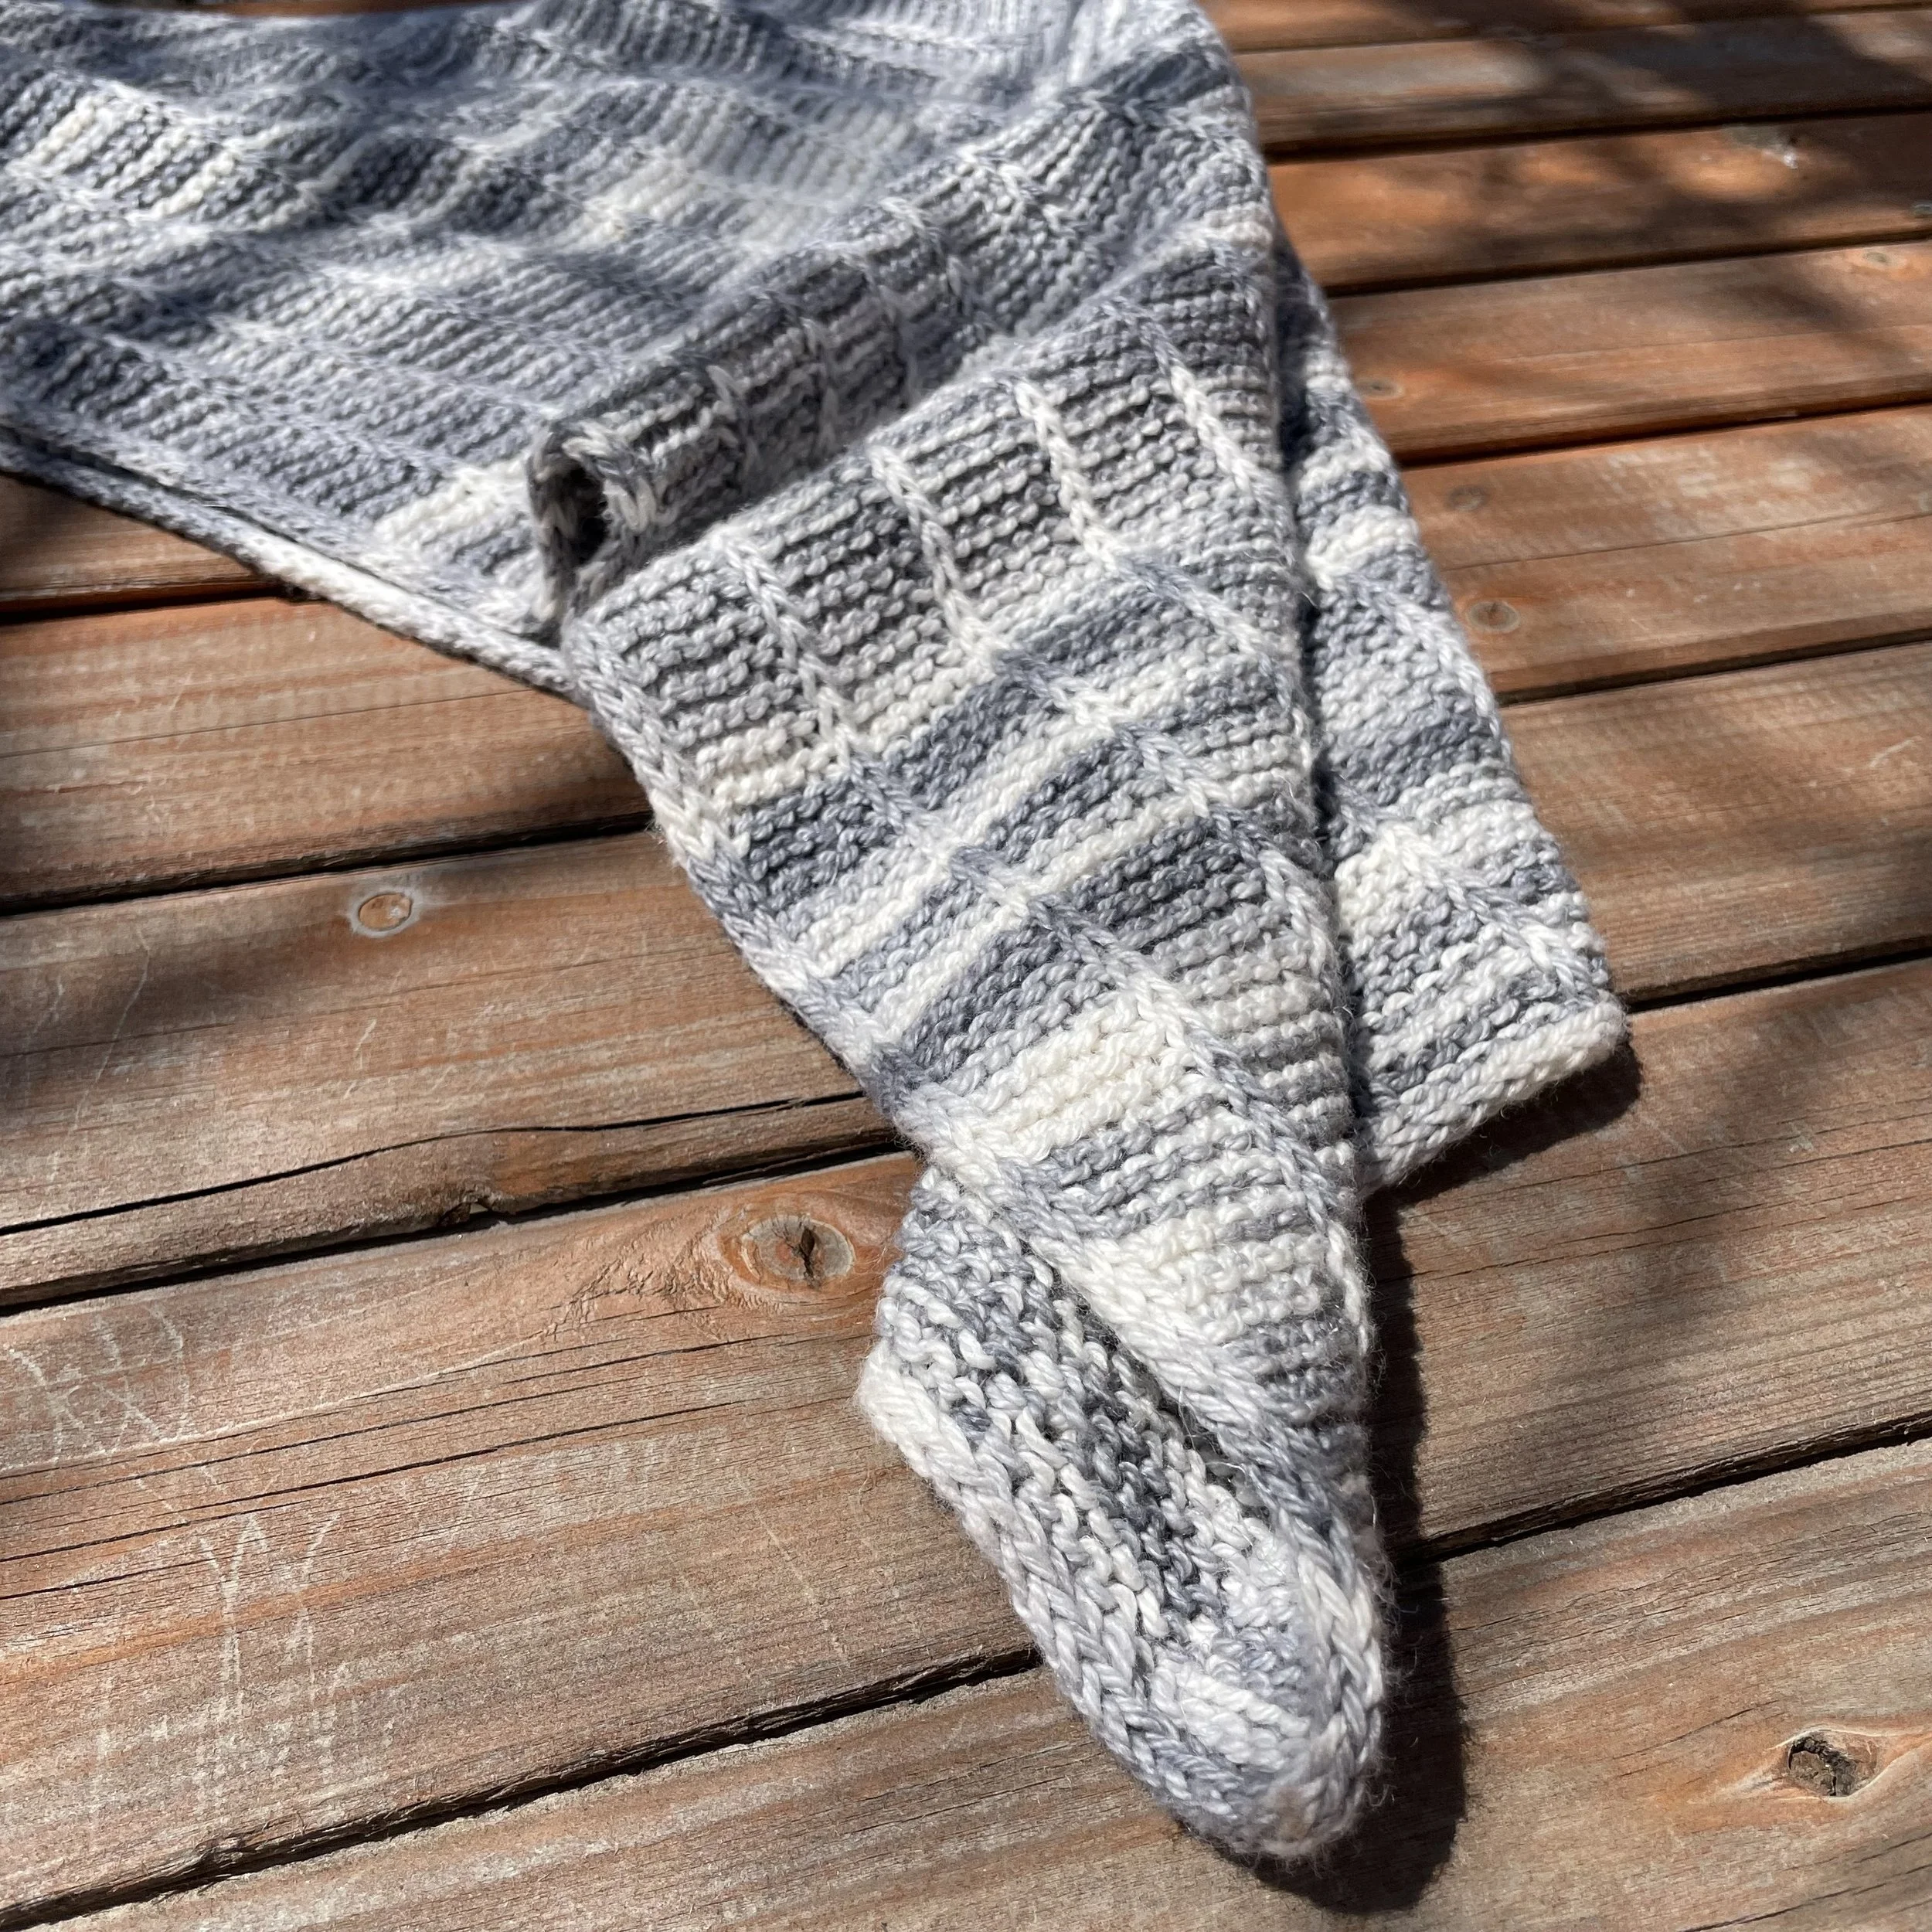
It’s a good thing that the DRK Everyday Cowl is an easy pattern to modify once you understand what each section does. My gauge was a little different than recommended, but I had 410 yds to play with so I wasn’t too worried about running out. I was still 6” short of a the adult large size when I had finished knitting the recommended number of repeats. So, I kept repeating section 2 until I had enough length across the top edge. Section 3 saw me decreasing from 130 stitches which is just a smidge more than the pattern. I will admit that I was nervous that I’d have to dig through Yarn Fort with some matching yarn for the i-cord bind off during the last few rows. Thankfully, I had a few yards left over at the very end. Phew!

I finished the cowl just in time with the wishy-washy days of Spring. Then I wore it for the first time on a warm day sandwiched between two other days of snow and rain. It cut the wind and sun just like I’d hoped, and looks really good paired with my favorite coats. The cowl did grow a little bit during blocking so it’s 28” around the top instead of the 25” I was aiming for. Pretty happy with that change though. I’m not so happy that I spilled coffee on it the very first time I wore it, but you can’t even tell thanks to the neutral colors. I’m pretty happy about that t00.

A closeup of the i-cord edge and bind off on the DRK Everyday Cowl.

The Specs:

The Pattern: DRK Everyday Cowl by Andrea Mowry

Yarn: 405 yds Araucania Copiapo - Vanilla Sky

Needles: US 6 (4mm) circular needles

Dates: March 26 - April 20, 2023

Socks Take Two

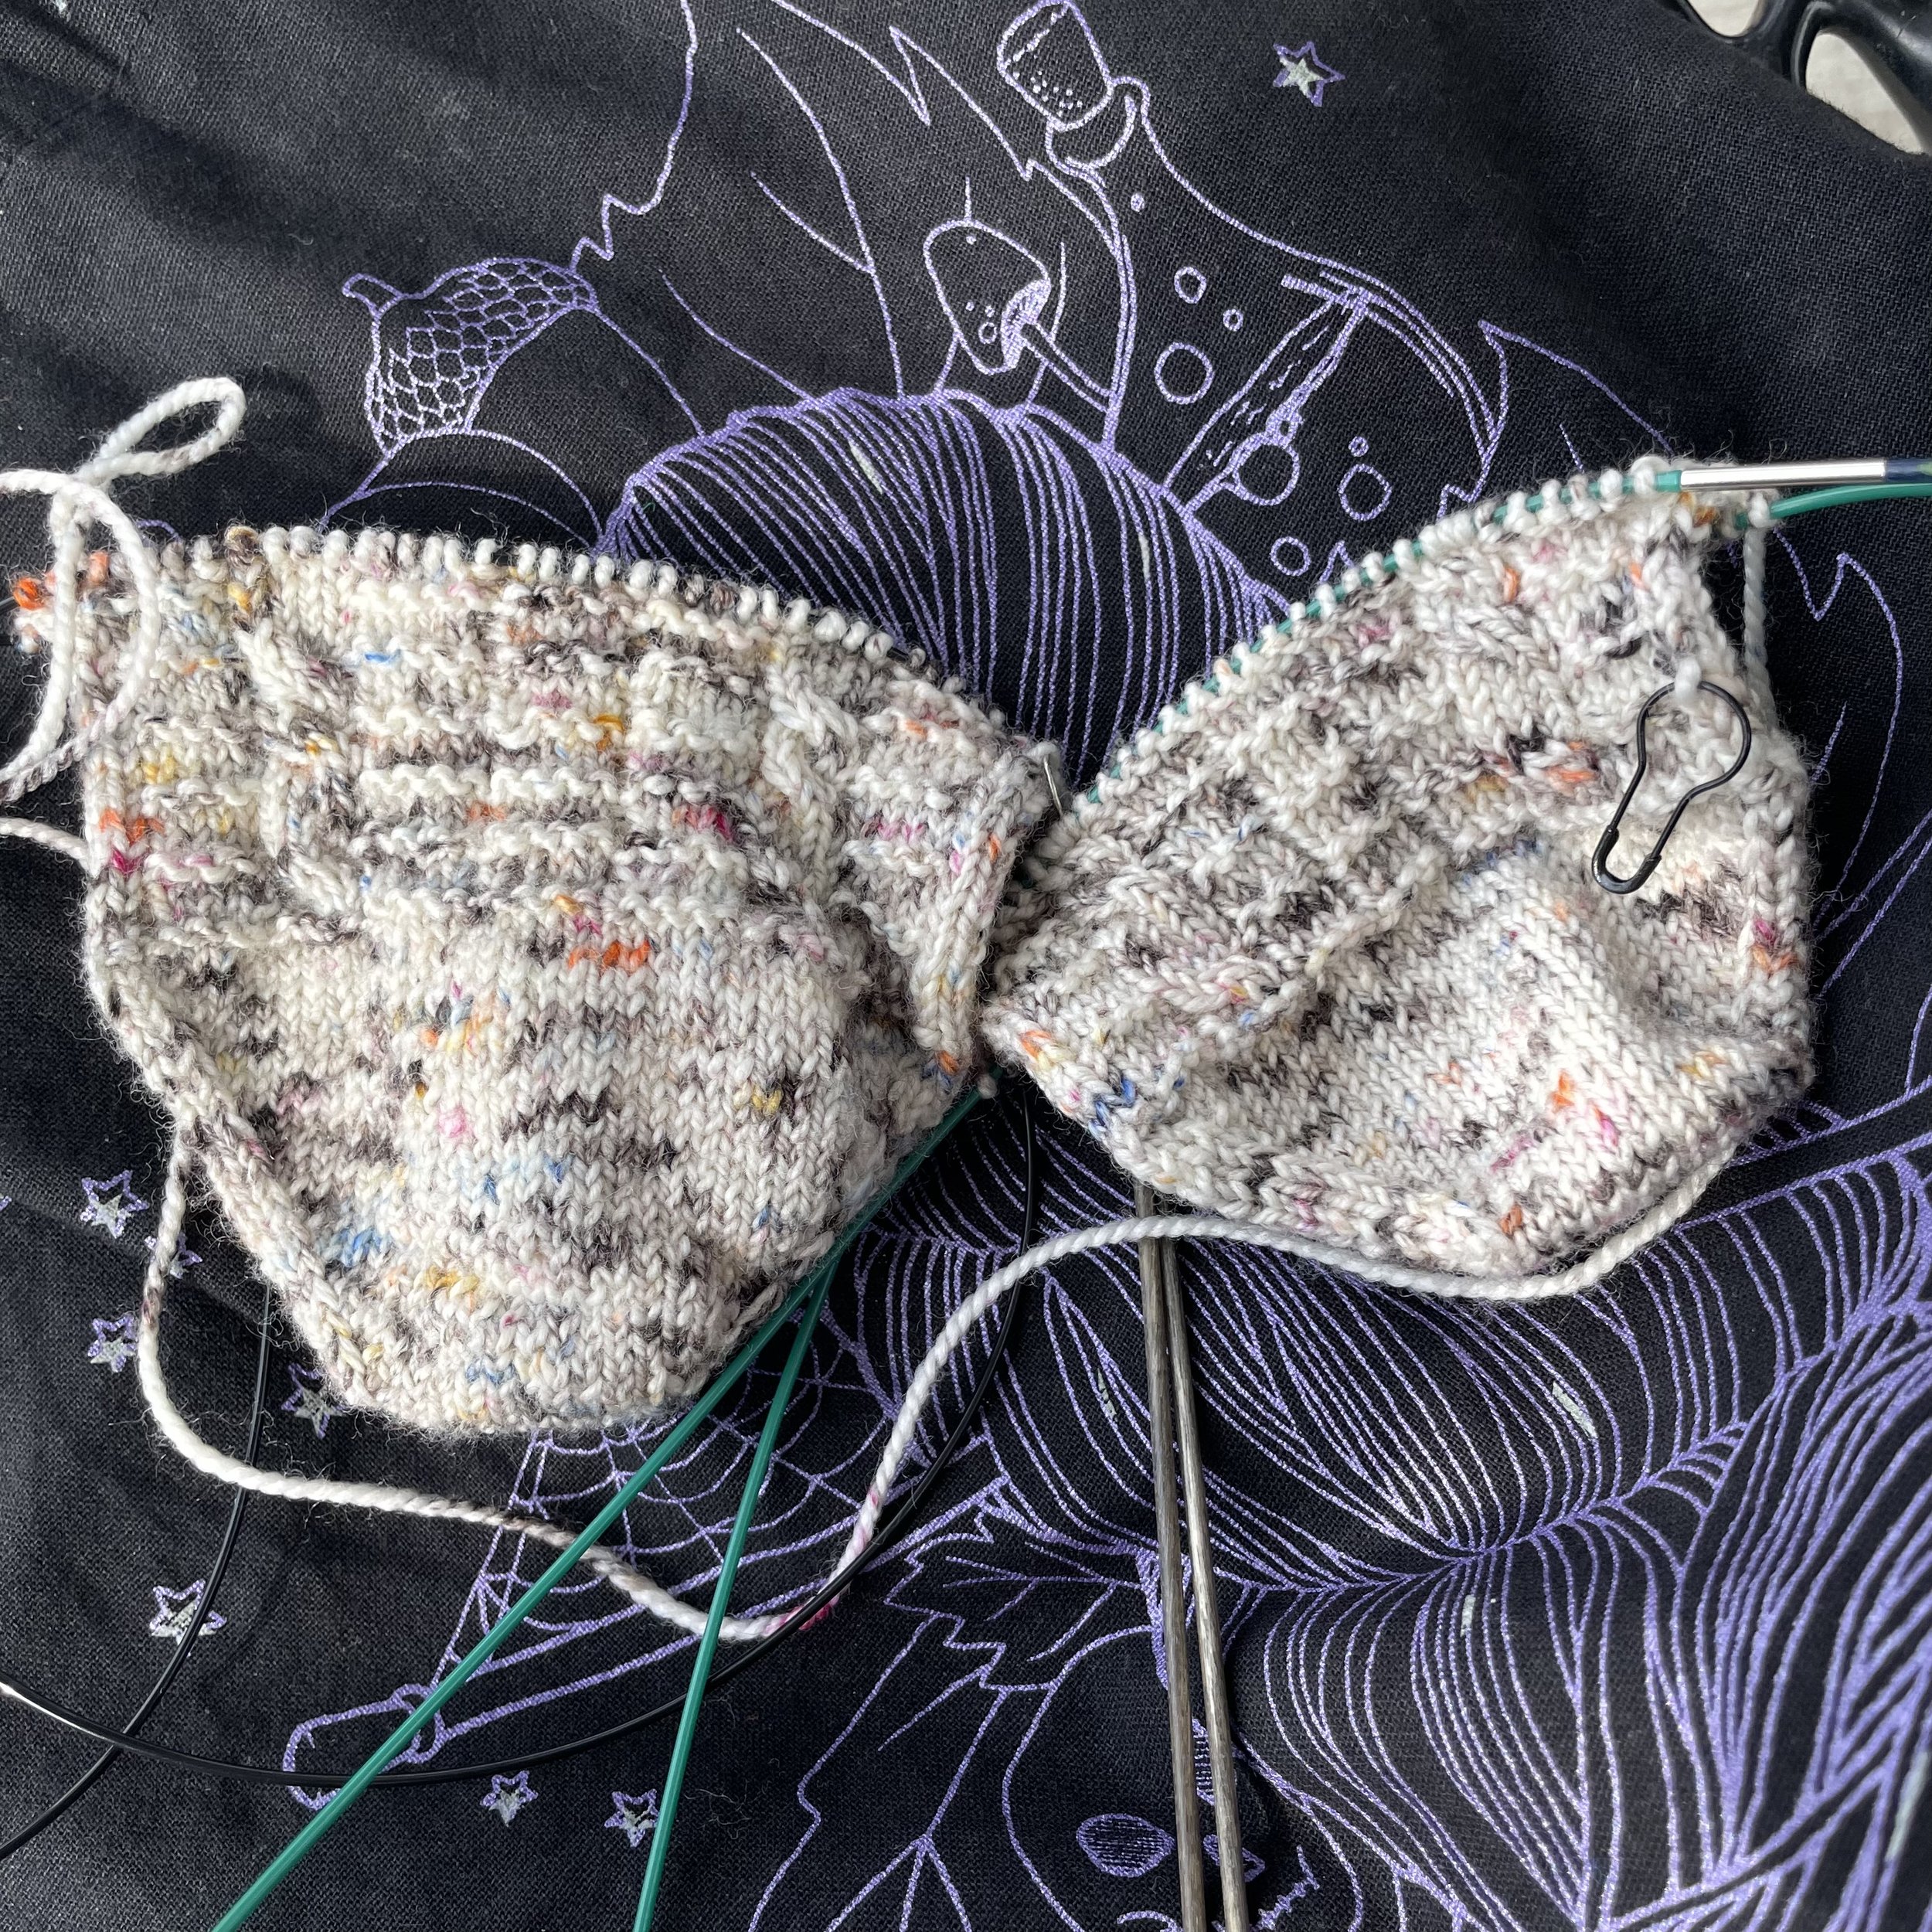
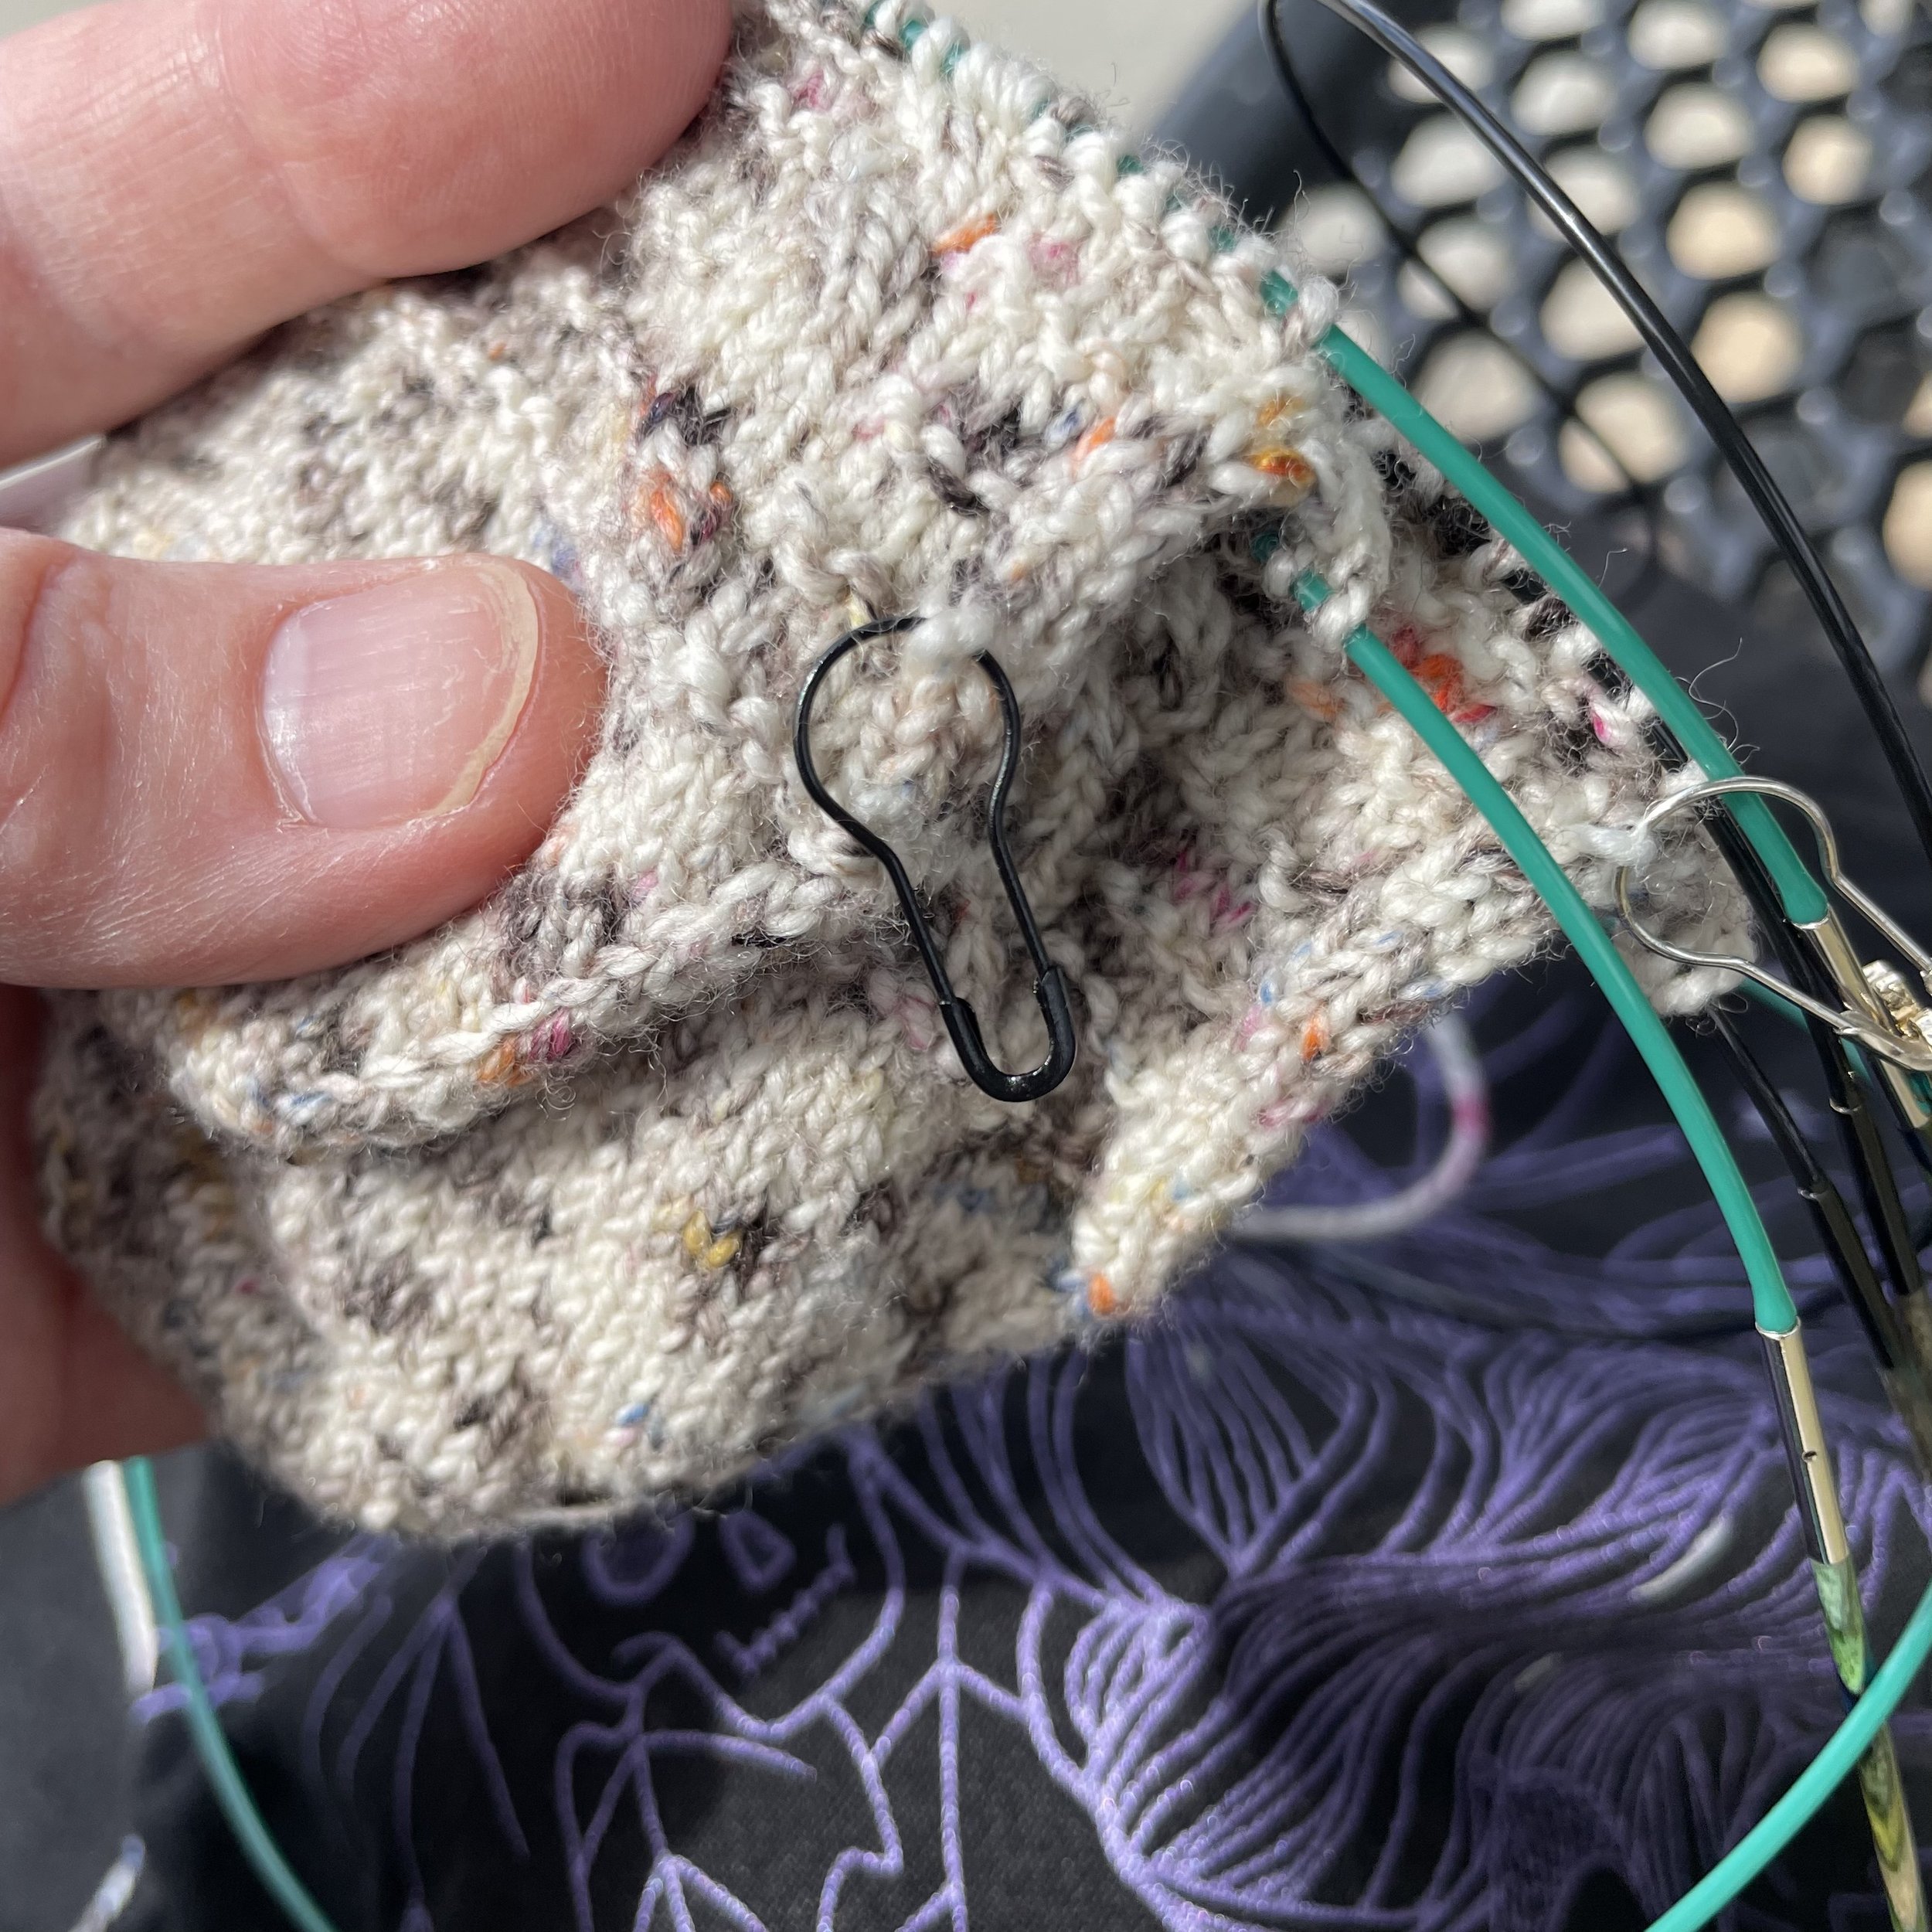
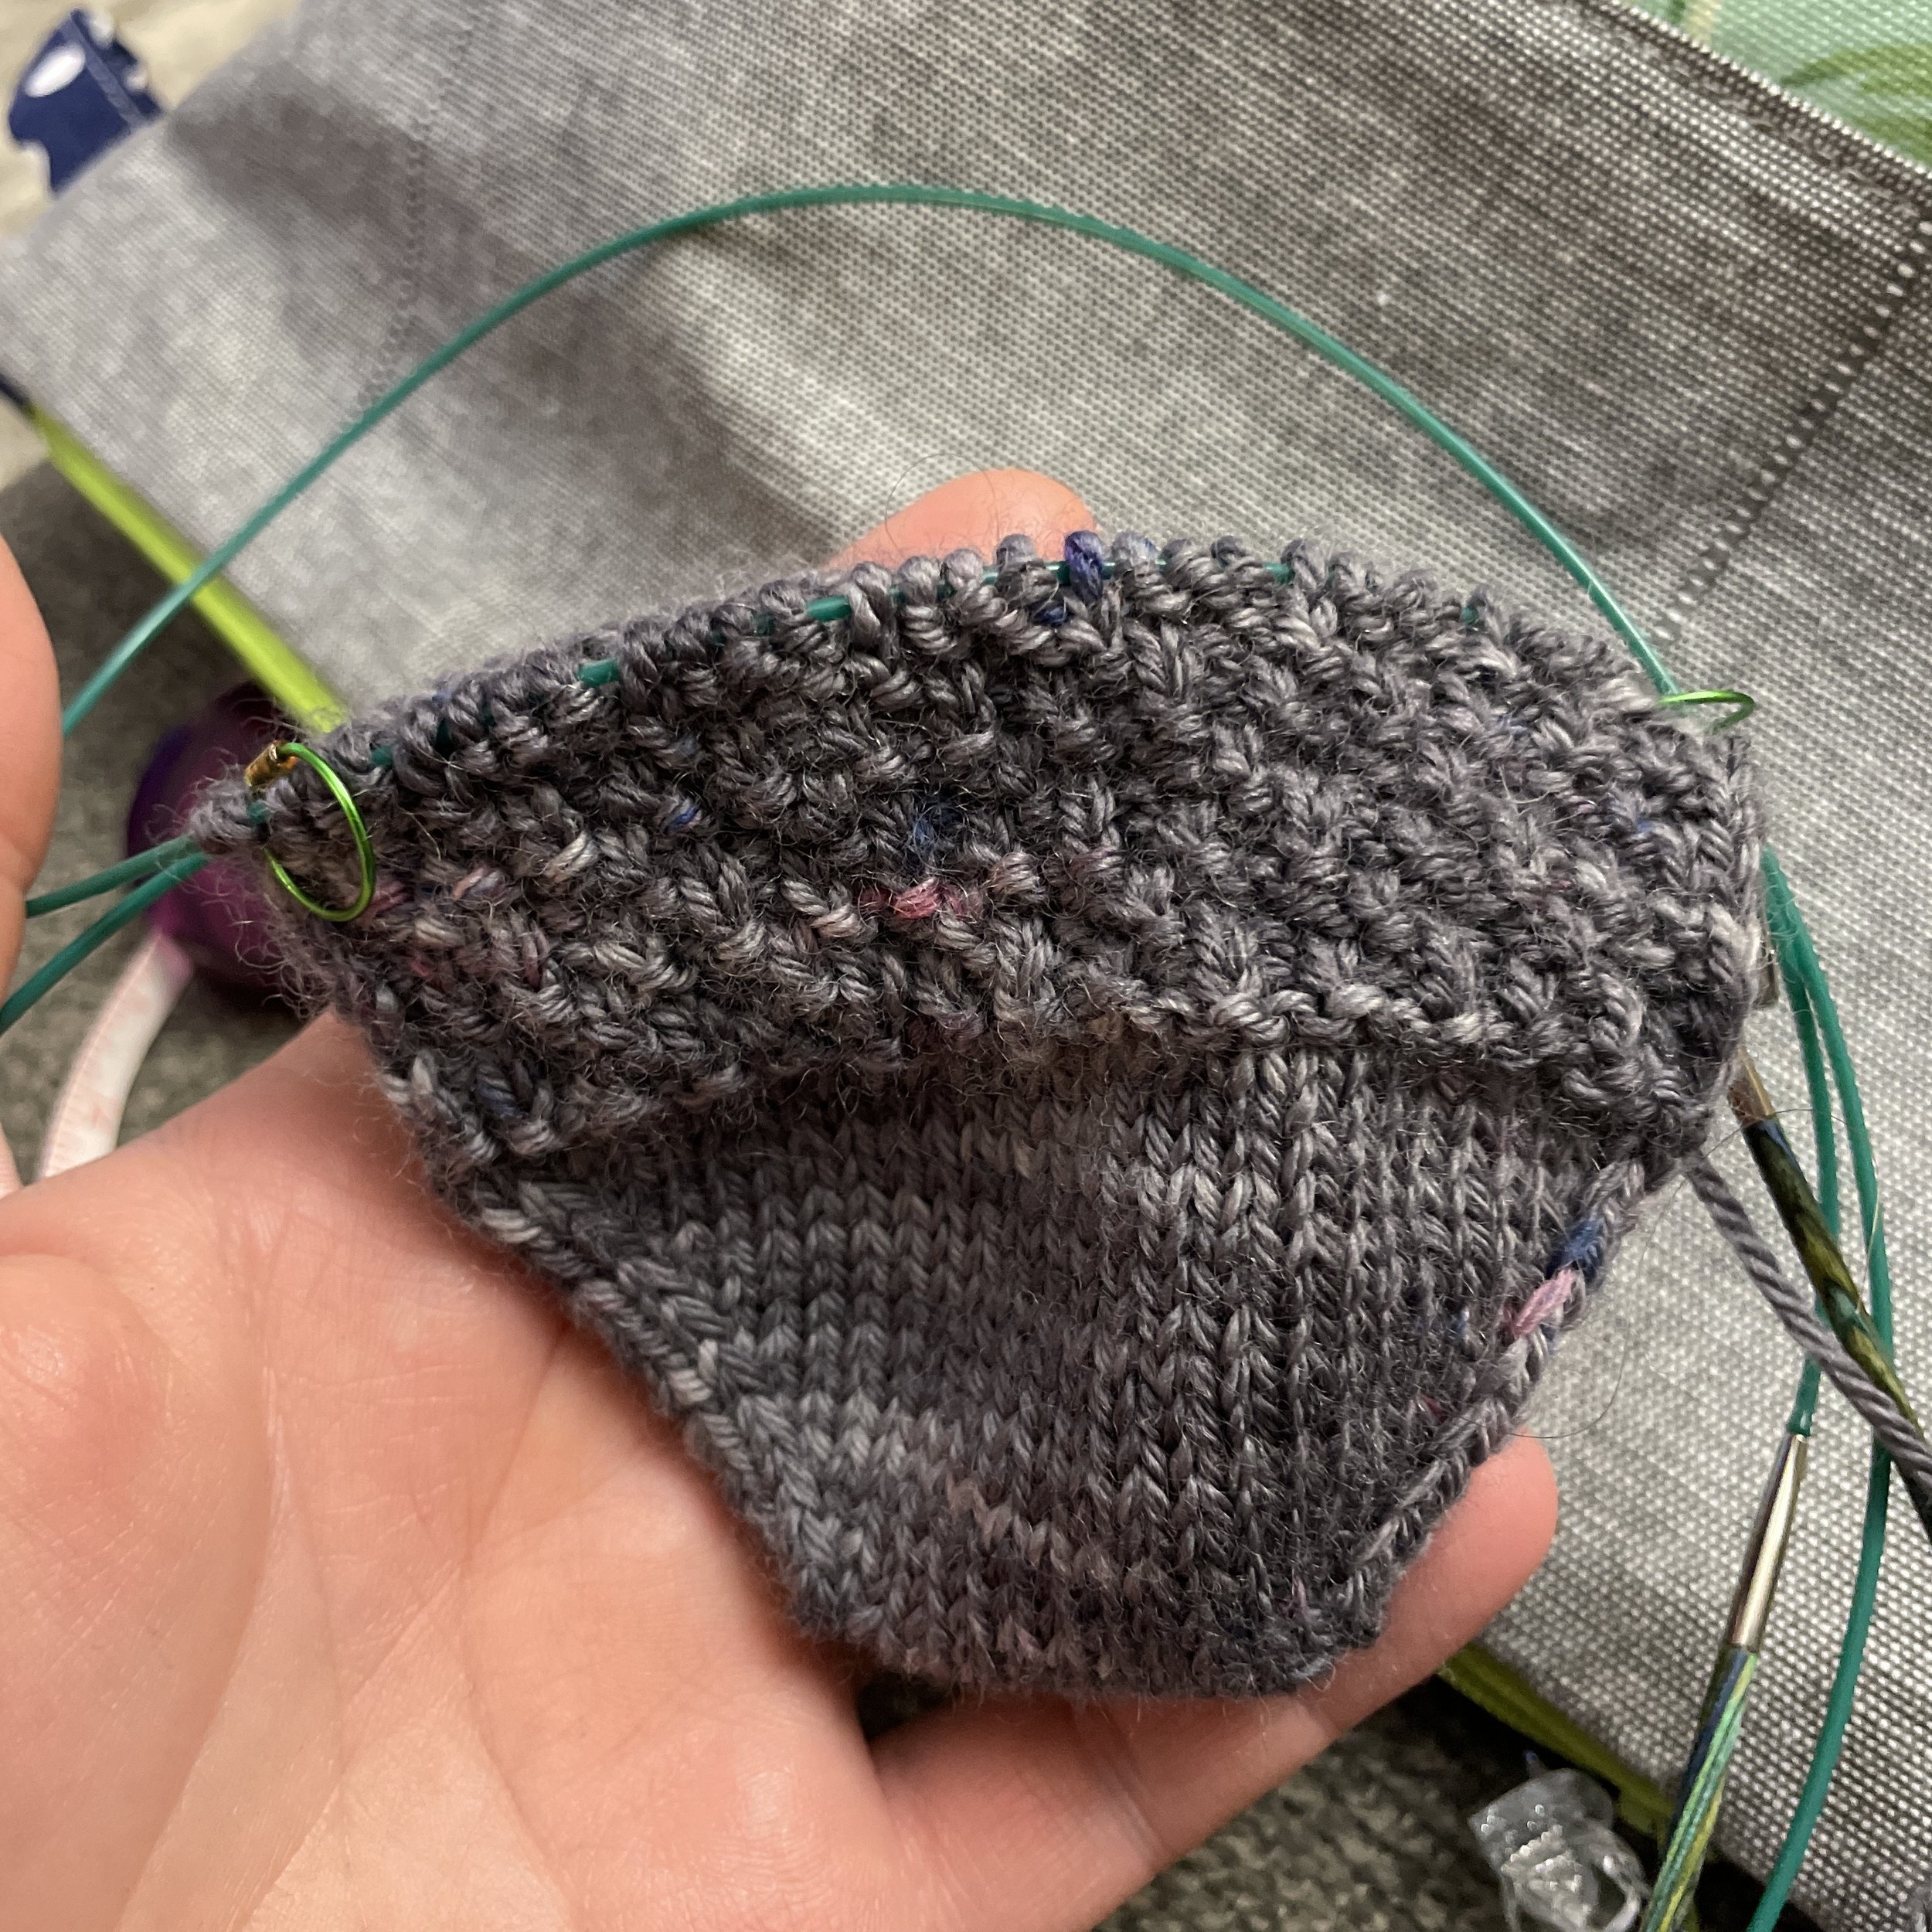
Two in progress toe-up socks on circular needles.

Maybe I should take a break from knitting socks for a bit. This is my second attempt at knitting what I’m calling my Low-Key Halloween Socks. I frogged my first try because my gauge was wildly different from the pattern I wanted to use. This time, I modded the Smokestack Socks to fit my larger stitch count and denser gauge. Seemed to be working well until I noticed my gauge relaxed by a whole stitch per inch. Instead of starting over again, I cast on for the second sock with the smaller stitch count to see if my gauge kept the relaxed 8 sts/in or the denser 9 sts/in. A toe and one repeat in, still 9 sts/in on sock number two and .75” of difference in width. Ugh.

Should I rip the first sock back to the toe or to where it matches a gauge of 9 sts/in? Should I rip the second sock back to the toe and increase until it’s the same stitch count as the first sock? Should I rip it all, put the yarn in time out, and knit Andrea Mowry’s new DRK Everyday Cowl instead? Decisions, decisions.

Hard Reset

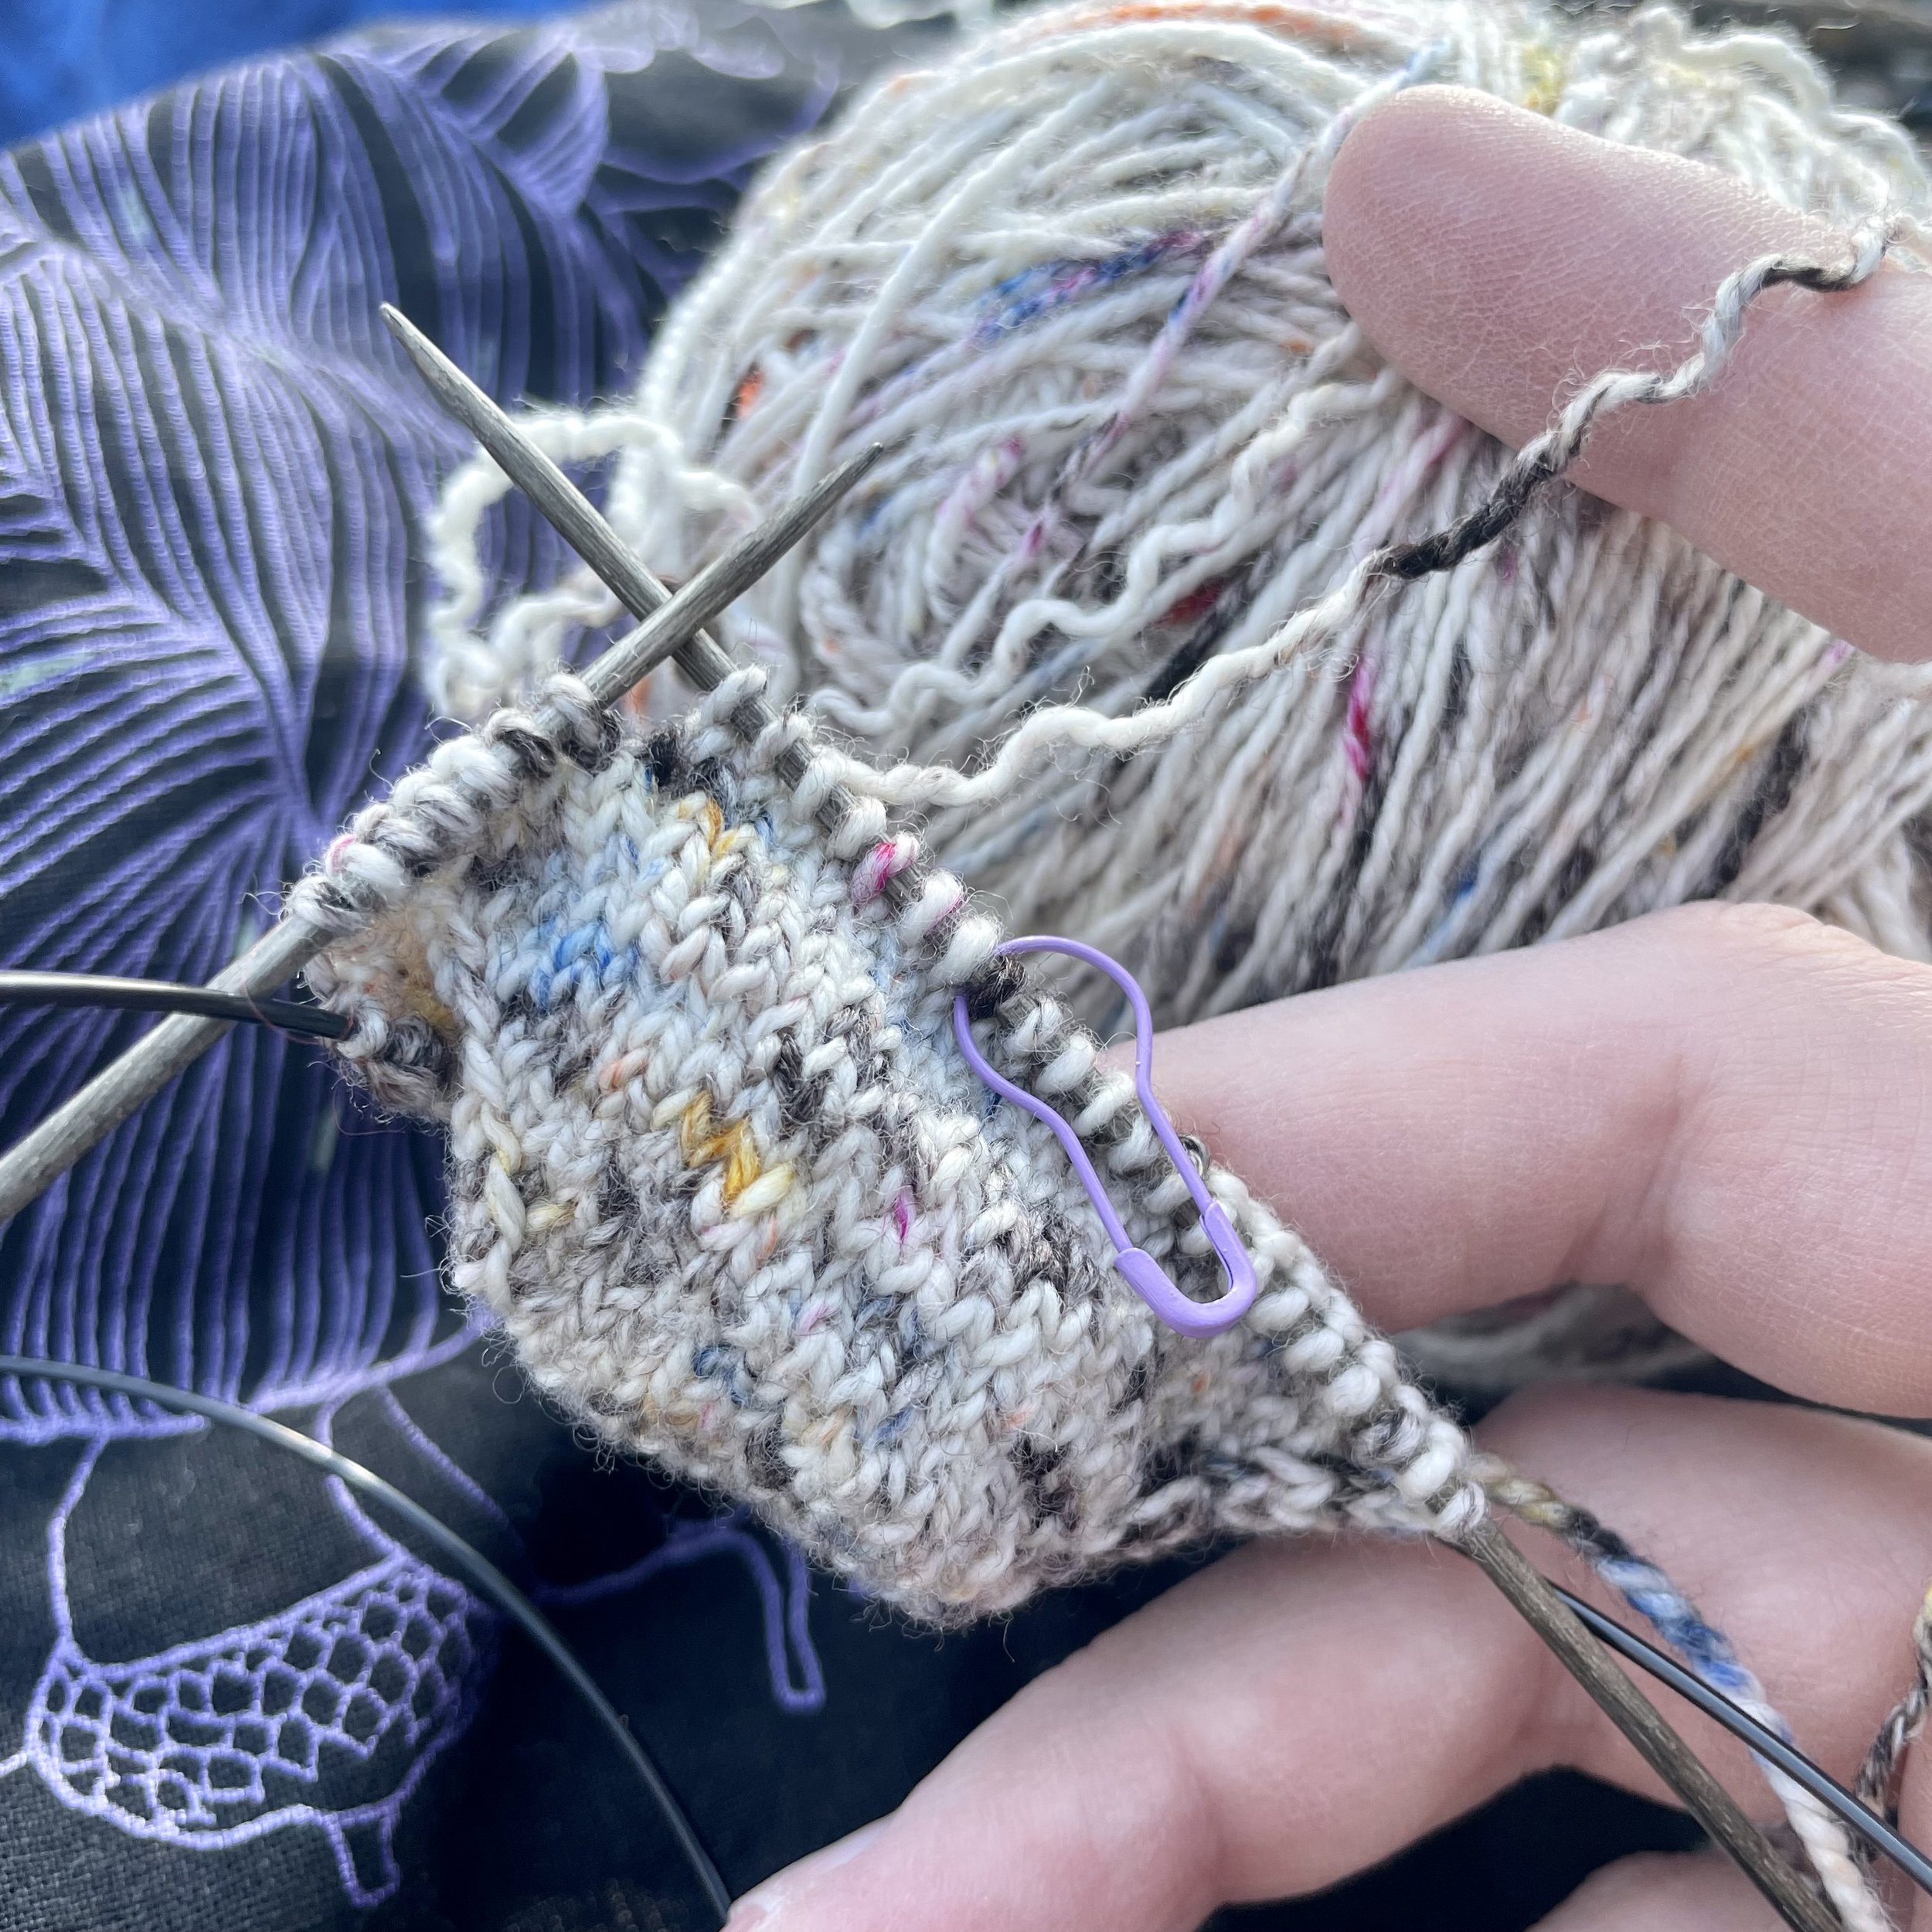
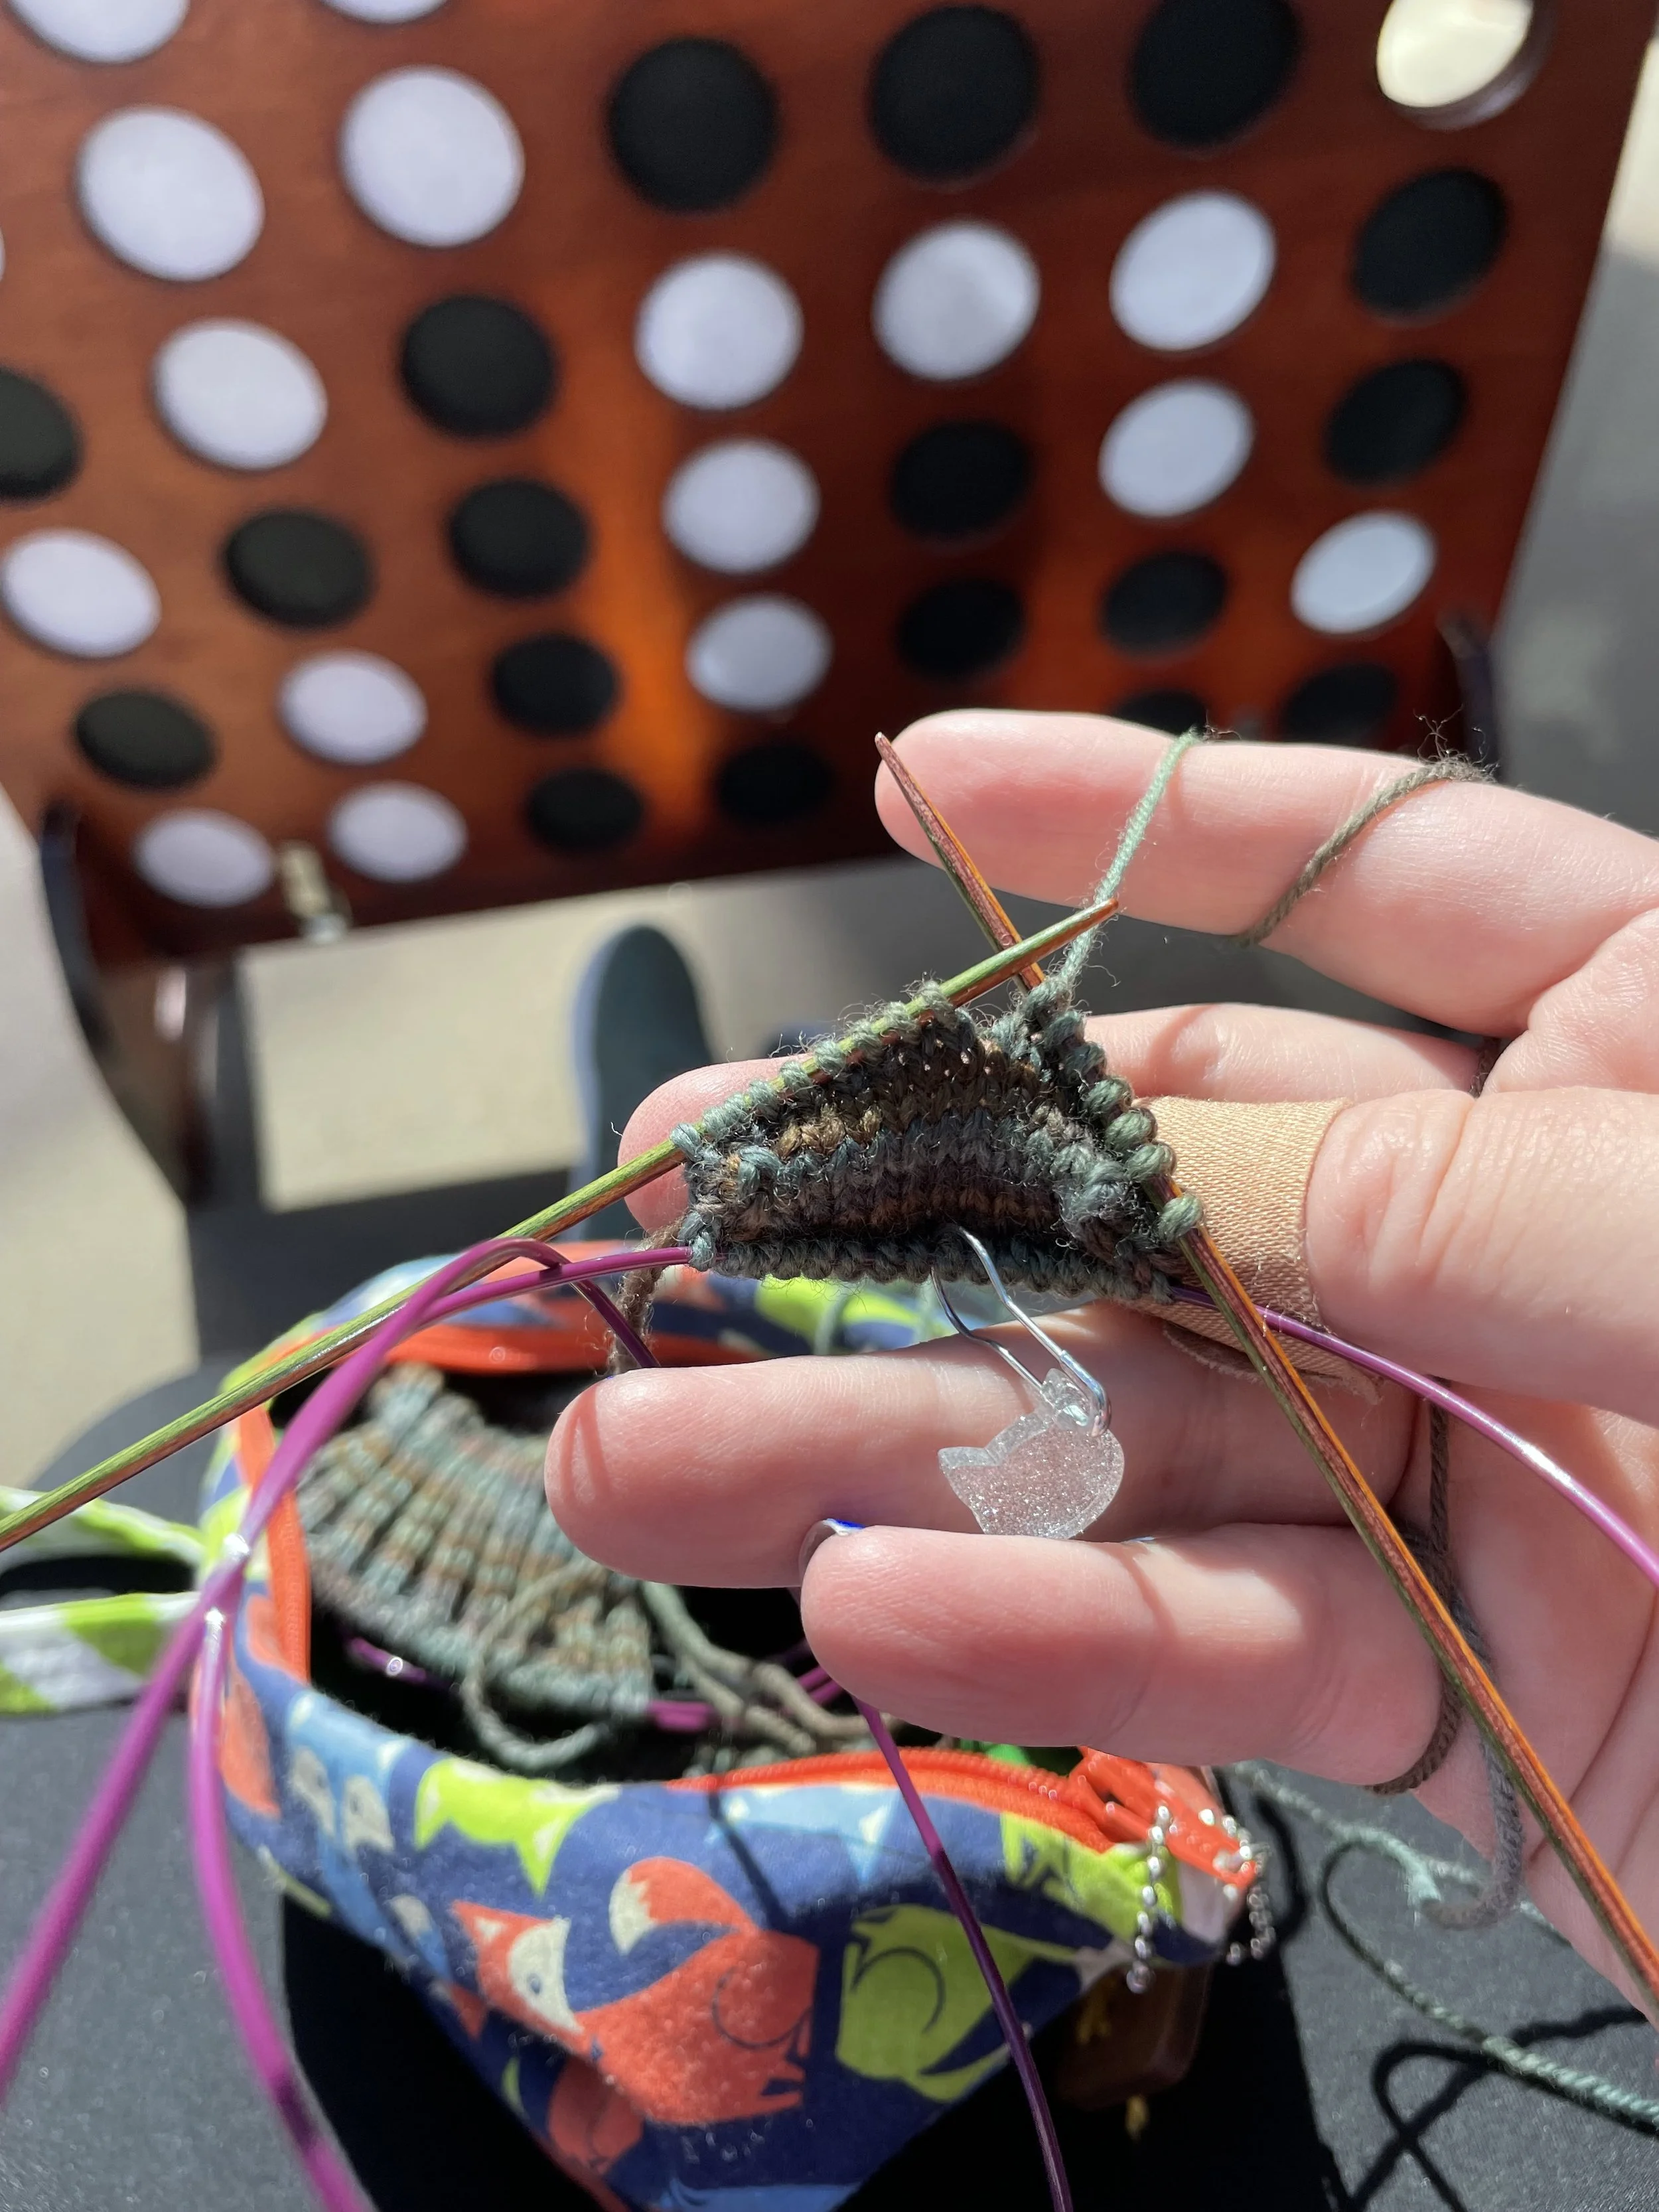
The beginnings of a toe-up sock on Circular needles in front of a spooky Project Bag and a Yarn ball.

This yarn and baby sock toe used to be a rather troublesome sock WIP, and there wasn’t even that much of it. Just the toe, an attempt at a little texture, and just enough stockinette to cover the ball of my left foot; however, the mental space the sock occupied was huge. When I cast-on, I did so with the aim of trying out the new-to-me heel of the Vanilla Reversed socks (<-Ravelry link) by Anneh Fletcher. The pair was supposed to be a simple knit, but that definitely didn’t happen. My gauge was nowhere near the pattern’s stitch or row gauge. Since I’d never knit this type of heel before, I had no idea how to adjust the numbers and measurements to make them fit this drastically different gauge. So, the sock WIP went into time out while I puzzled out possible solutions with no success.

One day I put the project bag in a chair when I needed room at the table. Then I just left it there and, basically forgot about it, until I needed to move the chair. I’d see the project bag, get the mental ping asking if I’d figured it out yet, but the answer was always nope. That got old fast and loomed a little larger in my head every time. Never got around to moving the bag somewhere else though.

I eventually had the brain space to poke at this WIP. The answer wasn’t a spreadsheet or a complicated formula. The answer was try the pattern again later with a different yarn that matched the gauge, or at least came close. I still wanted to use this yarn though. So I frogged the whole thing and changed everything except the needles. I’m using a different yet still spooky project bag, a favorite pattern, and a completely new tape measure. The old setup just made me tired and needed a hard reset back to zero. This new bundle makes me excited, and I’m happy to finally have some knitting I can stuff in my purse again.

The Giant Blue Crochet Basket

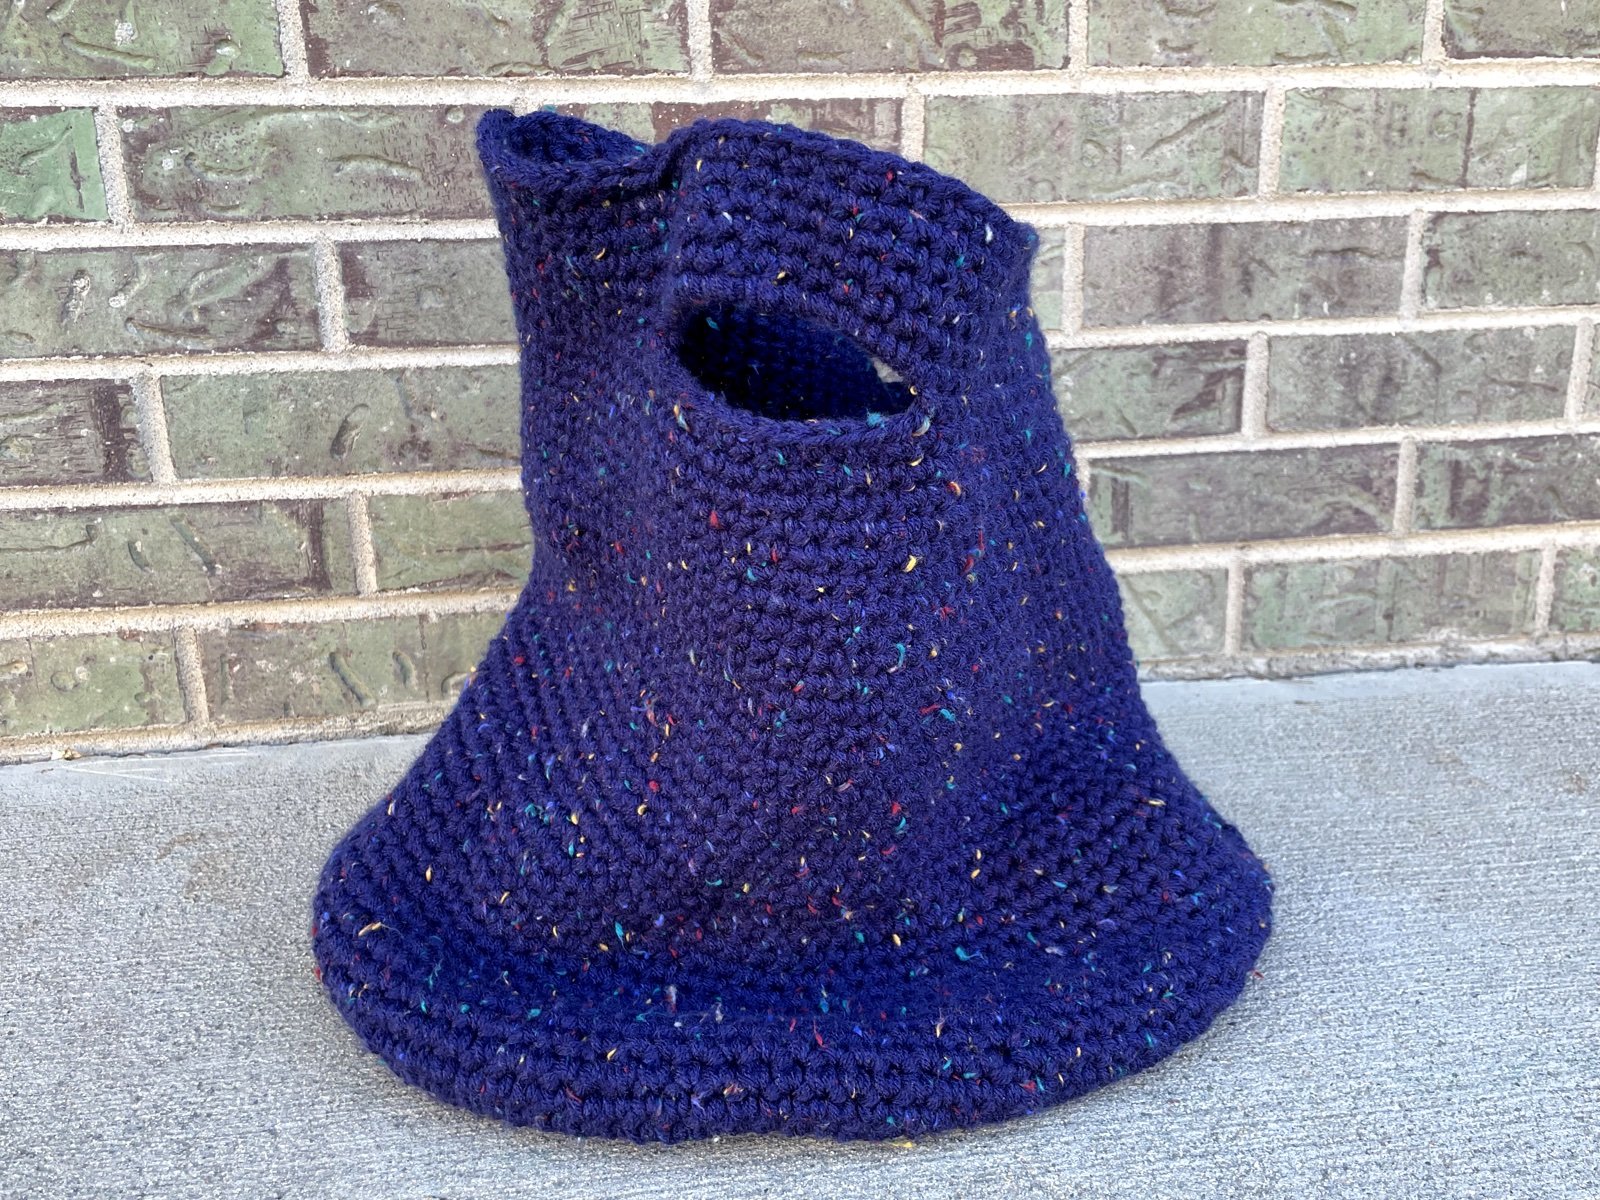
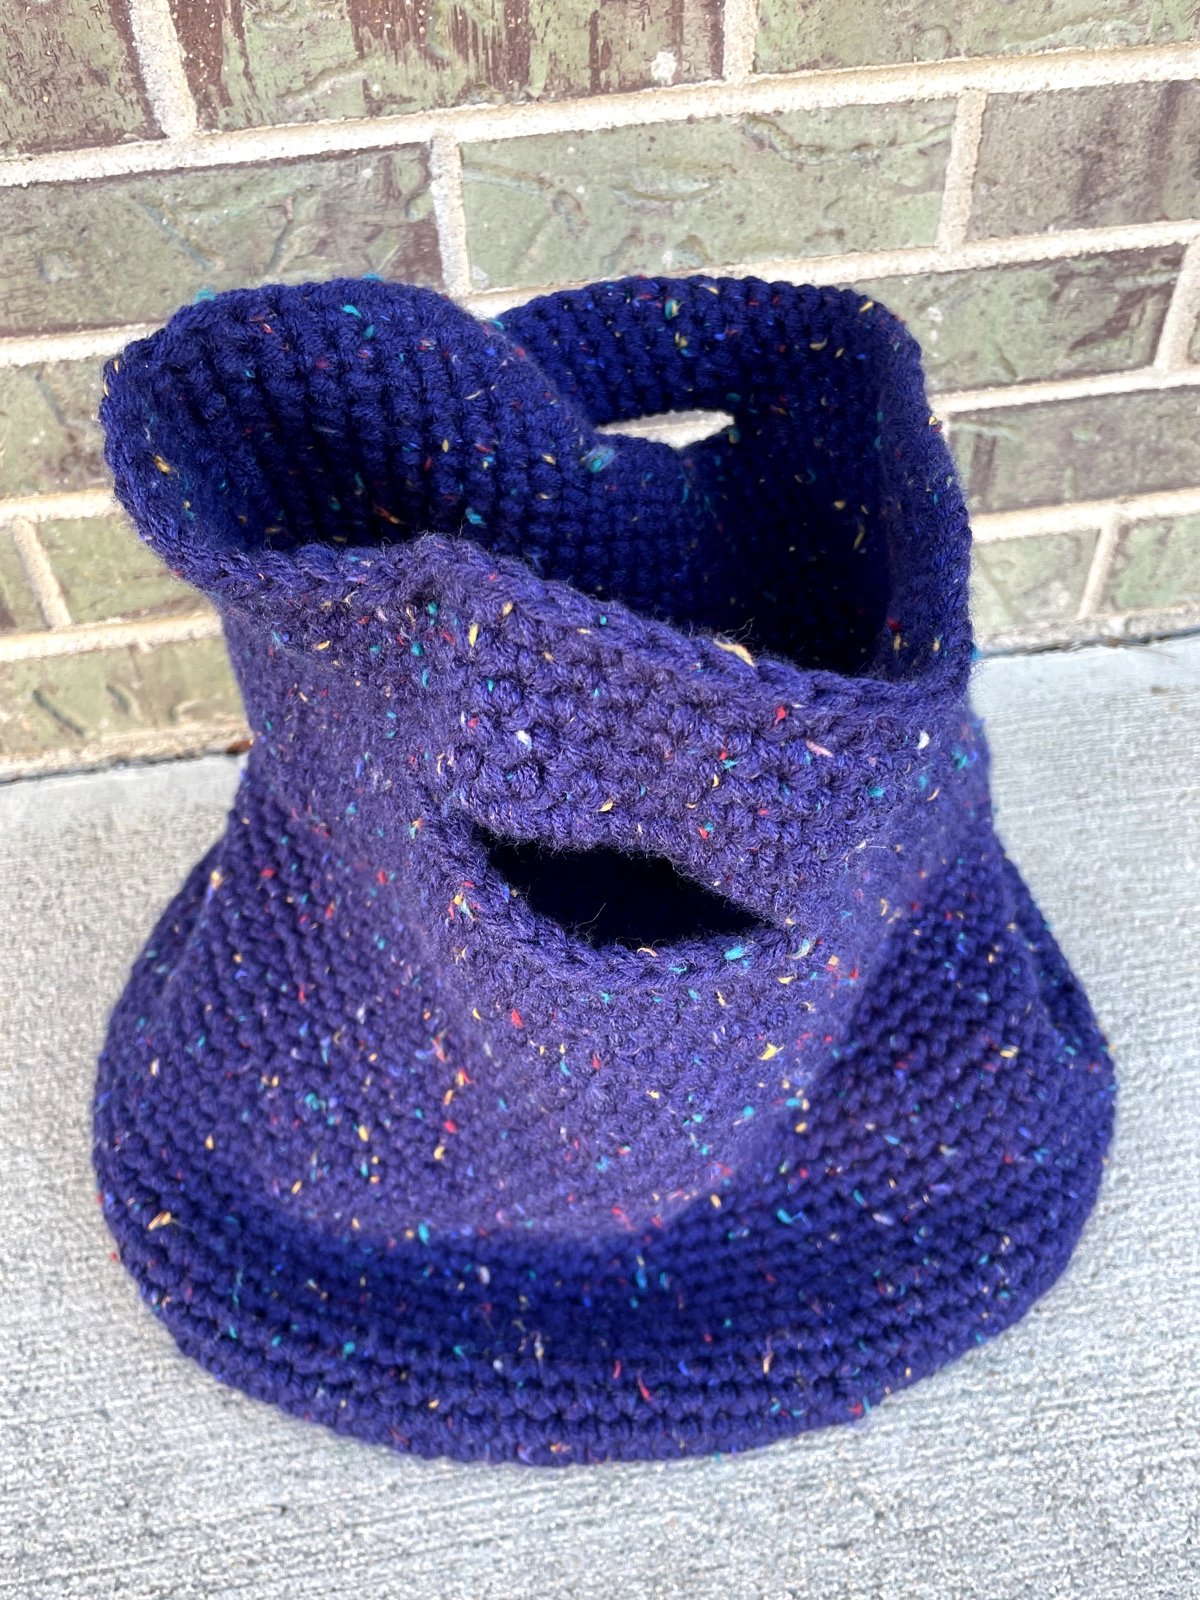
A large, floppy, and oddly shaped crochet basket made with tweedy navy blue yarn.

I fell down a bit of a rabbit hole a couple of weeks ago - a big blue crocheted one at that. Crochet baskets have been popping up a lot recently on my various feeds, YouTube binging, and algorithms. This time, instead of filing the idea away for later, I really had to make one. When I had an opportunity to go stash diving for yarns to make a giant, scrappy basket, I pulled out enough yarn to make four! All different sized baskets, of course. And I might have bought a skein of puffy cotton yarn and some wood basket bottoms to try something completely new to me.

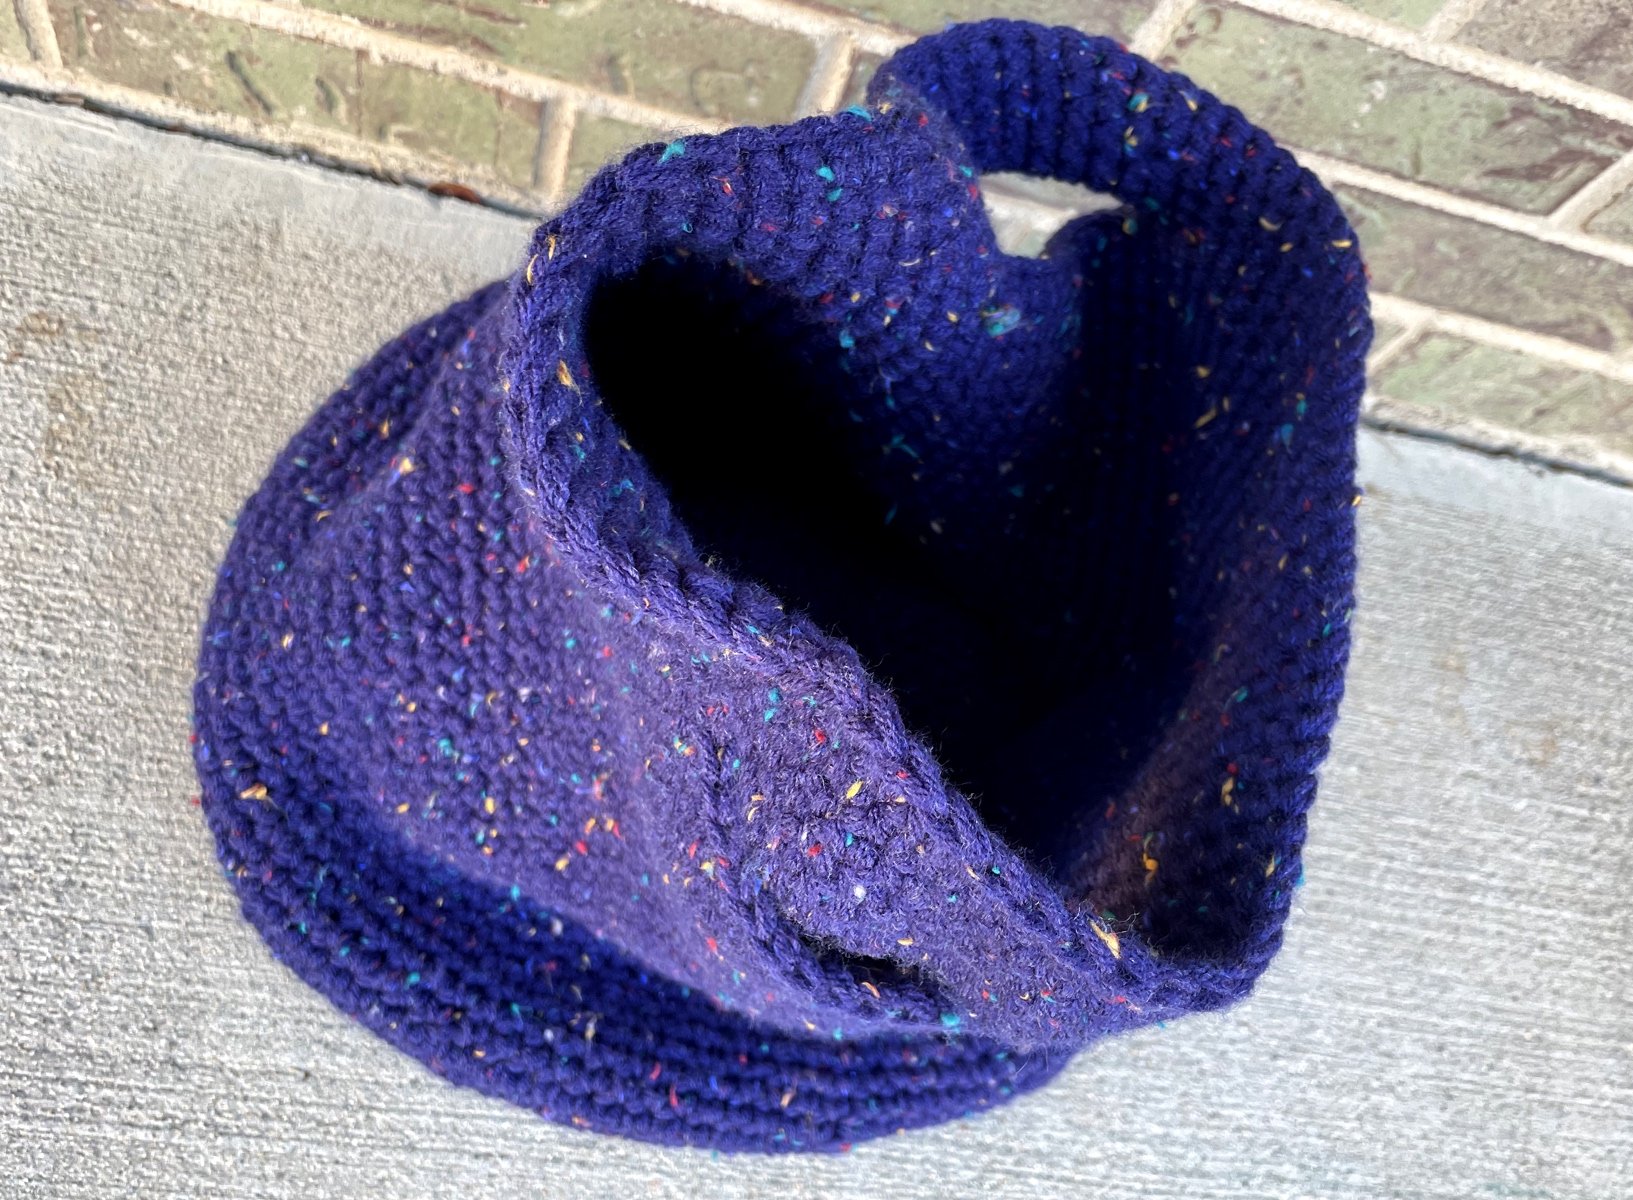
A large, floppy, and oddly shaped crochet basket made with tweedy navy blue yarn.

I very loosely followed along with a pattern in a video so I could figure out what I was doing. The basket turned out looking like an upside down chef’s hat instead of a cylinder, but I was eyeballing most of it and wanted to try something new. I also didn’t feel like ripping back hours of work spent with this dark navy blue yarn. The upside is that I know how to do a better job on the next one. Plus, this giant, blue thing is weird and I love it. Making it helped me get reacquainted with the movements of crochet - making chains and so much single crochet - which was one of my main goals when I started. I’m also thrilled that I was able to use over 1,000 yds of yarn that I wasn’t sure what to do with until a few weeks ago. Now I’m looking at my yarn stash in a whole new light.

A large, floppy, and oddly shaped crochet basket made with tweedy navy blue yarn.

A large, floppy, and oddly shaped crochet basket made with tweedy navy blue yarn.

Somehow, making this giant wasn’t enough. All of my current knitting WIP’s need a bit of work to get back to easy, autopilot status and I’m not up for that at the moment. So I grabbed a hook and another skein of of yarn - a much smaller one - and got going. I’ll show that basket and at least one more off in my next post.


This post contains an affiliate link which means, if you decide to buy through that link, I’ll get a small commission at no extra cost to you. Thanks!

Knitting Goals for 2023: Update

2023 is swiftly chugging along, and so are my knitting and crafty goals. Well, some of them are. The rest I haven’t touched yet and that’s okay.

1. Knit fun stuff for me, not just others.

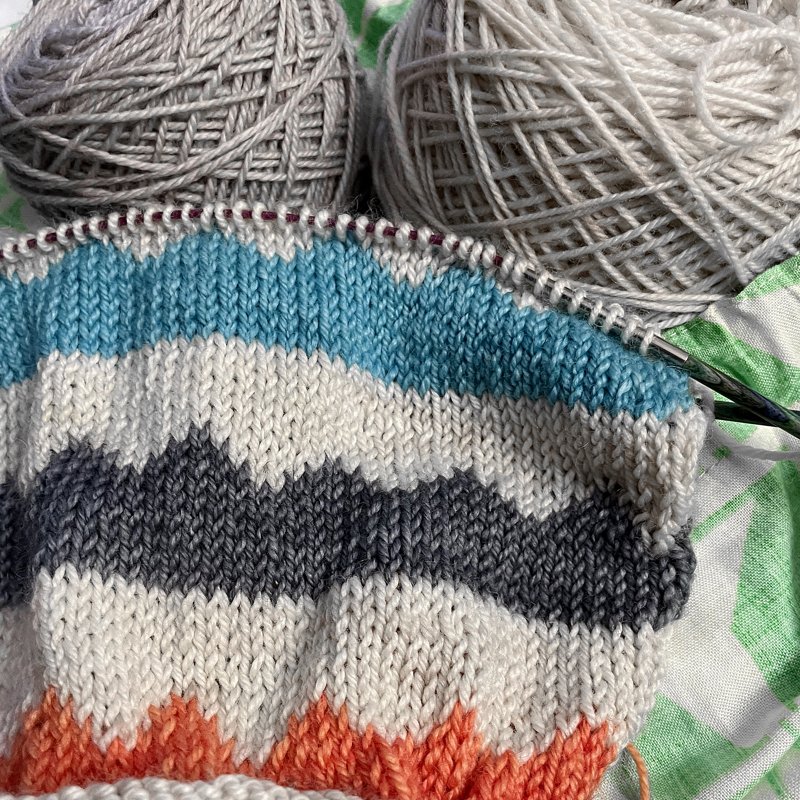
3 repeats into the Candy Mountain Cowl and still very much at the beginning. An orange stripe, Dark Grey Stripe, and A light Blue Stripe with Taupe as the Main Color.

So far this year I’ve started a pair of socks, more on those later, and the Candy Mountain Cowl (<- Ravelry link) just for me! It’s nice to have a big project and a small to switch between.

2. Knit with new yarn while it’s exciting.

The Bearded One got me a mini skein kit from Hazel Knits for Christmas. Instead of putting the yarn on a shelf to admire while I worked on other things, I paired it a full skein in light, neutral taupe. I love how it’s working up in the Candy Mountain Cowl so far.

3. Knit with really old stash.

Haven’t had to dig deep down for anything just yet.

4. Just knit - not every day, but most days.

I set up a daily tracker in my planner to track all sort of random things - like if I knit that day. So far I’ve knit on 33 days of the past two-ish months. Not bad.

5. Mend holey socks.

Still the same amount of holey socks around here.

6. Finish lingering WIP’s.

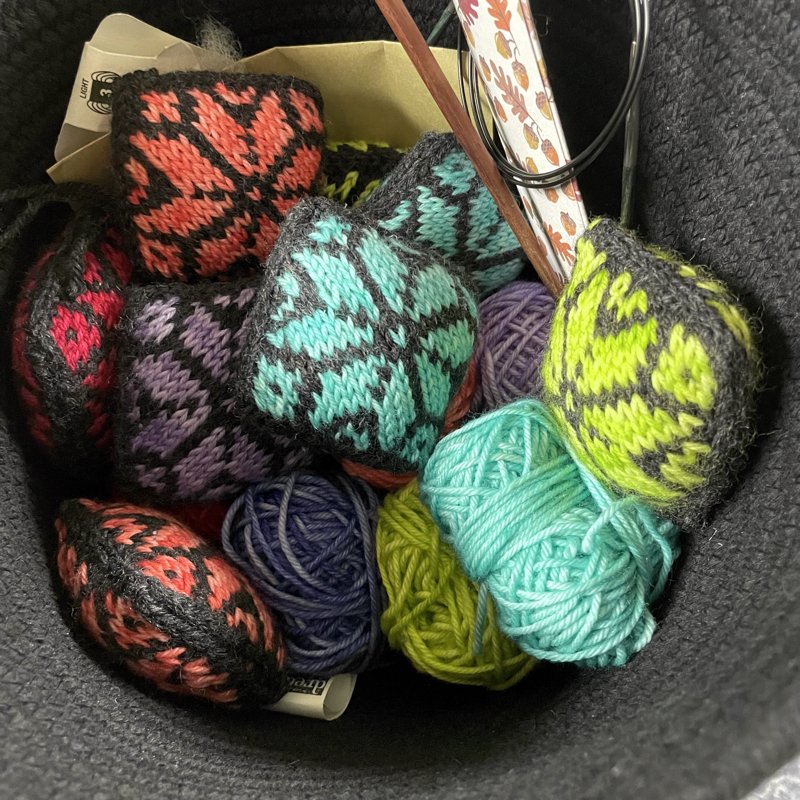
A look in my project basket showing the eight Snowflake ornaments I’ve knit so far and yarn to make more.

I picked up this lingering WIP I started at the beginning of 2022. It’s definitely scratching that itch to knit color work.

7. Knit a blanket for a friend.

All the upfront planning is done, and I’ve got the first few pieces knit and blocked. Haven’t knit on it in the past few weeks though because I’ve been busy trying to finish gift knits with more pressing deadlines.

8. Try knitting different sock heels.

A toe-up sock on the needles laying on top of a halloween themed project bag.

So far, I’ve paired the shadow wrap short row heel with a mini gusset (looking forward to trying it again) and I’m in the middle of knitting a strong heel toe-up. I’m trying to follow the Vanilla Reversed Socks (here’s a Payhip link too) but my row gauge and the pattern row gauge are very different. Figuring out how to tweak the directions for a heel construction I’ve never knit before has been a struggle. I’m not giving up on it though.

I also picked up Andrea Mowry’s DRK Everyday Socks to give the Fleegle Heel another try. The last time I knit that particular heel was when I was just learning to knit socks. Seems fair to give the construction another try now that I have a better idea of what I’m doing.


As for my non-knitting but still creative goals, I’ve got a few I’d like to share here too.

  • Get my spinning wheel out of storage, clean it up, and spin some yarn. As of 2/21/23: It’s still waiting on me.

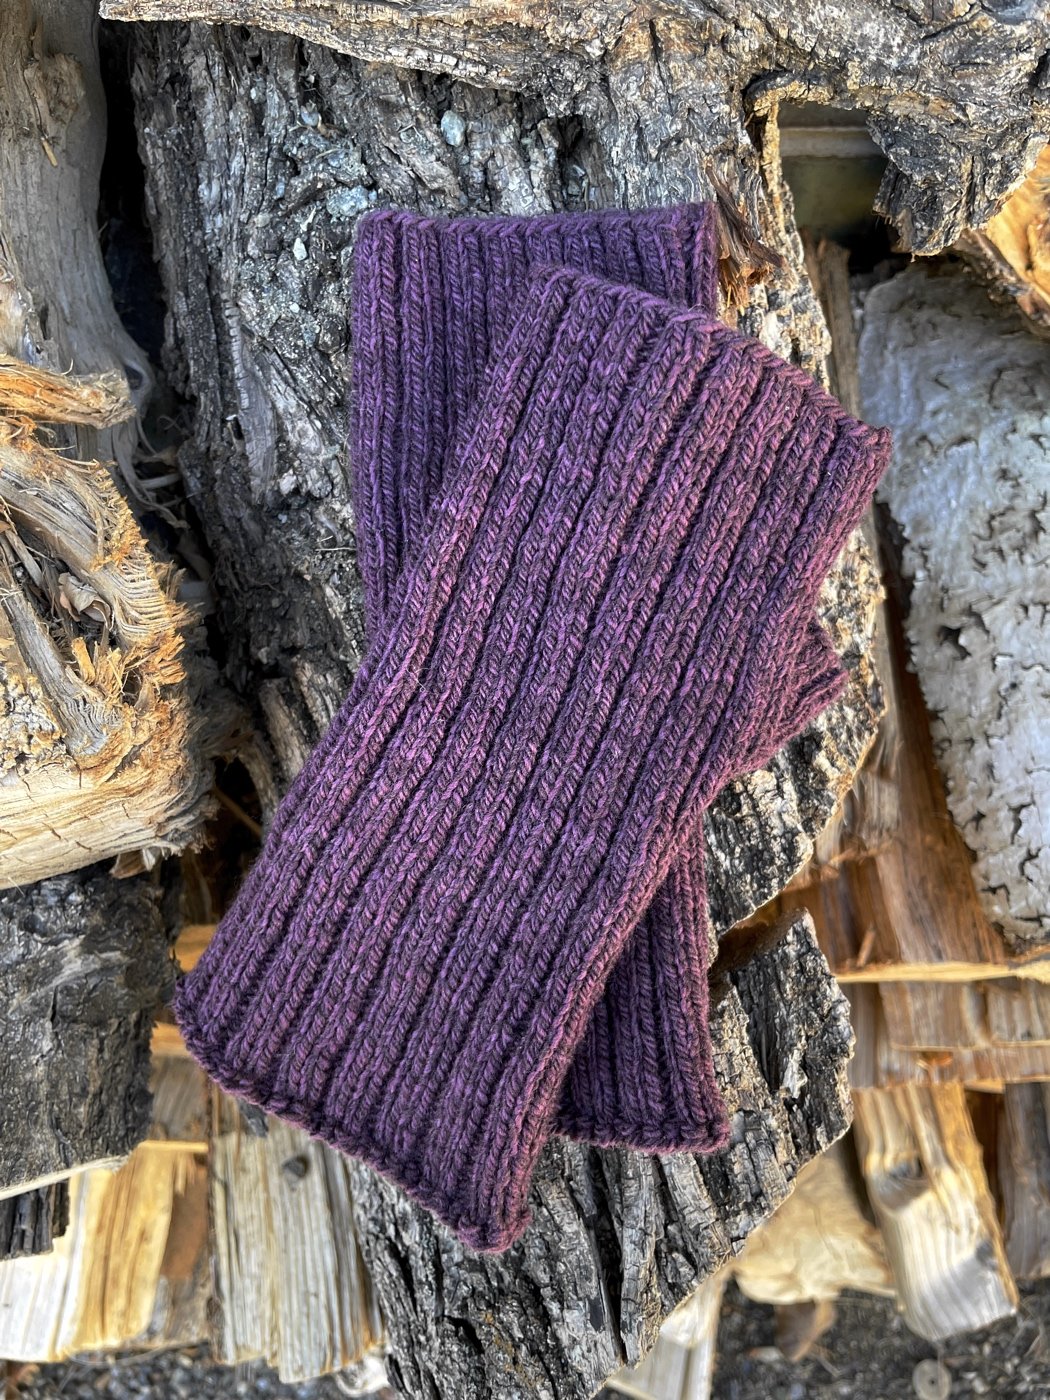
A pair of purple fingerless mitts laying on top of a log.

  • Publish three knitting patterns. I even know which three I’m going to work on.

    As of 2/21/23: Think I’m going to modify this goal a bit. Instead of published three patterns, I’m going to design three patterns and maybe publish them. This change in thinking is courtesy of a pair of fingerless mitts I had the pleasure of designing from scratch as a gift. I might publish it. I might not. Haven’t decided yet.

  • Set up a shop on Ko-Fi to as a Ravelry alternative. You can download all of my knitting patterns here on WithWool, but it’s not a shop. Ko-if makes it easy to pay what you want, and I’d like to give it a try.

    As of 2/21/23: Waiting on that first new/updated pattern for this to really be a priority.

  • Blog more by focusing on shorter posts instead of saving everything up for one long post that I’ll never get around to publishing.

    As of 2/21/23: I’d say I’ve been doing better at blogging this year thanks to keeping things short. This is my 4th post of 2023, when I only published 11 times in all 2022.

I feel pretty good about what knitting and crafty goals I’ve accomplished so far while also keeping up with the day-to-day and my other projects. Think I can keep this up too which is good news for the rest of 2023. How are your crafty goals and projects for the year turning out?

Too Pointy - Musings and Experiments with Short Row Heels

At the time I’m writing this sentence, I’ve knit a total of three short row heels. Not a big sample size, I know, but I have a few thoughts. There are some definite pros to a short row heel:

  1. A short row heel takes way less time to knit than a gusset and heel flap.

  2. A short row heel, even with a mini-ish gusset, requires way less yarn than a gusset and heel flap.

  3. The pattern of self-striping yarns is not completely distorted because there are minimal (or no) increases.

I’ve also come across a few cons for the construction:

  1. The method you choose for working the short row is incredibly important so you don’t end up with gaps at every turn.

  2. Accommodating a higher instep can be frustrating since you’ll need to add a tiny or mini gusset. How many stitches should that gusset have? When do you start it? That’s no different than working a gusset and heel flap. For me, at least, I’ve knit so many heel flaps, that I can almost do that math in my sleep. For short row heels, I’m still figuring that out.

  3. The shape of a standard short row heel (hourglass, yo-yo, whatever you like to call it) is too pointy at the fold where you’d start working longer rows again. Here’s an example to show you what I mean:

A toe-Up hand knit sock with a Short row Heel still on the needles.

Looks like a totally reasonable short row heel. I’m using the shadow wrap method for this one. Now let’s look at it on a foot.

There’s all this extra fabric hanging around. Maybe I could solve this by working more short rows so that the very center of the heel is narrower. Instead of working until about 1/3 of the stitches is left unwrapped in the middle, I’d aim for about 1” of stitches and make the heel deeper. My math for toe-up gusset and heel flaps uses 1” of stitches to know where to end the heel shape. That number works for a gusset and heel flap, so maybe it’ll work for a short row heel too.

A diagram of the Standard Short row Heel SHape on Top and the Short row shape I want to Make.

A diagram of the Standard Short row Heel SHape on Top and the Short row shape I want to Make.

I didn’t want this pair of socks to linger because than kiddo might out grow them before I can finish. So I decided to solve this too pointy problem by recreating a style of short row heel I’ve seen on some commercial knit socks. Instead of just the two wedges you usually see, like the drawing on the top, I wanted to add a narrow band that sits between the first wedge and the second wedge. The drawing on the bottom shows what that would look like when complete. My hope was that this band would give the short row heel a rounded shape that would hug the heel.

A finished Pair of Hand knit socks with a Modified Shadow Wrap Heel

It took a little bit of trial-and-error to get this added shape to work with a shadow wrap heel, but I finally got that little band in the middle! You can barely tell a difference when the sock is laid flat, but the fit is massively better. The heel is not too pointy and there are no little mouse ears poking out at the sides either. I am thrilled this worked. I have a few other ratios and shapes I’d like to try for this center band, but this is a good first step. I’m looking forward to working on this heel modification a bit more.

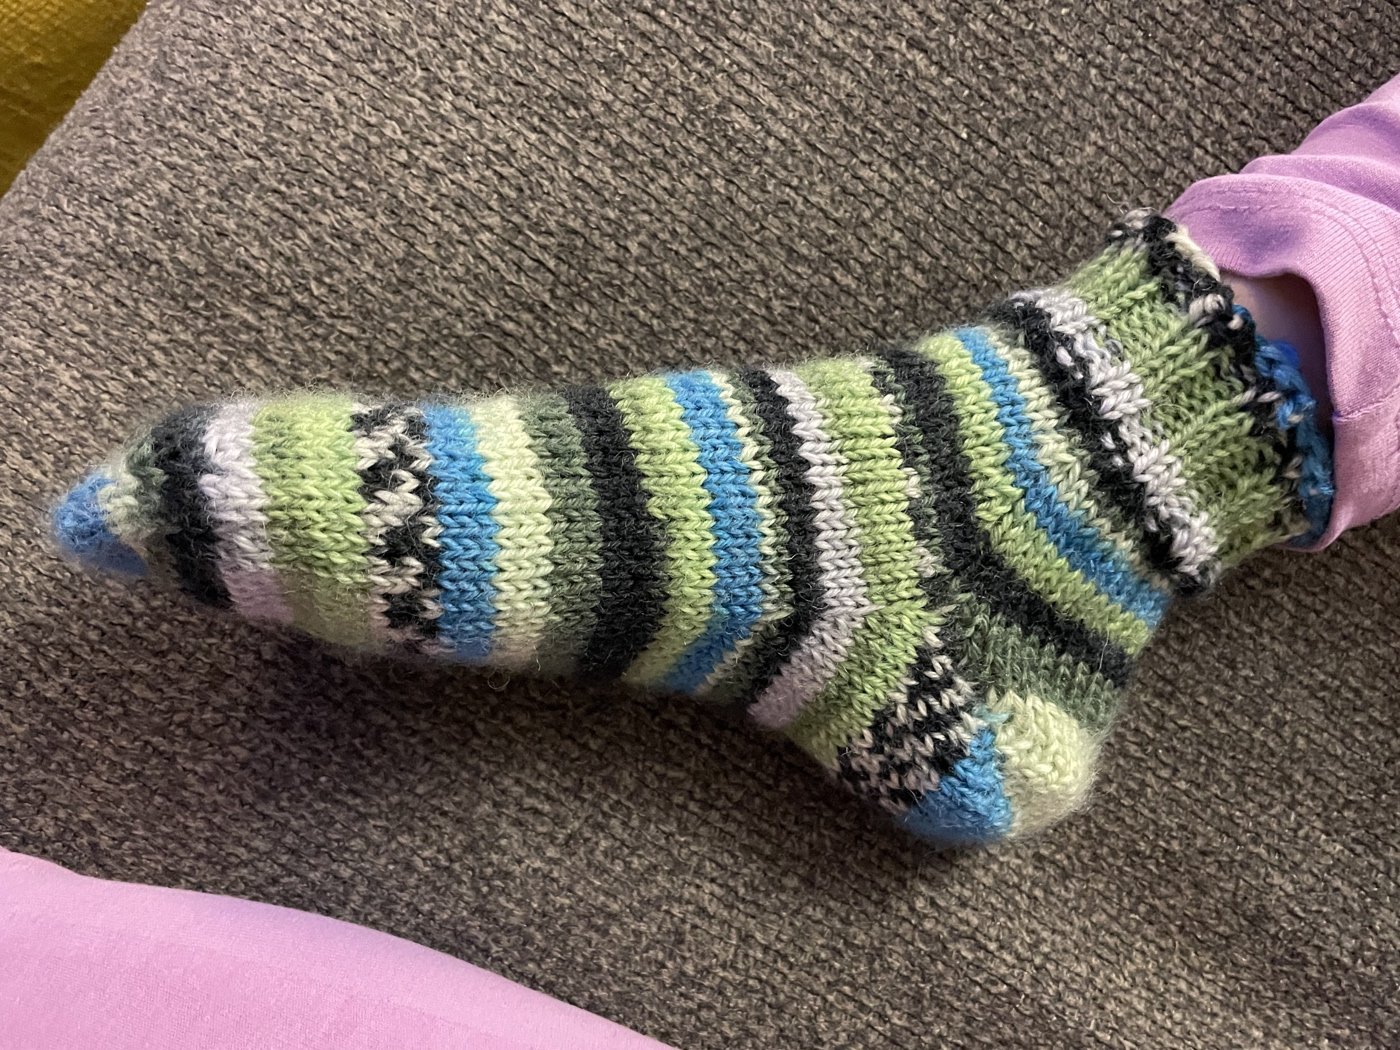
On A foot, The modified Shadow Wrap Heel is noticeably More Rounded and Cups The Heel Better.

On A foot, The modified Shadow Wrap Heel is noticeably More Rounded and Cups The Heel Better.

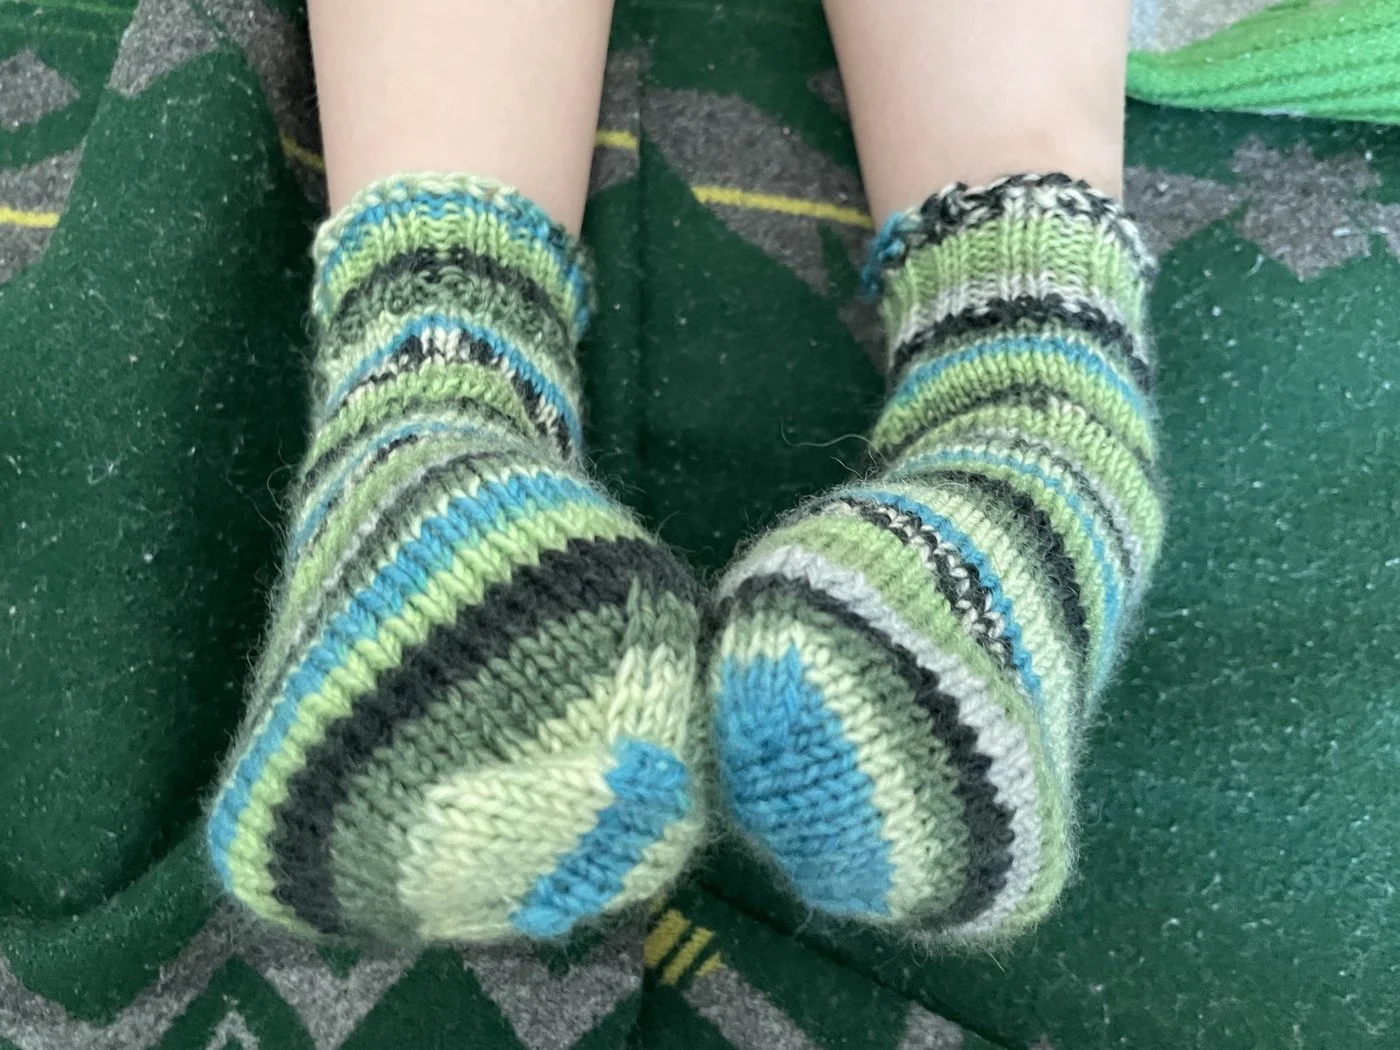
In the mean time, the kiddo gets to wear these awesome socks. There was a brief period of time where she decided she didn’t like them after they were finished. Ughh. But she’s come around and has actually picked them out to wear for the day without any prodding from me. I’ll call that a win.

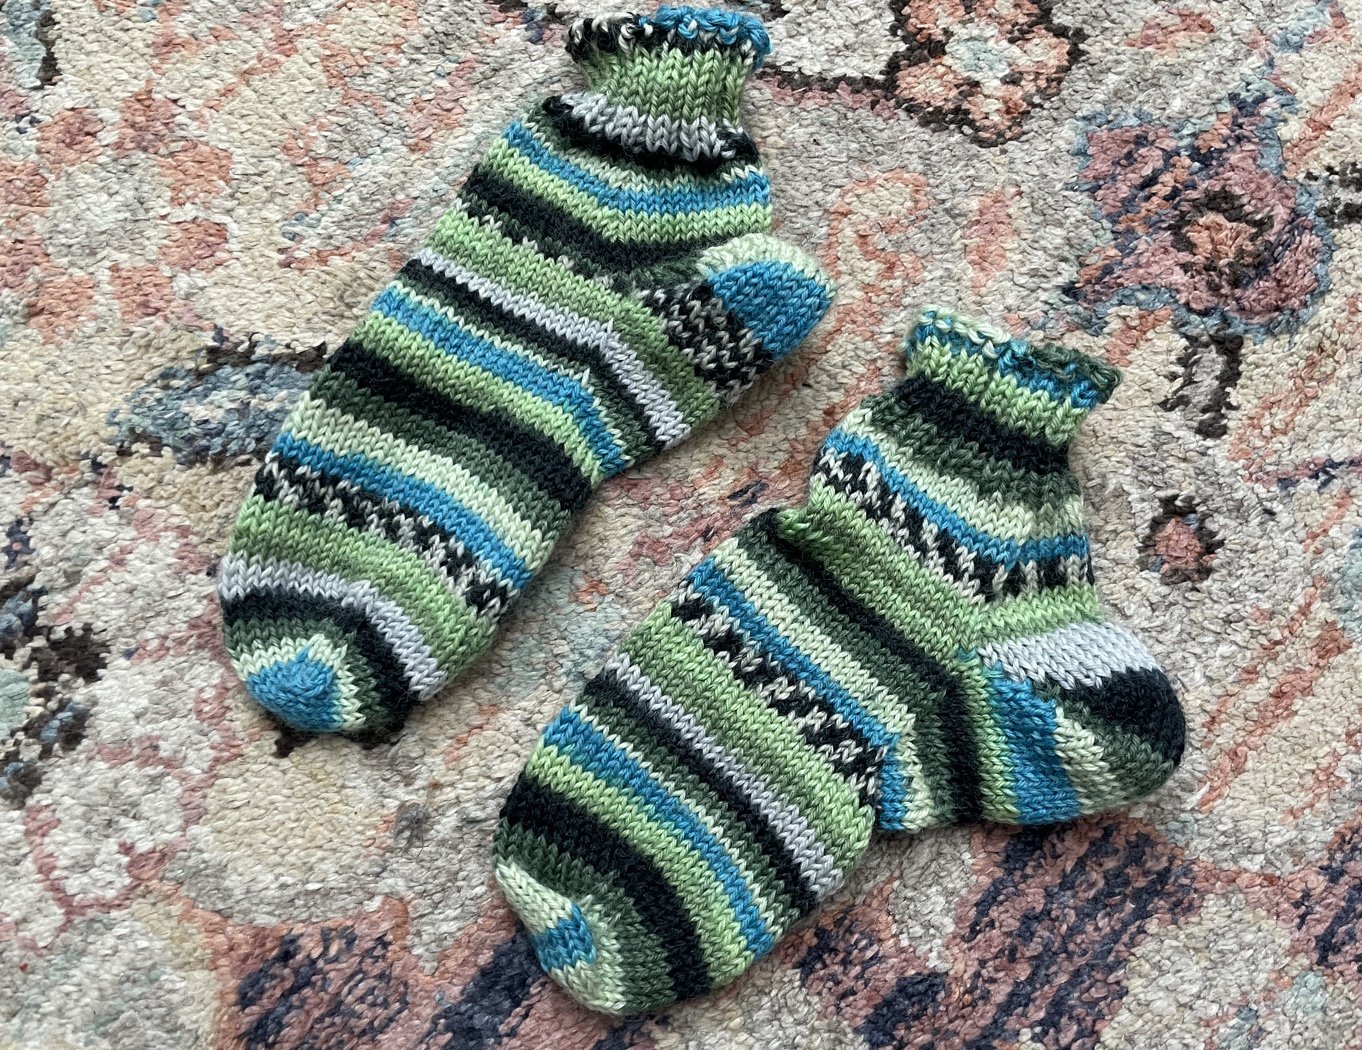
The finished hand knit socks with plenty of room to grow into.

The finished hand knit socks with plenty of room to grow into.

The Specs:

Pattern: My in-progress vanilla short row heel sock

Yarn: Adriafil Knitcol - 67

Yardage: 129 yds

Needles: 2.75mm circulars

Dates: December 27, 2022 - January 11, 2023

FO: Diamond in the Rough Socks

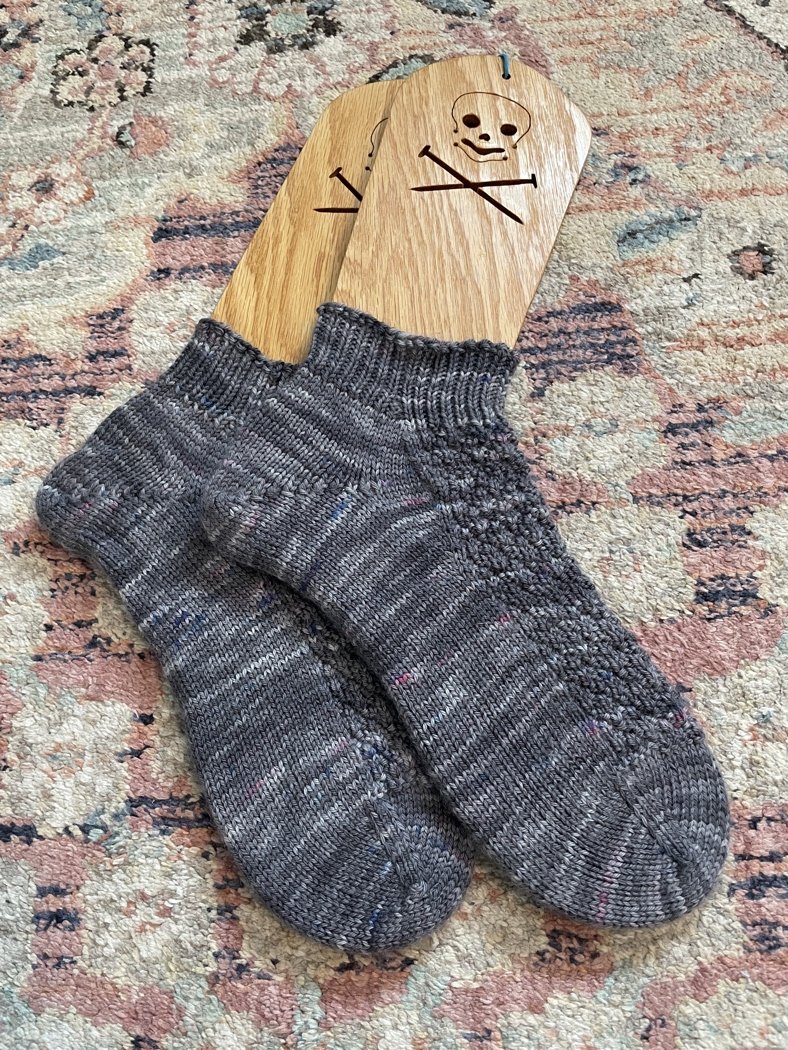
A pair of hand knit socks on a pair of socks blockers.

I might have started on my 2023 goal to try out different sock heels a little early thanks to this pair of socks. After knitting a rather large pair of cabled socks on tiny needles, I was so not ready to cast on for another pair on tiny needles. But some DK weight yarn and 2.75mm needles seemed like a good place to ease back into sock knitting.

My original plan was to follow my default sock recipe: toe-up, gusset and heel flap, a cute stitch pattern on the instep, and a bit of ribbing before binding off. Unfortunately, I didn’t have quite enough yarn for a gusset and heel flap which meant a short row heel was the only option. I’ve avoided this construction in the past because the fit can be annoyingly too tight across the heel and ankle. Since my last attempt knitting a short row heel a great many years ago, I’ve seen it paired with a mini gusset and wanted to give that combination a try. First, I looked up how many stitches/percentage of stitches to increase for a mini gusset. There didn’t seem to be any real consensus. Some patterns called for increasing a scant total of 6 sts, some for 12 sts, and others said do as much as you need. Not particularly helpful. Eventually, I made a short row heel calculator in Numbers so I could do my own math. It really helped me visualize how to work a short row heel and figure out when I’d need to start the mini gusset. I decided to go with a 30% gusset, but probably could have gotten away with increasing closer to 20% since the finished socks are just a teensy bit big.

Close up of A Short Row Shadow Wrap Heel and Mini Gusset

Eventually I picked the shadow wrap heel to try for a neat and clean finish because I love lifted increases, and shadow wrap heels are all lifted increases. I was curious if the line of increases would create a noticeable seam on the inside, but I can’t say I’ve noticed it while wearing the socks. So win. I followed what seems to be the standard stitch division for knitting this heel: short row 2/3 of the stitches on each side and leave the remaining 1/3 in the middle alone. This ratio fit well enough, but didn’t really hug the shape of my heel as much as I would have liked. The spot where the short rows fold and get longer again is just a little too pointy in the corners. My brain is already plotting out options to improve the fit.

The finished socks are wonderful and I’m glad I stepped out of my comfort zone to try a different heel and a new stitch pattern. I love the texture of the Seersucker stitch mixed with this subtly variegated/speckled gray yarn. The shadow wrap heel looks really good and it’s nice not fussing about with gaps at any of the turns. I’m probably going to stick with this method for my next short row heel too. There are still some tweaks I want make to the overall fit, but I’ll fiddle with that on the next pair. Until then, I’m going to enjoy wearing these and having warm toes.

A pair of gray hand knit toe-up socks with a short row heel on sock blockers.

The Specs:

Pattern: My in-progress vanilla short row sock recipe

Yarn: Freckled Fiber Works DK - (Storm)

Yardage: 92g - 226.3 yds

Needles: 2.75 mm circulars

Dates: December 3 - 19, 2022

Knitting Goals for 2023

I’ve got so many plans and goals for this year, that I could fill a Bullet Journal keeping track of them all. And I intend too, but we’re here to talk knitting. So, here are my knitting goals for 2023:

1. Knit fun stuff for me, not just others.

This goal is pretty self-explanatory. Don’t worry, I’ve got a list filled with color work (Cowls, mitts, and hats! Oh my!), cute socks, complicated shawls, and a sweater or two to keep me busy.

2. Knit with new yarn while it’s exciting.

I have the irritating habit of buying yarn for a project and then not knitting with it because I feel obligated to finish lingering WIP’s. By the time I’m done, that new yarn/project just isn’t as exciting. Just once I’d like to jump in for the fun of it.

3. Knit with really old stash.

4. Just knit - not every day, but most days.

I set myself the Challenge to knit every day in November. When I accomplished that goal, I did it again in December. It was nice knitting, actually finishing stuff, and spending less time on my phone. I’d love to do more of that this year, whether I challenge myself to knit every day for a month or not.

5. Mend holey socks.

6. Finish lingering WIP’s.

7. Knit a blanket for a friend.

I finally found the perfect pattern after years of looking. I’ve got most of the yarn too, though now I’m on the search for a few more skeins to make it truly large and in charge. Not sure if I’ll finish it this year, but I’d like it to be mostly done.

8. Try knitting different sock heels.

The gusset and heel flap is a tried and true favorite for me. The construction fits everyone I knit socks for, and I can pretty much do it in my sleep. Same with afterthought heels. But I want to branch out and learn something new. It’s time to figure out how to make short row heels fit me. I also want to try out the strong heel and give the sweet tomato heel another shot. Plus, I’m sure there’s more heel types that I haven’t heard of, and I might want to give them a try too.

As for my non-knitting but still creative goals, I’ve got a few I’d like to share here too.

  • Get my spinning wheel out of storage, clean it up, and spin some yarn.

  • Publish three knitting patterns. I even know which three I’m going to work on.

  • Set up a shop on Ko-Fi to as a Ravelry alternative. You can download all of my knitting patterns here on WithWool, but it’s not a shop. Ko-if makes it easy to pay what you want, and I’d like to give it a try.

  • Blog more by focusing on shorter posts instead of saving everything up for one long post that I’ll never get around to publishing.

Whelp, that turned out to be about as long of a list as I expected. Sure, there’s a lot on it, but I think it’s doable in bits and pieces all year long. Is your list of 2023 crafty goals as long as mine or are you skipping the whole goal thing this year?

A Palette Cleanser

On a complete lark at the beginning of November, I challenged myself to knit every day of the month. There were a few close calls, but I always got a few rounds in on something before heading to bed. The challenge helped me cross a few holiday gifts off my list and finish a pair of socks for the Bearded One that just seemed to drag on and on. More on those beauties later.

After finishing all the projects that I could easily stuff in my bag, it was time to start a new one so I wouldn’t break my knitting streak. After spending so long knitting large socks on tiny needles with tiny yarn, I was not ready to immediately start another pair. I needed a palette cleanser that came in the form of a pretty skein of grey DK weight yarn that would be perfect for a pair of house socks for me. One can’t forgot oneself on the gift knitting list after all.

An in progressed hand knit toe-up sock with a messed up stitch pattern

Not wanting to pick the same ol’ stitch patterns I always do, I tried something new with a little bit of texture. Because I’d never knit this particular stitch pattern before, it took me a repeat and a half to figure out that I wasn’t doing it right.

Here’s a helpful tip I was annoyingly reminded of: Always check if the stitch instructions are for knitting flat or in the round.

Yeah. I was following the flat instructions for Seersucker stitch instead of for in the round. Ugh. So I ripped it back to the toe, restarted with the correct version of the stitch, and have since knit three beautiful repeats. They look they’re supposed to even if they are hiding in the grey yarn.

An October Update

It is definitely Fall around here. The weather is pleasantly cool and breezy. The leaves are changing and piling up. Thanks to a few visits to a local pumpkin patch, I’ve got plenty of pumpkins to set the mood (and carve into Jack-o-lanterns).

Library courtyards remain excellent places to cast on for second socks. I haven’t talked much about this particular pair yet, but they got me to try something new - cabling on the wrong side of the work. The process is a little fiddly, but the results - a no purl princess sole - are totally worth it. I’m thinking about writing up the pattern in a few more sizes, but we’ll see when that happens.

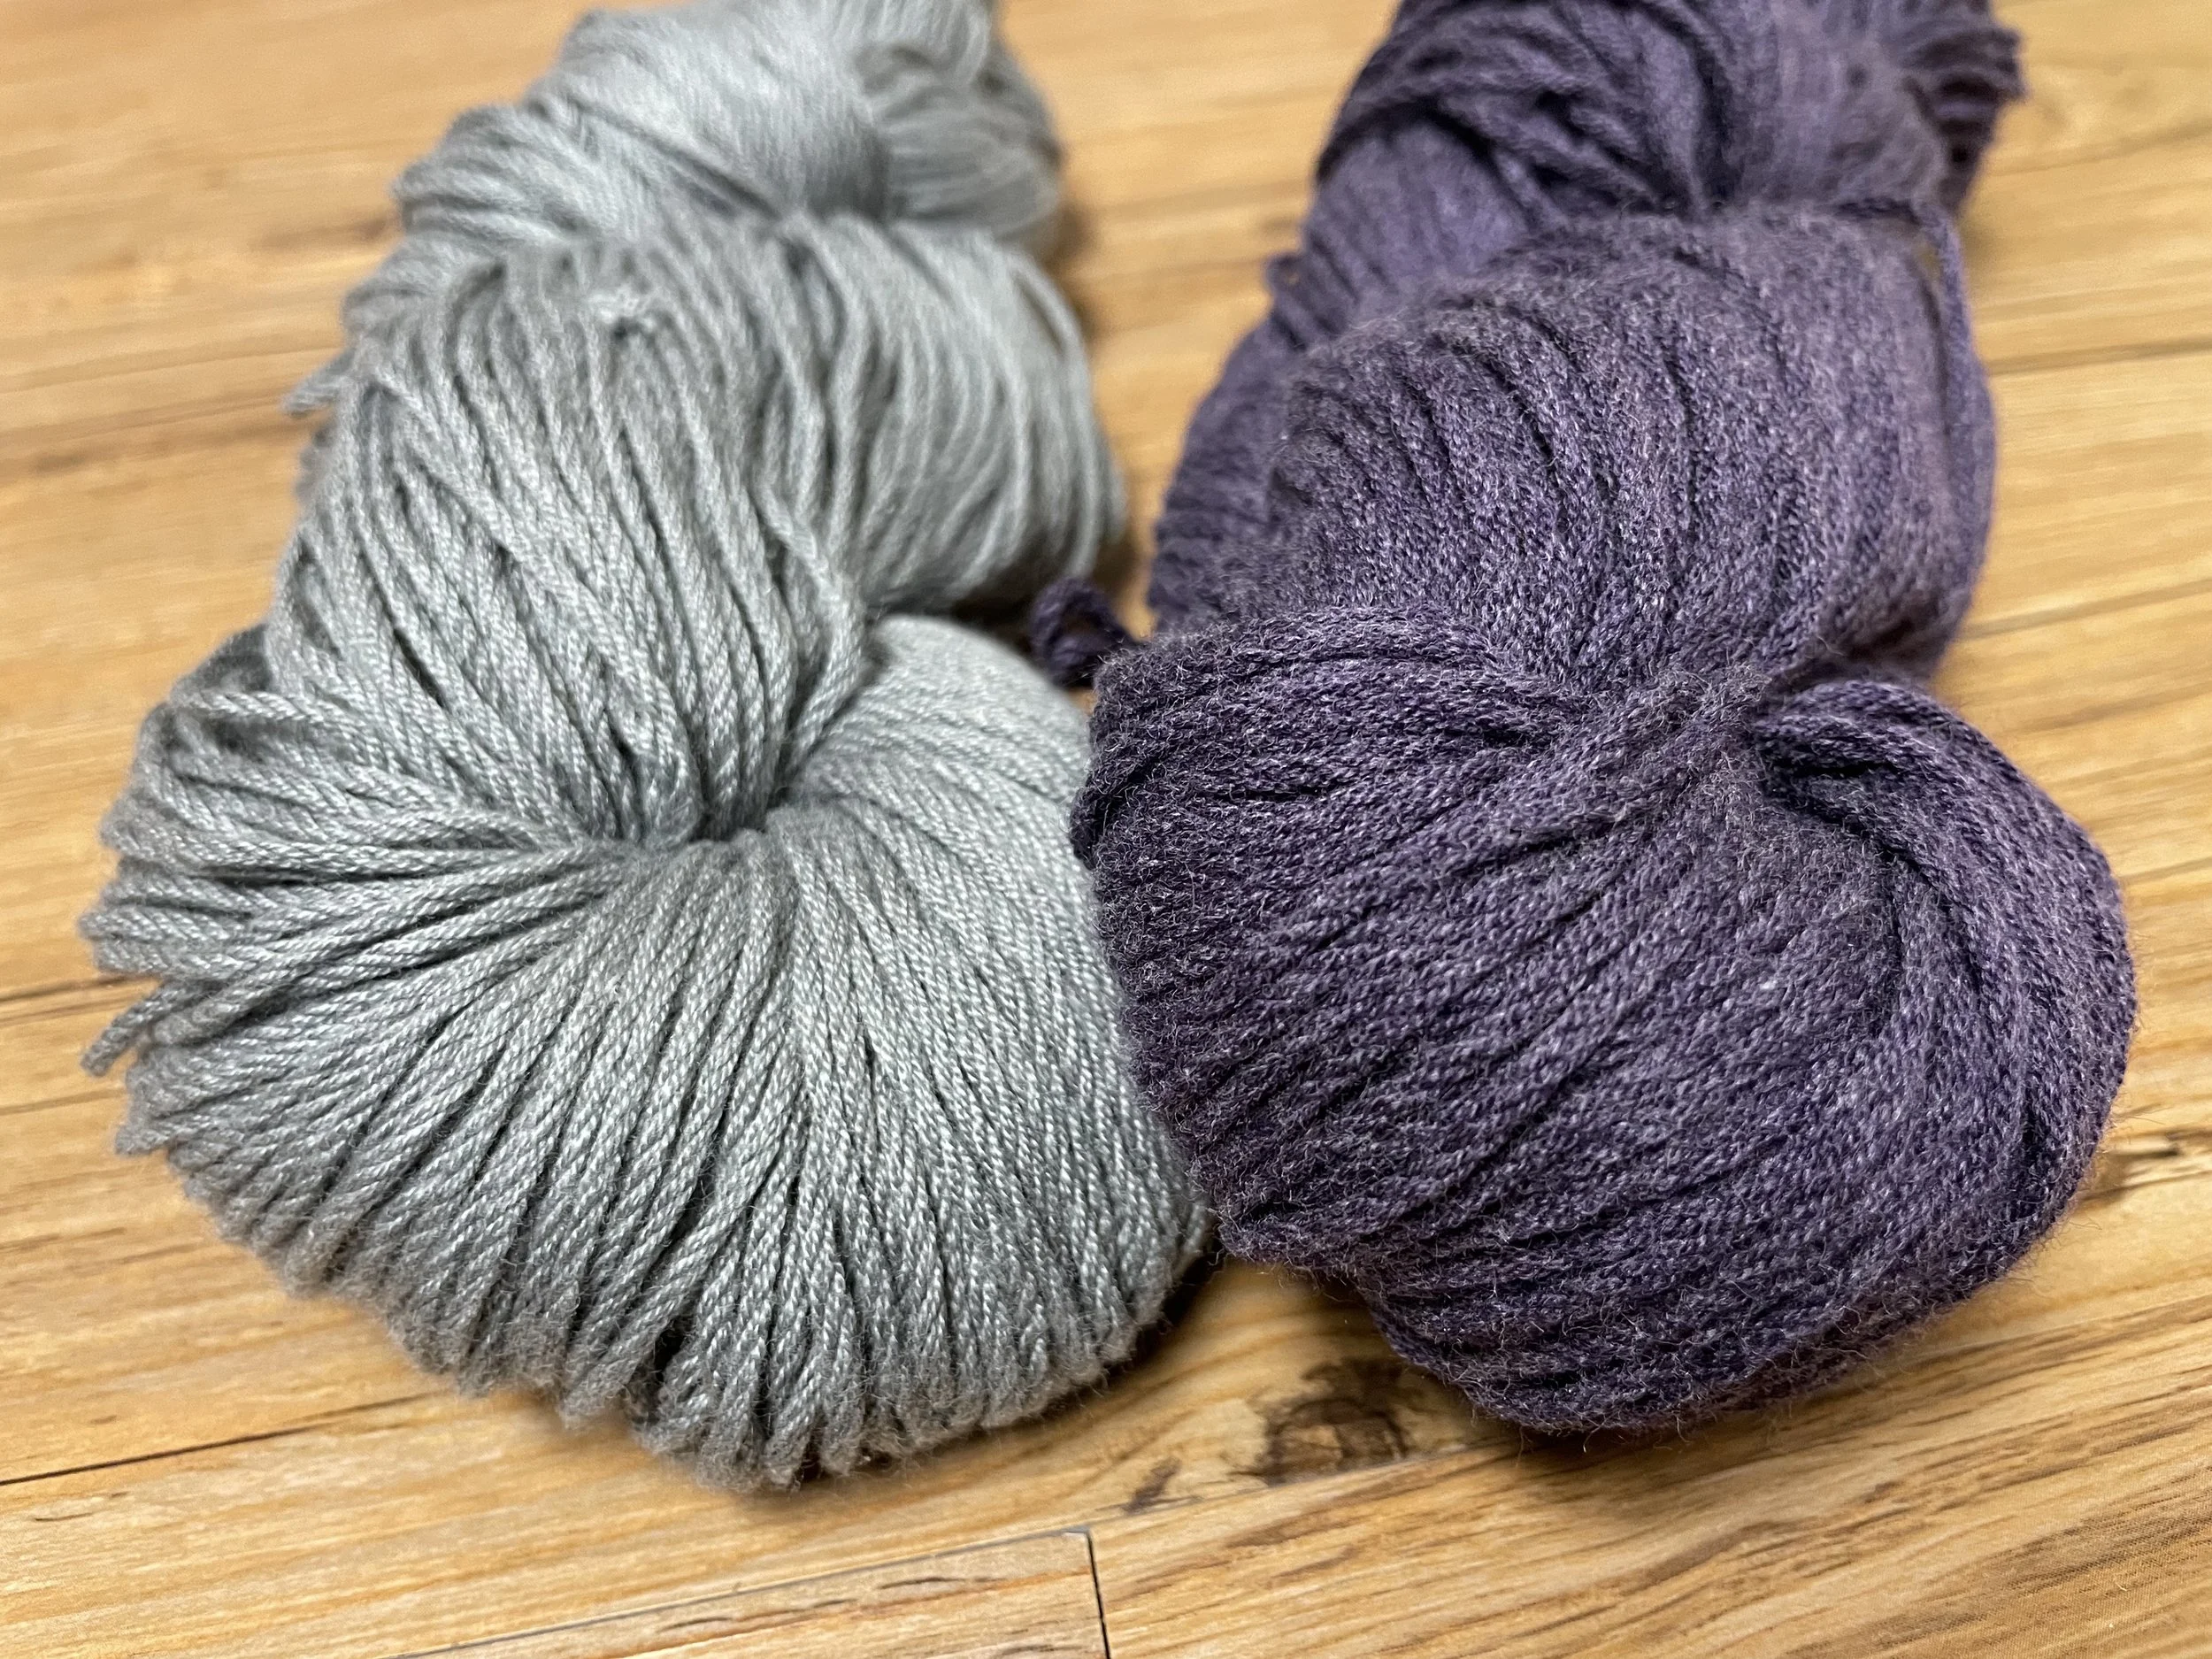
A grey skein and a purple skein of Berroco Weekend yarn.

These unassuming skeins of Berroco Weekend have been sitting in my stash waiting for just the right pattern for years. Said pattern* just so happened to fall into my inbox recently! I pulled out all the yarn from my stash and knit the first piece as a swatch. This is going to be such a wonderful blanket. The only problem is that I don’t have quite enough yarn. I’ve had some luck finding skeins on Etsy, but I’m still a few short. Wish me luck for the search!

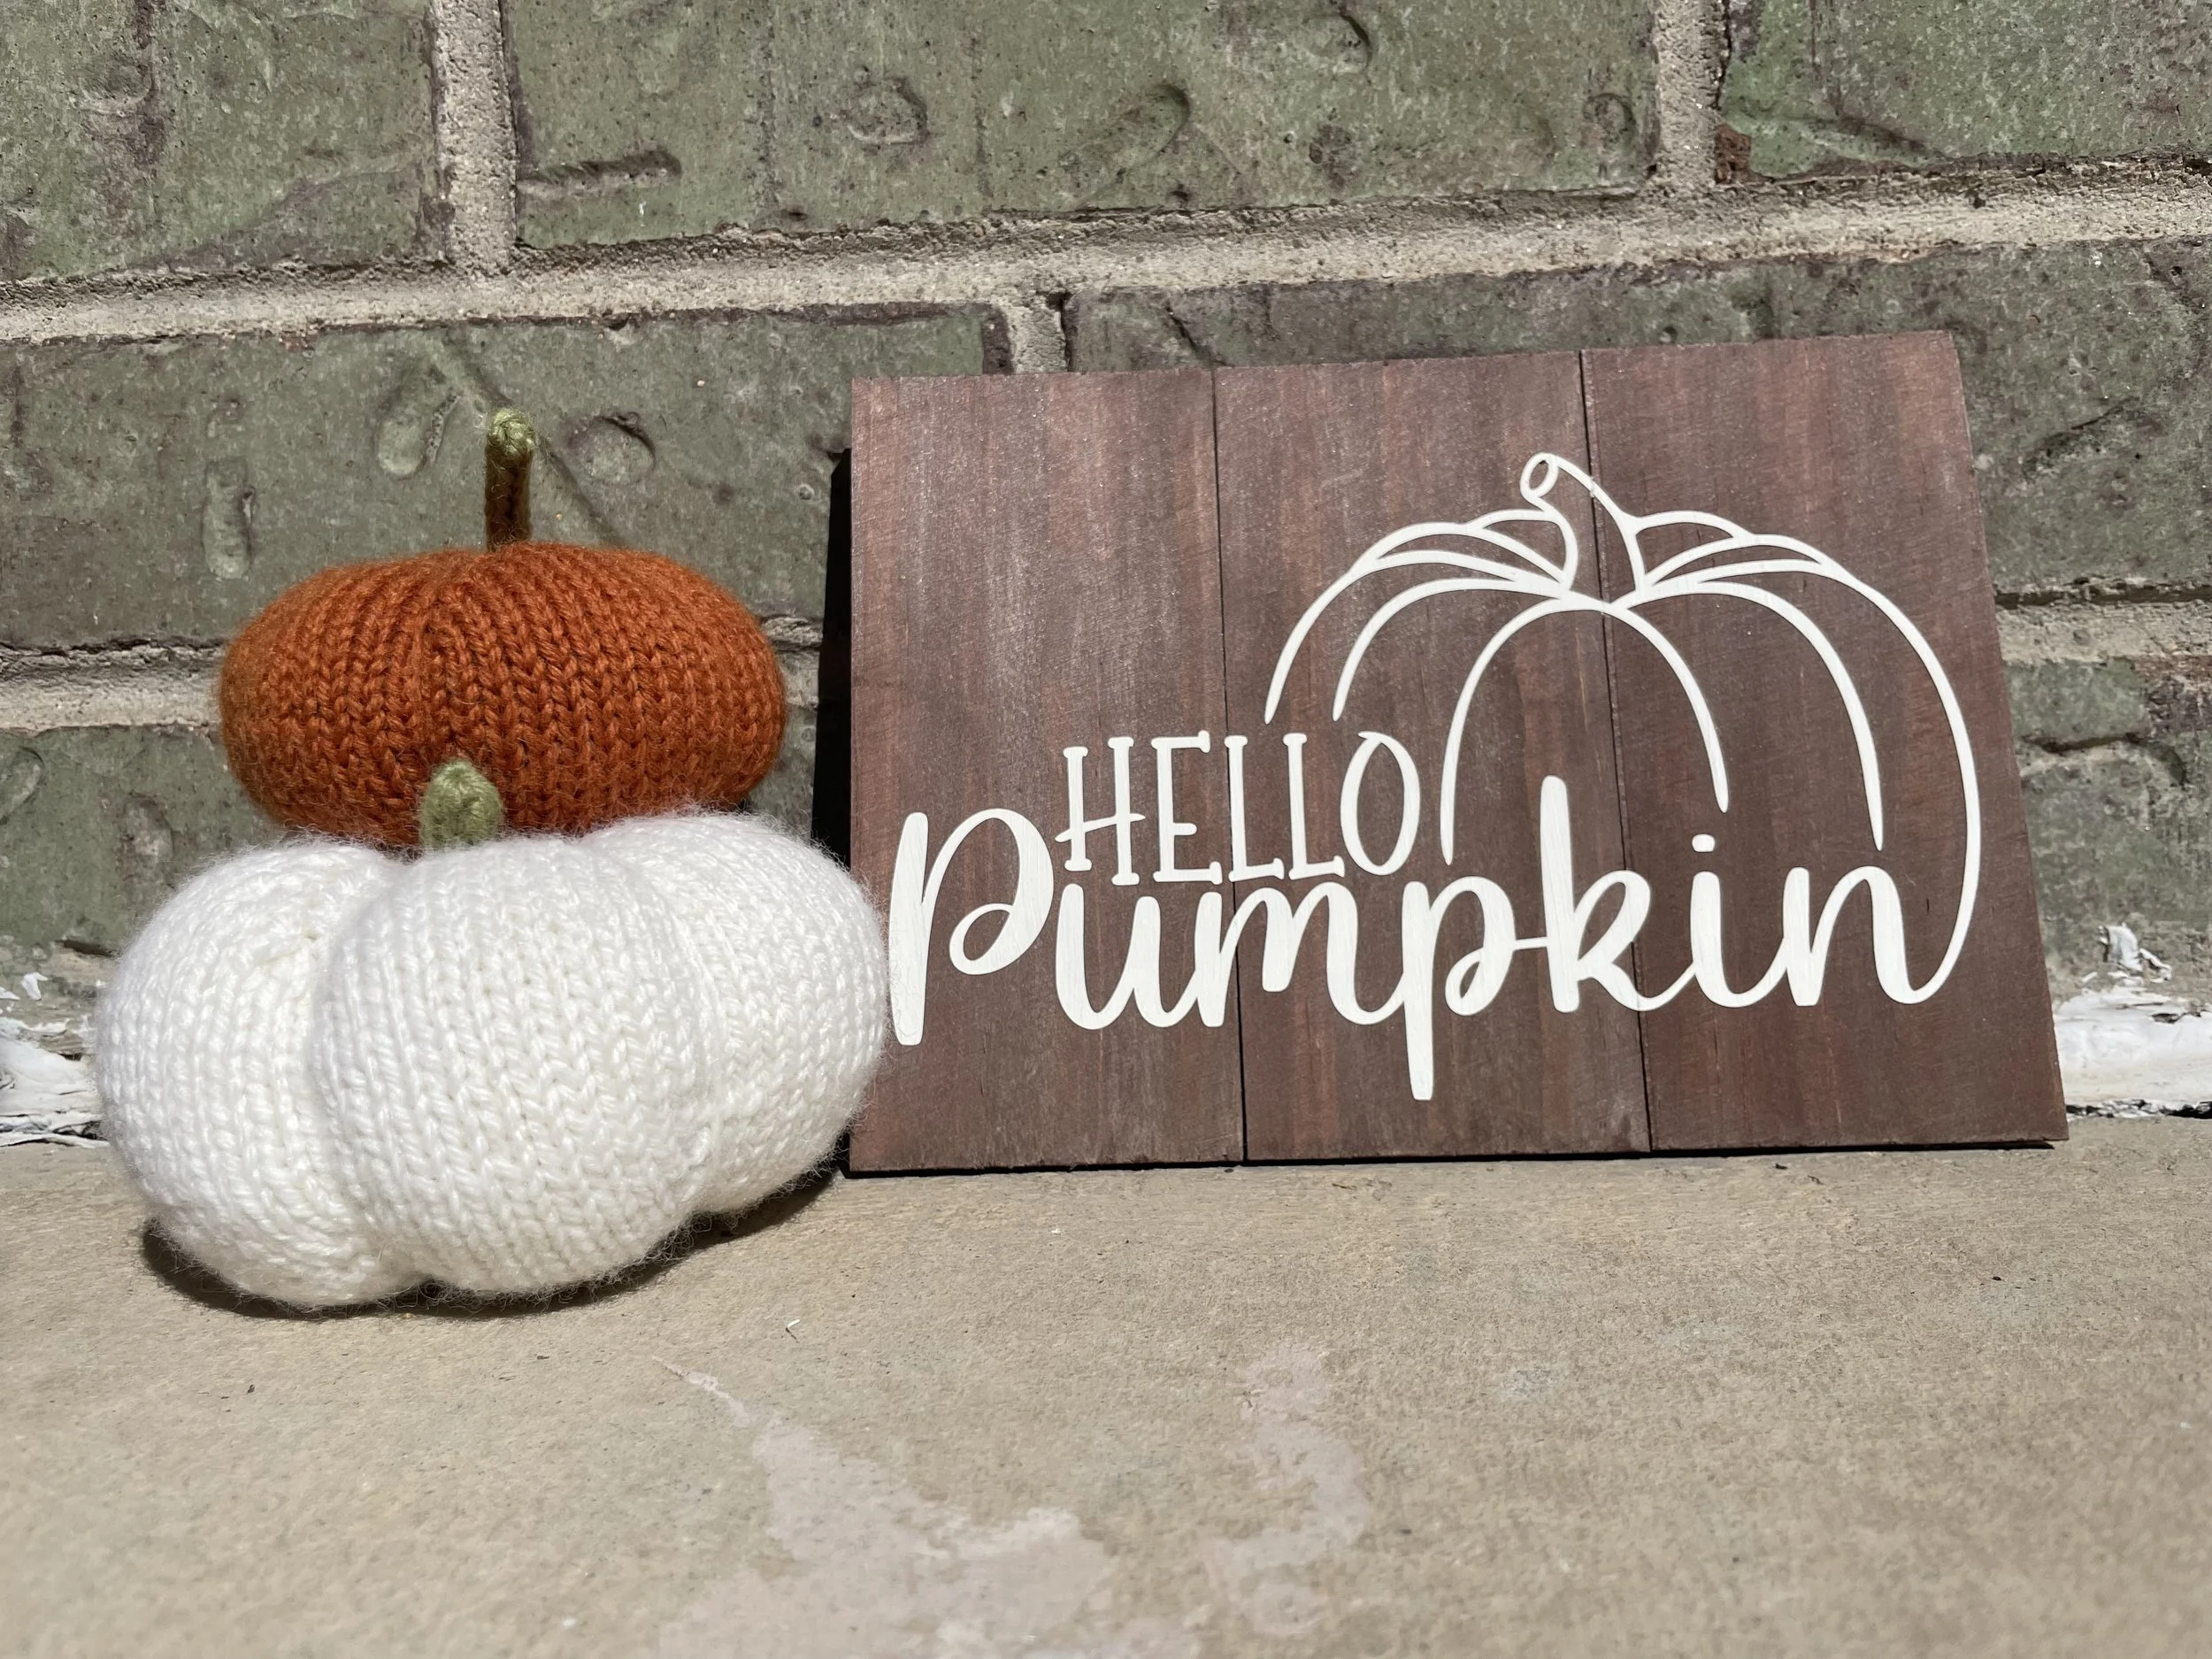
Two knit pumpkins stacked on top of each other next to a sign that says "Hello Pumpkin"

A couple of quick little pumpkins grew off my needles this month! I used the Spice & Clove pattern from Knit Picks which makes for a nice, easily modifiable gourd. The first I knit as written, and the second I knit to 72 sts around and 12 rows tall before decreases. It’s just a bit bigger which is perfect. They both got packed up in a box with the “Hello Pumpkin” sign (made that too!) and mailed off to their new pumpkin patch. Maybe knitting pumpkins is one of my new Fall traditions.

All the email marketing in my inbox and Christmas stuff showing up in the stores already (just let me enjoy Halloween first), keeps telling me it’s time to start working on my gift knits. So, I’m grudgingly making up an end of year gift / things I want to make list. That fun blanket is on it. Ornaments, hats, and socks too. I’m aiming to keep the list short this year, so if something fun catches my eye (or if I want to sleep in), I can.

*This blanket is going to be a gift, so I’m keeping the details a surprise for now.

Fun With Tie-Dyed Yarn

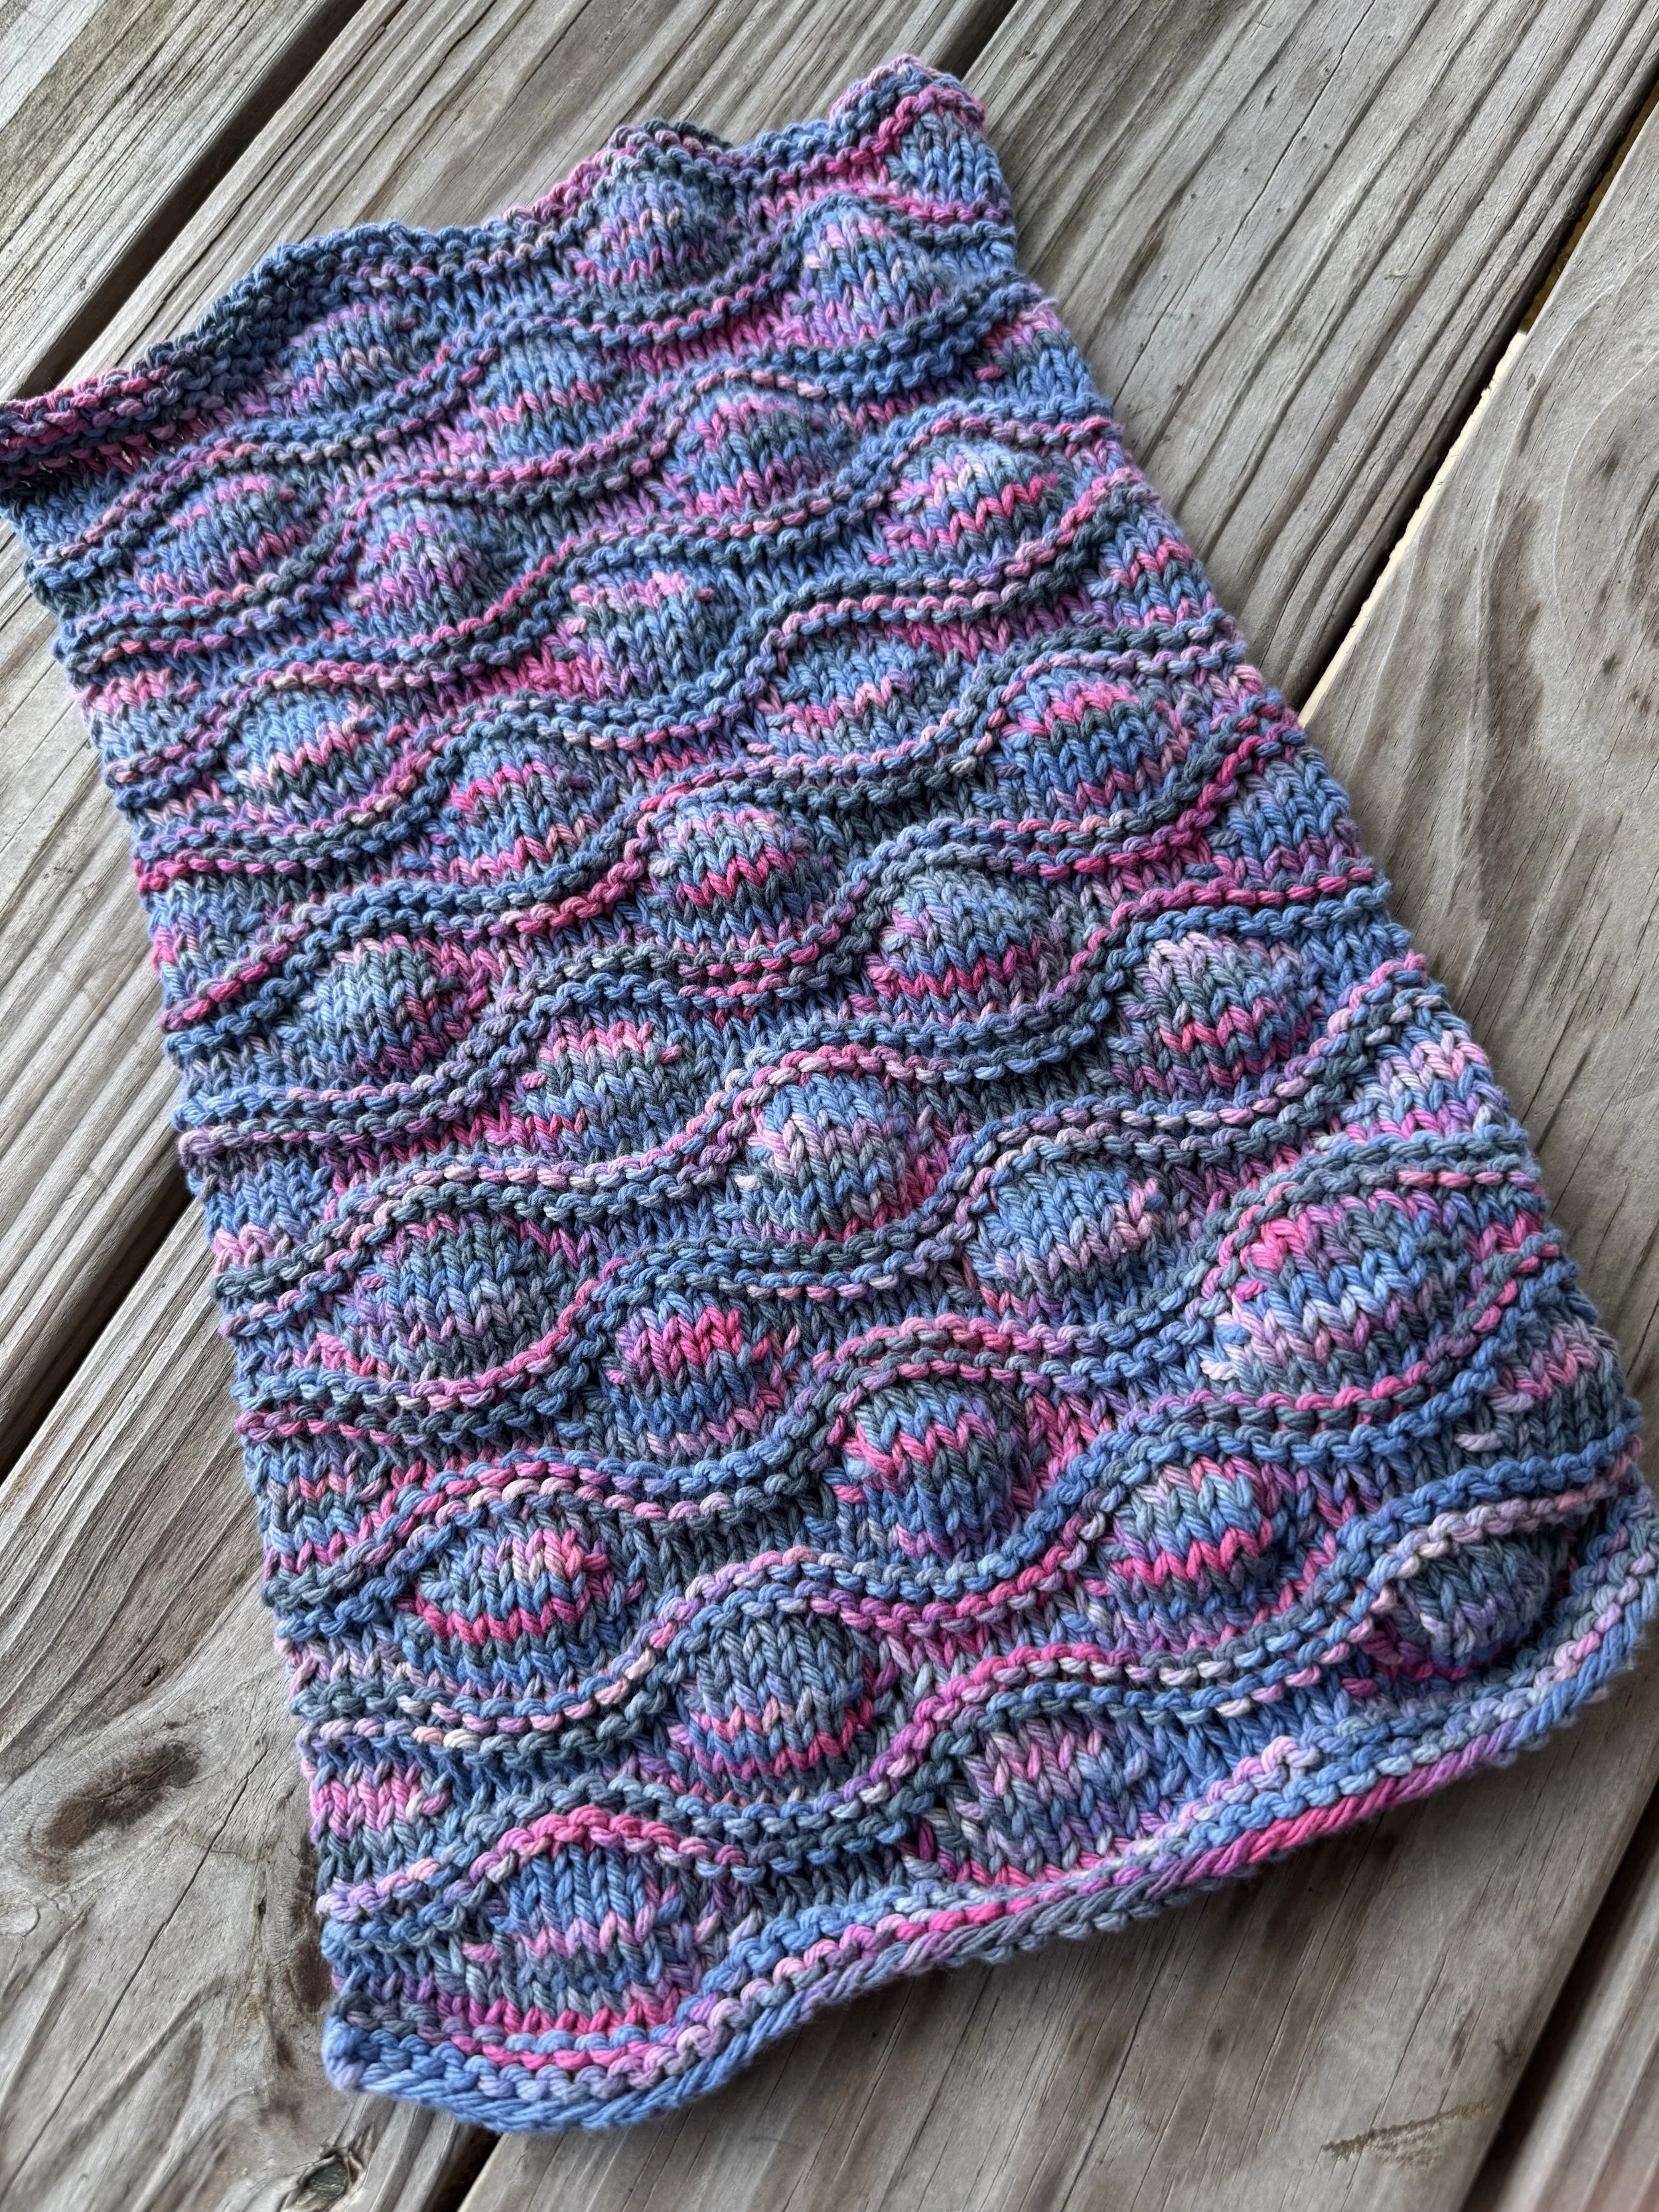
I could only pass by the cotton yarn I tie-dyed (you can read all about that multi-step process here) for so long, before I couldn’t resist winding it up into a ball any longer. There had been plenty of time for me to pick out a pattern or two while I waited on this yarn to dry. Over the many years that I’ve been knitting washcloths and kitchen towels, I’ve definitely figured out what I like. Washcloths can be most any shape, lacey, or textured so long as they are just the right size. That sweet spot is about 7” (about 18cm) square. Kitchen towels I like long and narrow (around 8-9” [20-23cm]wide) so I can easily throw them over my shoulder or hang over the oven door handle. Even better if garter stitch is involved. Sounds boring to make, but hear me out. Garter stitch doesn’t curl, makes a thick fabric, and won’t have any annoying gaps in it (assuming you knit it at a tight-ish gauge). Plus, there’s so many ways to make a garter stitch kitchen towel look cool. It doesn’t have to be knit stitch across every row. Try mosaic knitting, entrelac, a log cabin motif, stripes, chevrons, or knitting on the bias. Throw solid and variegated yarns into the mix, and you’ve got a lot of possibilities to make a really great, functional kitchen towel. Didn’t expect to find my soap box just then, but there you go.

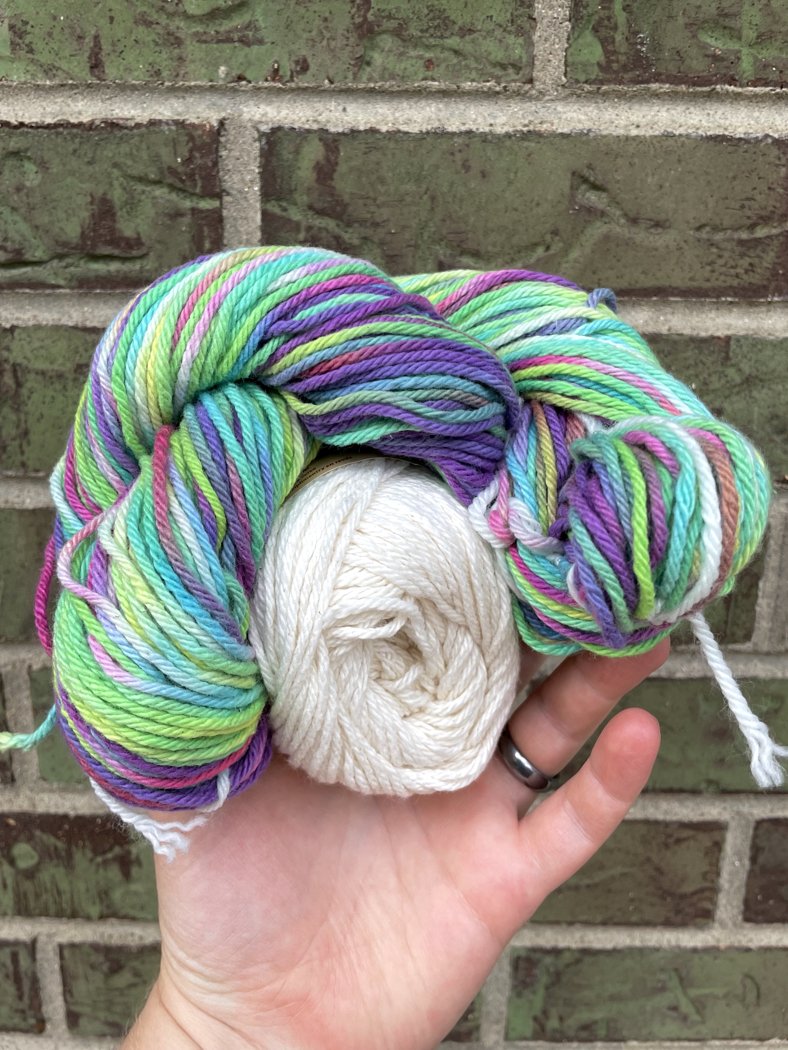
A hand holding up a skein of tie-dyed yarn and a ball of ecru cotton yarn.

My plan for this particular skein was to knit the Slip Stitch Dishcloth with this Lisa Frank-inspired skein and the ecru yarn. I’d get to see all the awesome colors, knit something fun from my queue, and use up some stash yarn. That’s all good stuff in my book.

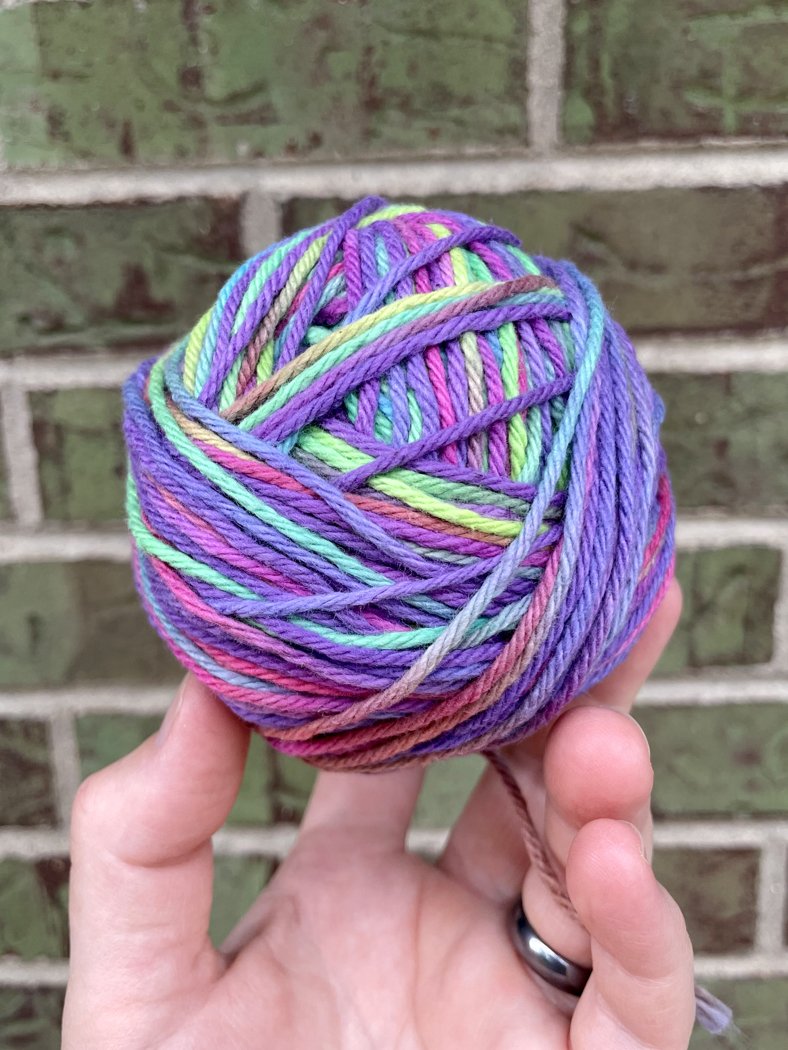
The skein of tie-dyed yarn wound into an equally pretty ball.

I wound the yarn by hand, a rarity for me, and am super happy I did. Even the ball is pretty, which made me even more excited to knit with it.

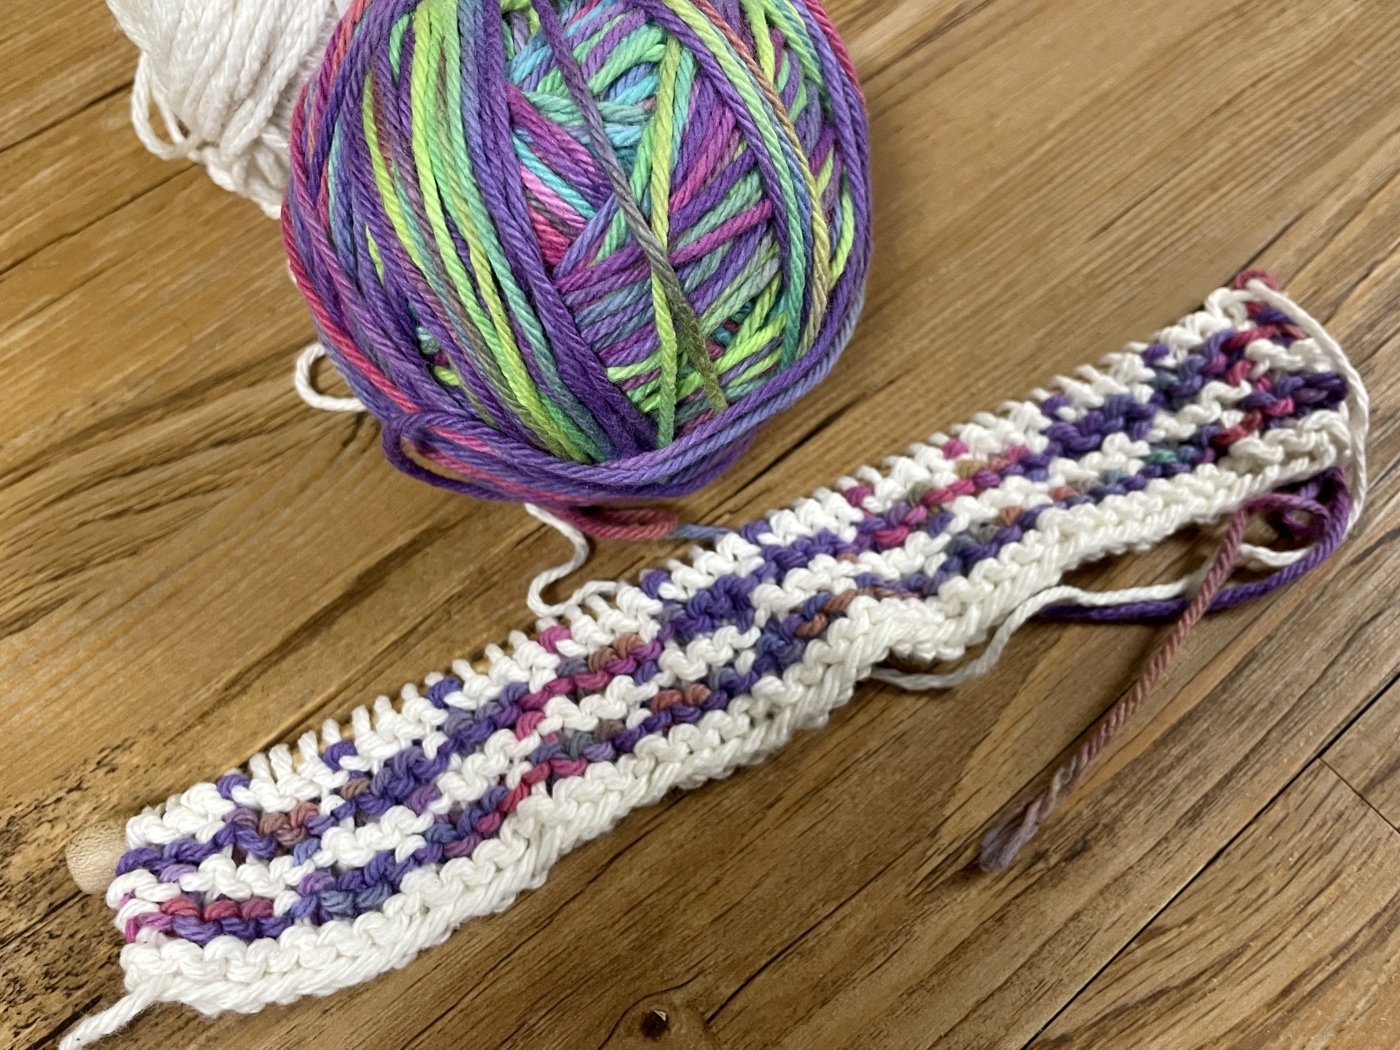
The first repeat of the Slip Stitch Dishcloth on the needle and sitting next to the balls of yarn.

So I cast on for the kitchen towel and knit the first repeat. And…meh. I usually like pairing a solid color with an over the top variegated yarn, but this just didn’t work. Knitting another repeat seemed like a waste of time which meant it was time to rip out the whole thing. Not even a little sad about it because I had another pattern in mind, The Garterlac Dishcloth(here’s a not Ravelry link). This will be the third time I’ve knit this pattern, and it’s great for showing off variegated yarn. Cast on when I had time to parse the directions and my previous mods. This time around, I’m completely smitten. The yarn gets to shine and I get to knit something really fun.

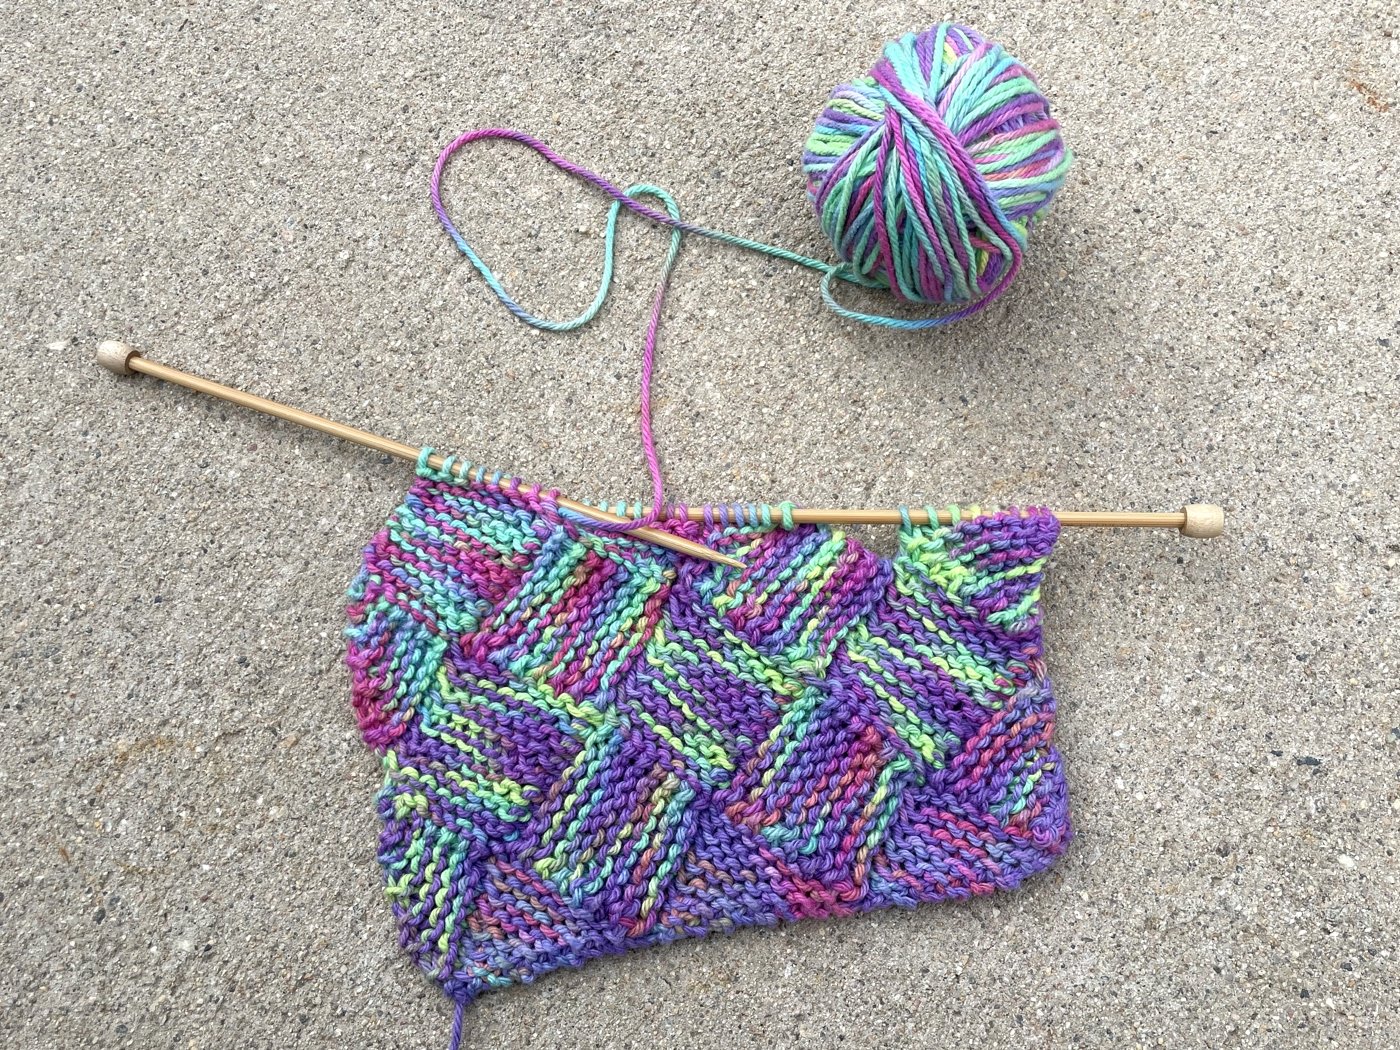
The first few repeats of the Garterlac Dishcloth on the knitting needles.

Just a few repeats in here and you can already see the ombre start with a deep purple and start fading to a more recognizable tie-die aesthetic.

The almost finished Garterlac cloth with a noticeably curving shape.

I was happy to be knitting this (and I finally got the chance to watch The Bob’s Burgers Movie) that I kept on knitting through the weekend. I had a really hard time putting this WIP down. It wasn’t until I was working the top edge that I noticed something was a little off. Okay, way off. I know knitting can look a little wonky until it gets a good wash, but a trip through the washing machine isn’t going to fix this very skewed kitchen towel. That’s when I noticed this:

A close up of the towel with an outline around the messed up area with an extra square.

See this spot with the star? I added an extra square to one of the rows without realizing which threw off every row above it. Ugh. Explains that weird gap that was bothering me too. The Bearded One votes to leave it the way it is, but I just know that I’m going to go “ugh” every time I see it. I can’t not rip it out. Plus, I’m pretty sure I didn’t quite follow the instructions correctly for the first few rows anyway. And that wobbly side edge is bothering me too. This kitchen towel’s fate is sealed. On the upside, I get to knit this pretty yarn again. Can’t be angry about that. Still irritated about ripping it out though.
Adventures In Tie-Dyeing Yarn

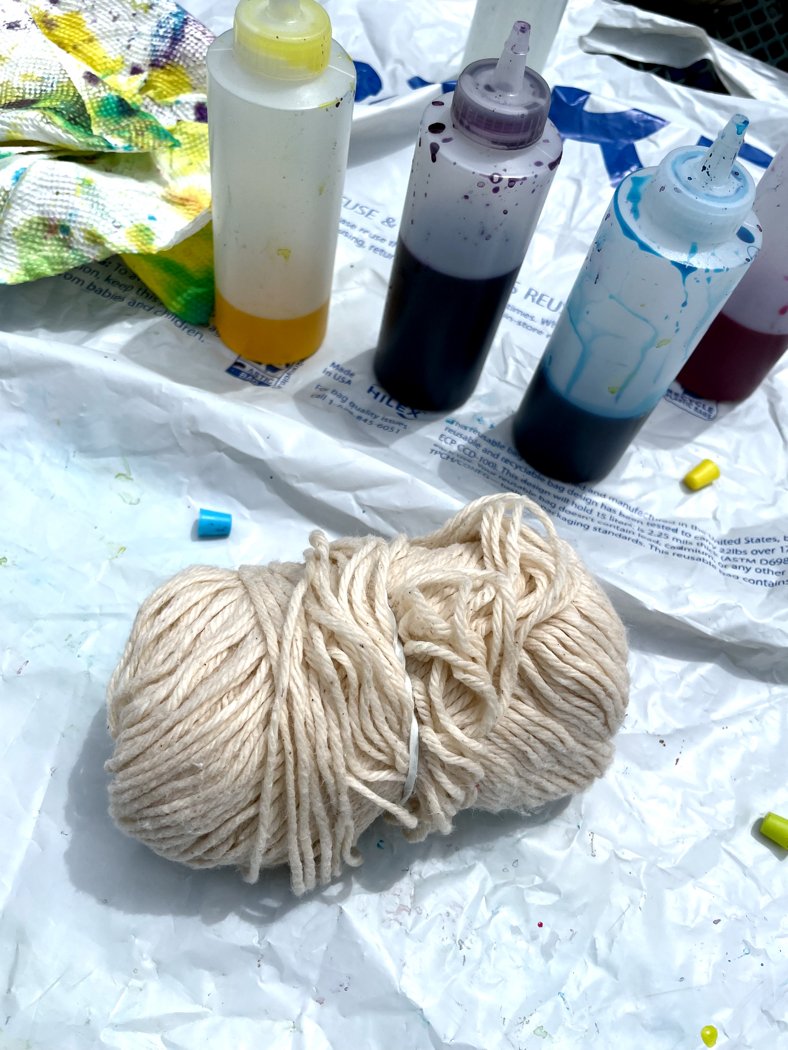
A bare ball of cotton yarn sitting next to bottles of dye on a plastic work surface.

I’ve been slowly scribbling out a Summer Bucket List for the past few weeks. There’s a few of the usual things - making popsicles, going to the pool, having a picnic at the park - and tackling some tie-dye. The kiddo was all in when I suggested the idea, and helped pick out a few things cover in bright neons. There were bags, shirts, a dress, and yarn of course. I dug through the stash and pulled two balls of dishcloth cotton and the last few grams of cotton from a giant cone. Spoiler alert: I could have pulled out an extra ball or two.

I kept the yarn prep pretty minimal. I skeined the yarn from the cone and kept the balls as they were. My only attempt to keep the balls from tangling was to put a rubber band around the middle. Then everything got a soak in some warm water and Eucalan to wash off the leftover oils from the spinning process. That soak probably lasted about 45 minutes because I got distracted. So all the yarn was good and damp when I got to work on it.

Next came the fun part: dyeing! I used a Tulip One Step Tie-Dye Kit in Ultimate. I saved the yarn for last so I could use up any leftover dye.

A skein of cotton yarn dyed with blue, pink, and purple.

I swirled up the skein into a loose spiral before drizzling the dye over the top. Pink in the middle with purple and blue on opposite sides. Coiling it up ended up creating a lot of short sections of color which will look super cool in a washcloth.

A ball of cotton yarn dyed with green, blue, purple, and pink sitting next to a teal paper towel soaked with extra dye.

Another ball of cotton dyed with blue, green, pink, and purple.

The other two balls I drenched in dye. One half of a ball got a big chunk of color while the other half got smaller sections of different colors. I tried to get as much dye as I could in the center of the balls. Probably over did it with one because dye started pouring out when I picked up the ball. At least it was a pretty color. When I was done, each bundle of yarn went into its own bag.

A third ball of cotton dyed with blue, green, and yellow dyes that were several days old.

There was still a little bit of dye left, but I was out of yarn. I made a second trip to the stash a day or two later and prepped one more ball of cotton the same as the others. This ball did not get as thoroughly saturated with dye as the other balls, and I’m really curious to see how it turns out.

Washing the excess dye from the ball in the sink.

After the dye sat for about 24 hours - way more than the recommended 8 - I rinsed out as much of the excess dye as I could under cold water. The water was still running purple, blue, pink, and green after rinsing and and lots of squishing. So they got two baths with Eucualan. The first cold and the second hot.

The first soak with all the dyed yarn turned the cold water purple.

The water in this first cold bath was purple. And the bottom ball of yarn was just barely holding together. The second bath, and the third, were blue. Washing the third ball did exactly the same thing. In all the videos I watched about tie-dyeing yarn, no one mentioned how long or how hard it would be to rinse out the excess dye, especially when working with a yarn cake/ball. The general advice was rinse and skein the yarn to dry. That’s it. So, I had to experiment a bit to find something that worked.

Step 1: Drying the yarn. I so did not want to put a bunch of wet, dye-bleeding yarn on my swift. Thankfully, there was another option. I have a rack for the inside of my dryer that lets me dry stuff flat without tumbling it around. So, the yarn, even balls that were falling apart, went on the rack in the dryer. They didn’t get perfectly dry, but dry enough to not stain my wood swift when I wound them into skeins.

Step 2: Winding skeins. The only bit of yarn I dyed in a skein, was the only bit of yarn that wasn’t constantly bleeding more dye after multiple rinses. So, all the balls of yarn are getting turned into skeins of yarn.

The outer strands (top) and inner strands (bottom) of one of the dyed yarn balls.

This was my first chance to see how the inside of the yarn balls took up the dye! The outer most strands are on top with the inner strands on the bottom. As expected, the yarn from the outside of the ball has a deeper, more saturated color. The inner strands are more pastel, and remind me of a tie-dyed Easter egg. I’m not sure if this difference is because less dye reached the center or because the pre-soak wasn’t able to wash out as much of the spinning oils. Maybe a little of both? This gradient effect occurred across all three of the balls I dyed, no matter how much dye I used.

Step 3: One more rinse with the right soap. When I realized that just rinsing it with my usual soap wasn’t going to cut it, I ordered a bottle of Synthrapol, a special soap that catches any excess dye from yarn/fabric and suspends it in the rinse water.

By the time I got to washing and rinsing the yarn with Synthrapol a week later, I was wondering if I was being a little too cautious. Maybe the regular soap had washed the dye out already. Turns out, the extra steps were totally necessary. This is what the water looked like after soaking the yarn for 40 minutes in hot water.

All dyed yarn in a hot water rinse with Synthrapol. The water turned slightly blue.

This time, the water ran clear during a rinse with cold water.

Step 4: Hang it up to dry. Since I wasn’t worried about the yarn staining everything around it blue and purple, it went on drying rack. I rolled the yarn up in a towel and stomped on it a few times to squish out as much water was possible first, but that was all the special treatment it got this time around.

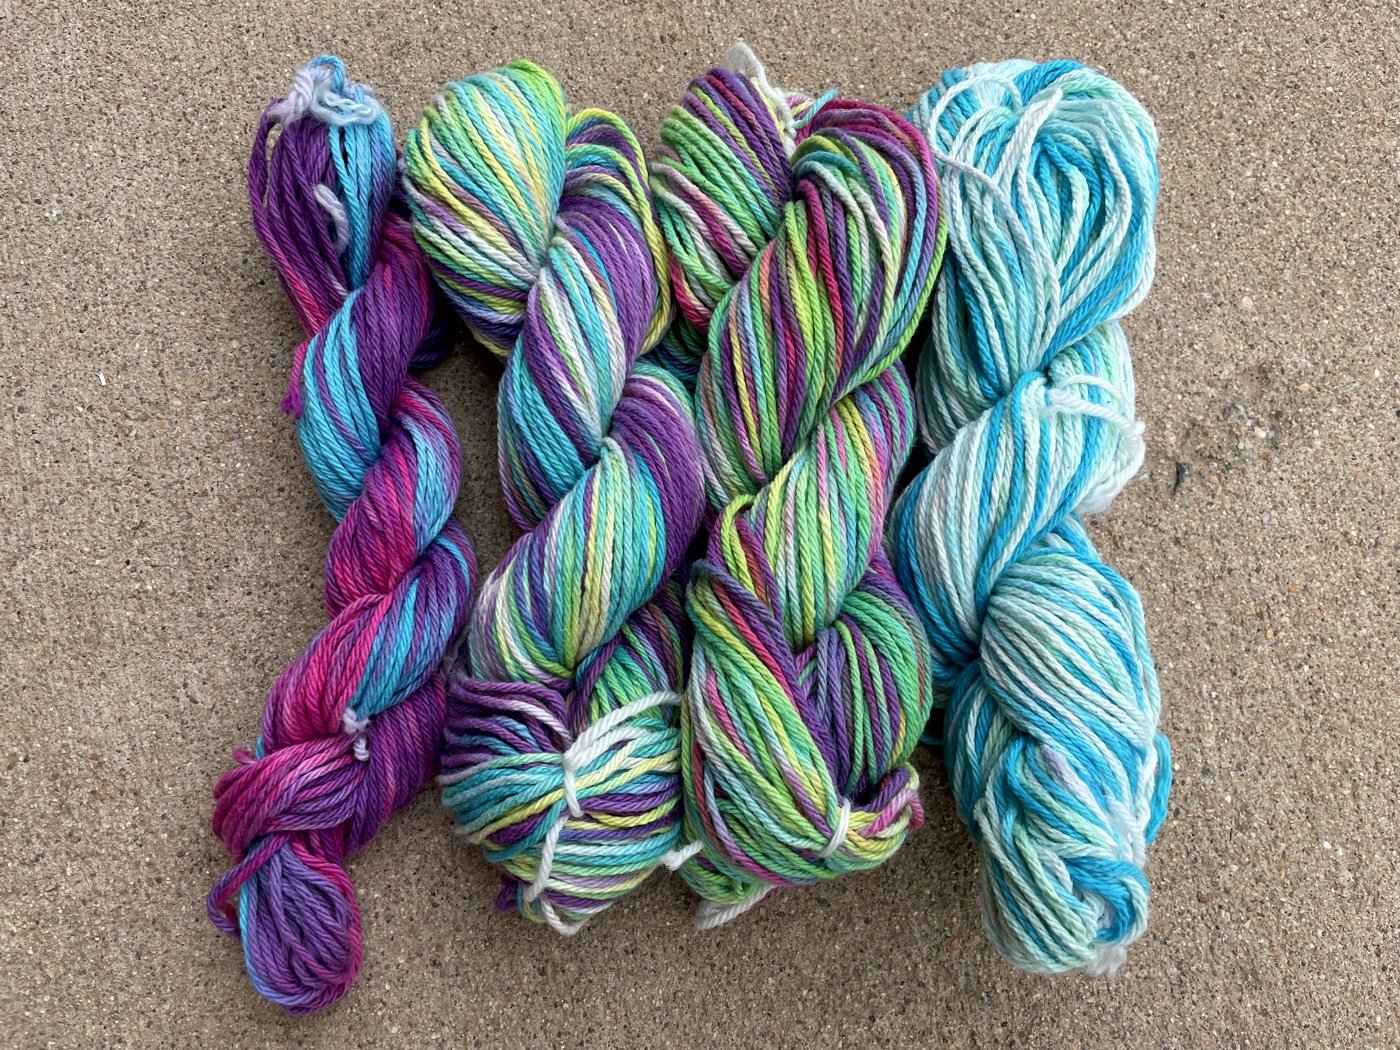
All four dyed yarns washed, dried, and put up in hanks.

The finished yarn looks like it’ll be fun to work with. The colors aren’t as eye-searingly bright and saturated as they looked before washing and rinsing which I’m actually really happy with. The muted (by comparison) tones are much more my jam. I’m also curious to see how well the color holds up after multiple trips through the wash.

Now that there are 4 finished skeins in front of me, would I use a tie-dye kit to dye yarn again? Yeah. I even have a second kit in a darker color palette when I’m ready to give it a go.

Will I dye yarn again in balls? Probably not. The yarn dyed as a skein was way easier to wash and finish than the yarn balls. The skeined yarn also had a more consistent color. I had hoped for a more even color through the whole ball - just with more blank spots in the middle - which was not what happened. The ombré effect is cool, sure, but not enough of a reason for me to go through the extra steps and hassle.

The other thing I would do differently next time is prep more yarn, even if there were a few skeins that didn’t get dyed. The yarn dyed with fresh dye has a deeper color than the yarn I dyed two days later at the end of the dyes’ life span. I’d also wash the yarn with Synthrapol from the first rinse and save a lot of time and water.

Dyeing yarn with a tie-dye kit was a fun experiment. It’s been a long time since I’ve dyed yarn, and it was nice to scratch that itch after so many years. Now I’m excited to knit all this up and make some cool new kitchen towels and washcloths.


This post contains an affiliate link which means, if you decide to buy through that link, I’ll get a small commission. Thanks!

The Start of Something New

A curly knitted swatch on circular needles sticking out of an cake of orange yarn.

Ever have your heart set on using a specific yarn for a very specific pattern? I have these past few weeks.

The Balsam Point Cardigan (<Ravelry Link) by Kerri Blumer came across my radar recently, and I love the cropped style and neat details. This sweater is something I’d wear all the time. Since I’m shopping my stash (AKA Yarn Fort) first, I stumbled across three skeins of Araucania Nature Wool in a beautiful orange. I love this discontinued yarn and was happy to finally have something to do with it. There was a problem though. Balsam Point calls for an aran weight yarn, and Nature Wool only claims to be an aran weight yarn. No harm in swatching though, right? Well, it didn’t work out. I got row gauge, but stitch gauge was way off. I’d have to go up several more needle sizes to get close, and the fabric was already looser than I’d like for a sweater. So, this yarn gets to hang out in the stash for a bit longer.

A hand holding up a giant hank of green wool yarn in front of a green brick wall.

The Nature Wool wasn’t the only option in the stash though. I’ve also been hanging on to a couple of skeins of Cascade Eco+ since 2011. Originally, this yarn was going to be an Owls Sweater (<Ravelry link), but there’s not quite enough yardage for that. There’s plenty to swatch and make Balsam Point with a little left over. Wish me luck. If this doesn’t work, I’ll have to dig through the stash a third time for this sweater.

FO: Kiki Mariko Rug

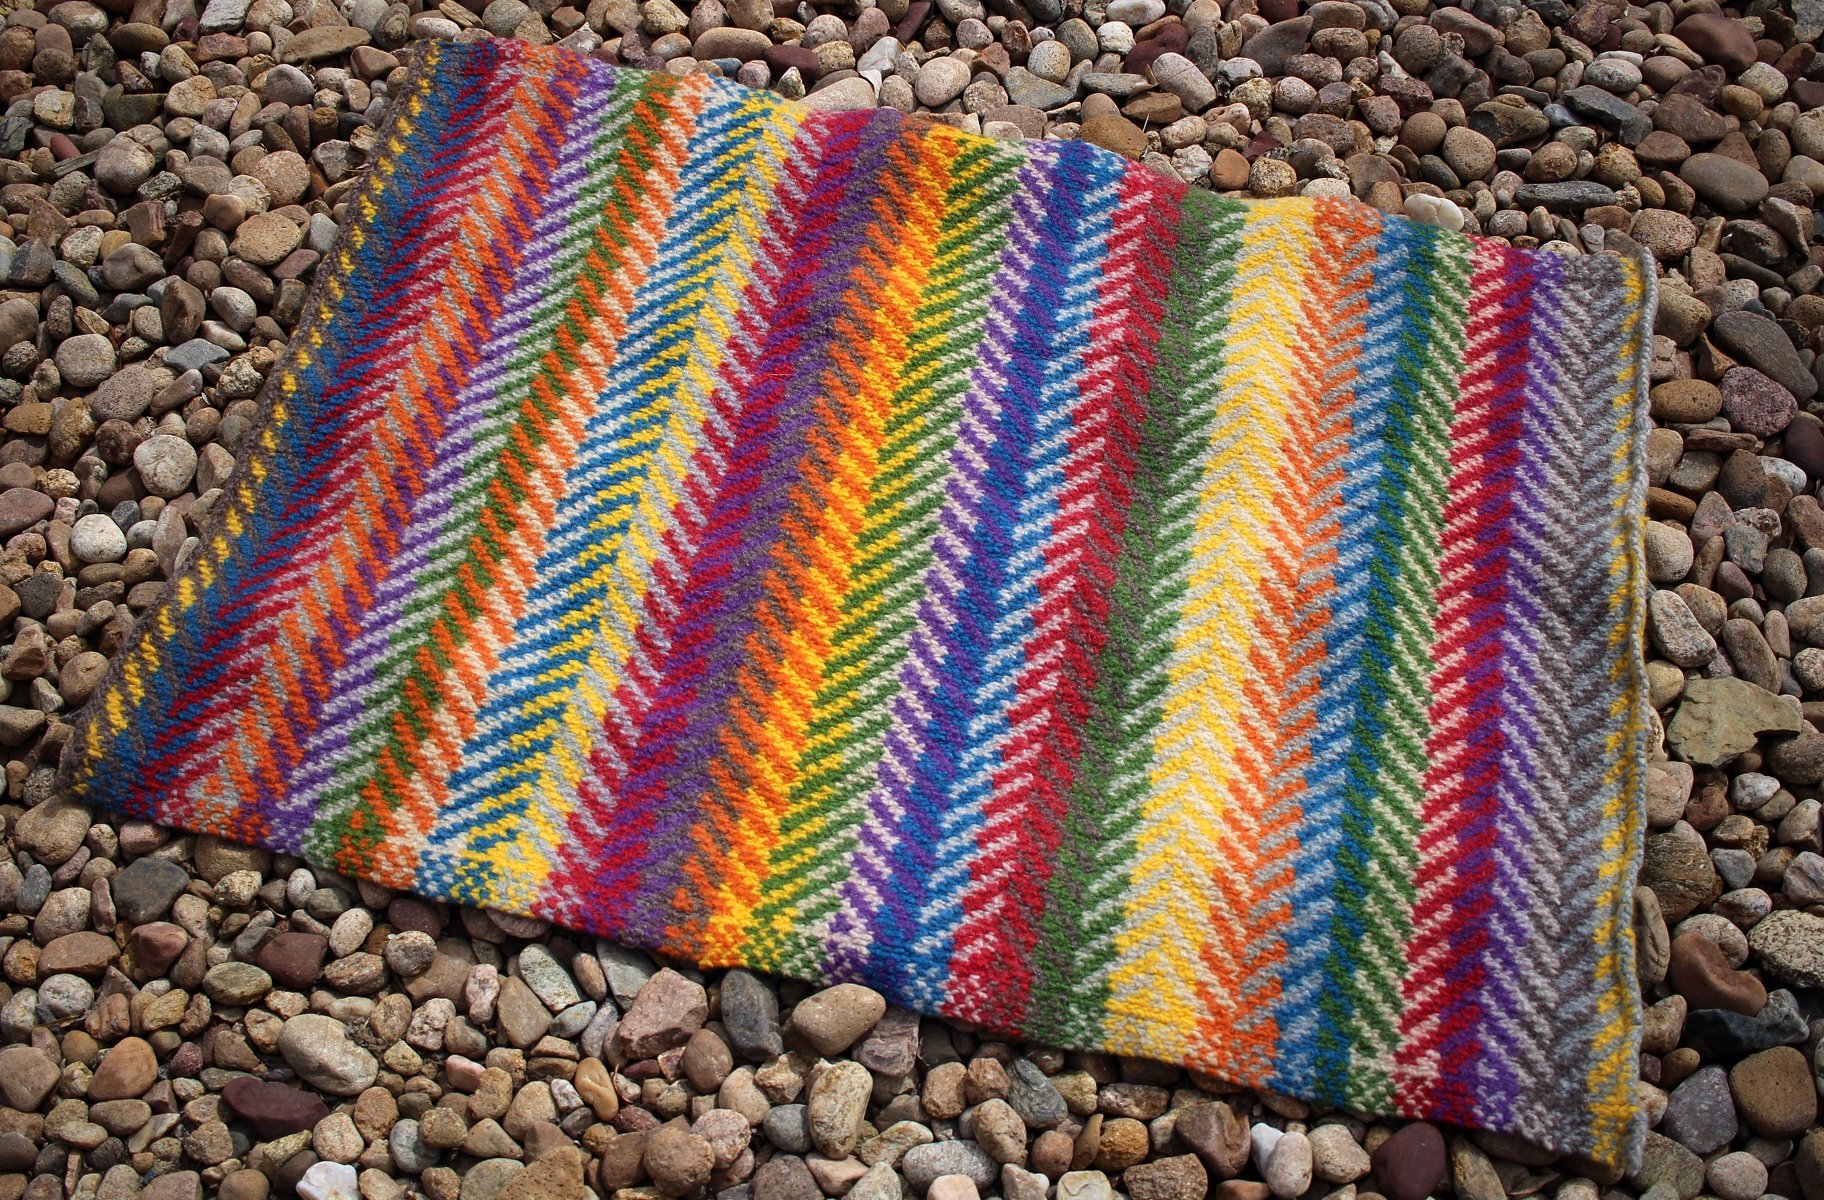
A finished Kiki Mariko rug laying on a field of rocks.

After years of wanting to make a Kiki Mariko rug, and about 10 months knitting it, I thought the felting would be the hard part. Turns out that throwing it in the washing machine for a few cycles was the fastest easiest part of the whole process. The actual hard part is figuring out where I’m going to put it. It’s too big to go under my desk, and I already have a rug next to my bed. Maybe I can find a good spot for it in my crafty space. In the mean time, it looks pretty good rolled up next to my yoga mat.

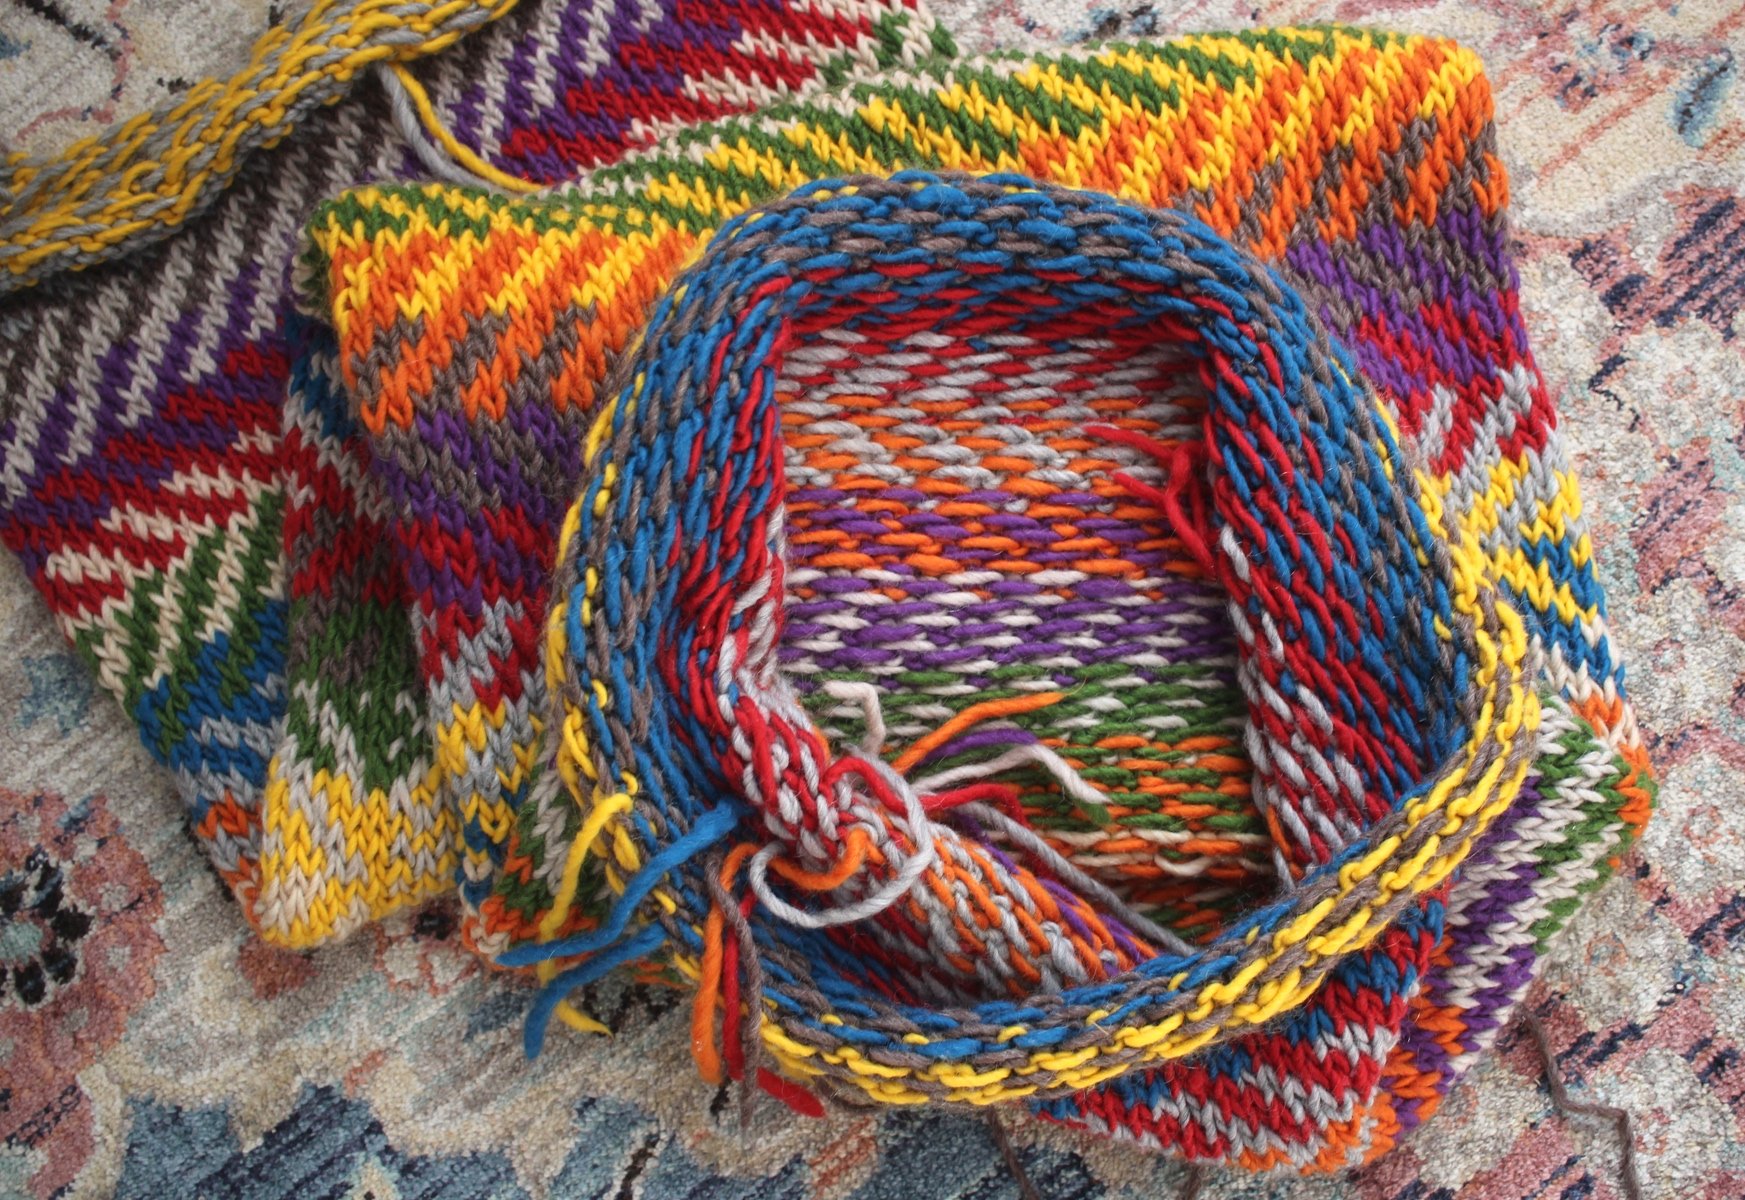
The Kiki Mariko rug before felting showing both the outside stitches and inside floats.

This project has been in my queue since the pattern was first published in 2008. I had this idea that it’d be a really fun knit and I was not disappointed. There was a chunk of time when it stayed shoved in a bag, but I couldn’t put it down the rest of the time. So it turned out to be a really fast knit.

To keep things interesting, I decided to not follow along with the listed stripe sequence in the pattern and kept colors random. I also gave myself a couple of rules when I cast on. One, do not repeat colors within a pattern repeat. I was able to stick to this one. Two, try not to always pair the same colors together. If purple and yellow were paired up in one section, the next time I’d pair purple with green. I always tried to keep the combinations as high contrast as possible, but I did have to cut myself some slack as yardage got low.

An in-progress shot of a steek being cut with red scissors.

After binding off, the color work tube just hung out for a bit. A mix of a daily life and building up the confidence to try felting (not a technique I’ve done much intentionally), held things up. Eventually, I just got on with it and shoved the thing into a sweater bag and then into a washing machine. It took a few cycles in a front loading machine to finally see a difference, but the rug still felted enough to steek in an afternoon. This wasn’t my first time, but cutting that steek open was so satisfying. I almost want to make another rug just to do it again.

The front and back of the felted Kiki Mariko rug.

Now that the ends are trimmed, I’m calling this Kiki Mariko rug done. It is colorful and fun and making it was everything I hoped for. The only downside was/is that the yarn and now the rug sheds a lot. My clothes looked like I’d snuggled a shedding dog after working on it for an evening. Even felting didn’t change that. Build up a little static electricity (easy to do around here) and all the fly-away hairs will stand straight up. Eek! I’m hoping it won’t be too much of an issue now that I’m walking on it and not turning it over and over in my lap. Time will tell. Even with the shedding, I still love this rug. Looking at it makes me so happy, whether it’s on a table, rolled up in a corner, or warming a spot on the floor.

A shallow view of the Kiki Mariko rug showing off the stitch detail and color repeats.

The Pattern: Kiki Mariko by Kay Gardiner and Ann Shayne (Ravelry Link)

Yarn: 10 Skeins Brown Sheep Lamb’s Pride Bulky (10 colors total)

Needle: US 15 (10 mm) circular needles

Dates: May - February 2021

Close up view of the edge of the Kiki Mariko and the cut steek.

Wooly Links: March 2022

Wooly Links posts are a collection of interesting and helpful fiber arts links (and one or two other cool things) that I’ve found scrolling through the web.

Really appreciated this short demo from Jillian Moreno on spinning from the fold.

And another quick tip from Jillian Moreno about how to spin a yarn with stripes of intermittent color.

Local Yarn Shop Day this year is April 30th.

Why your stitches look different when you knit with different yarns be they singles, 2-ply, 8-ply, or chainette.

Love this quick example of how to cross lace your flyer to spin finer yarns.

What cute crochet rainbow pillow!

A short and to the point video tutorial about how to securely join fiber while spinning singles/plies.

Love the idea of using a three-needle bind off to seam a blanket together. I might use it on my next big blanket project.

Here’s a totally handy round-up of different ways to weave in ends with on a variety of knit stitches and with a variety of fibers.

This is Judy’s Magic Cast-on as I learned it, without having to knit half the stitches through the back loop. I love the structure of it starting out and how clean it looks when the sock is complete.

And now for something different…

How Dinosaurs Thrived in the Snow

How Many Sea Star Species Live in British Colombia?

FO: The Cassidy Sweater

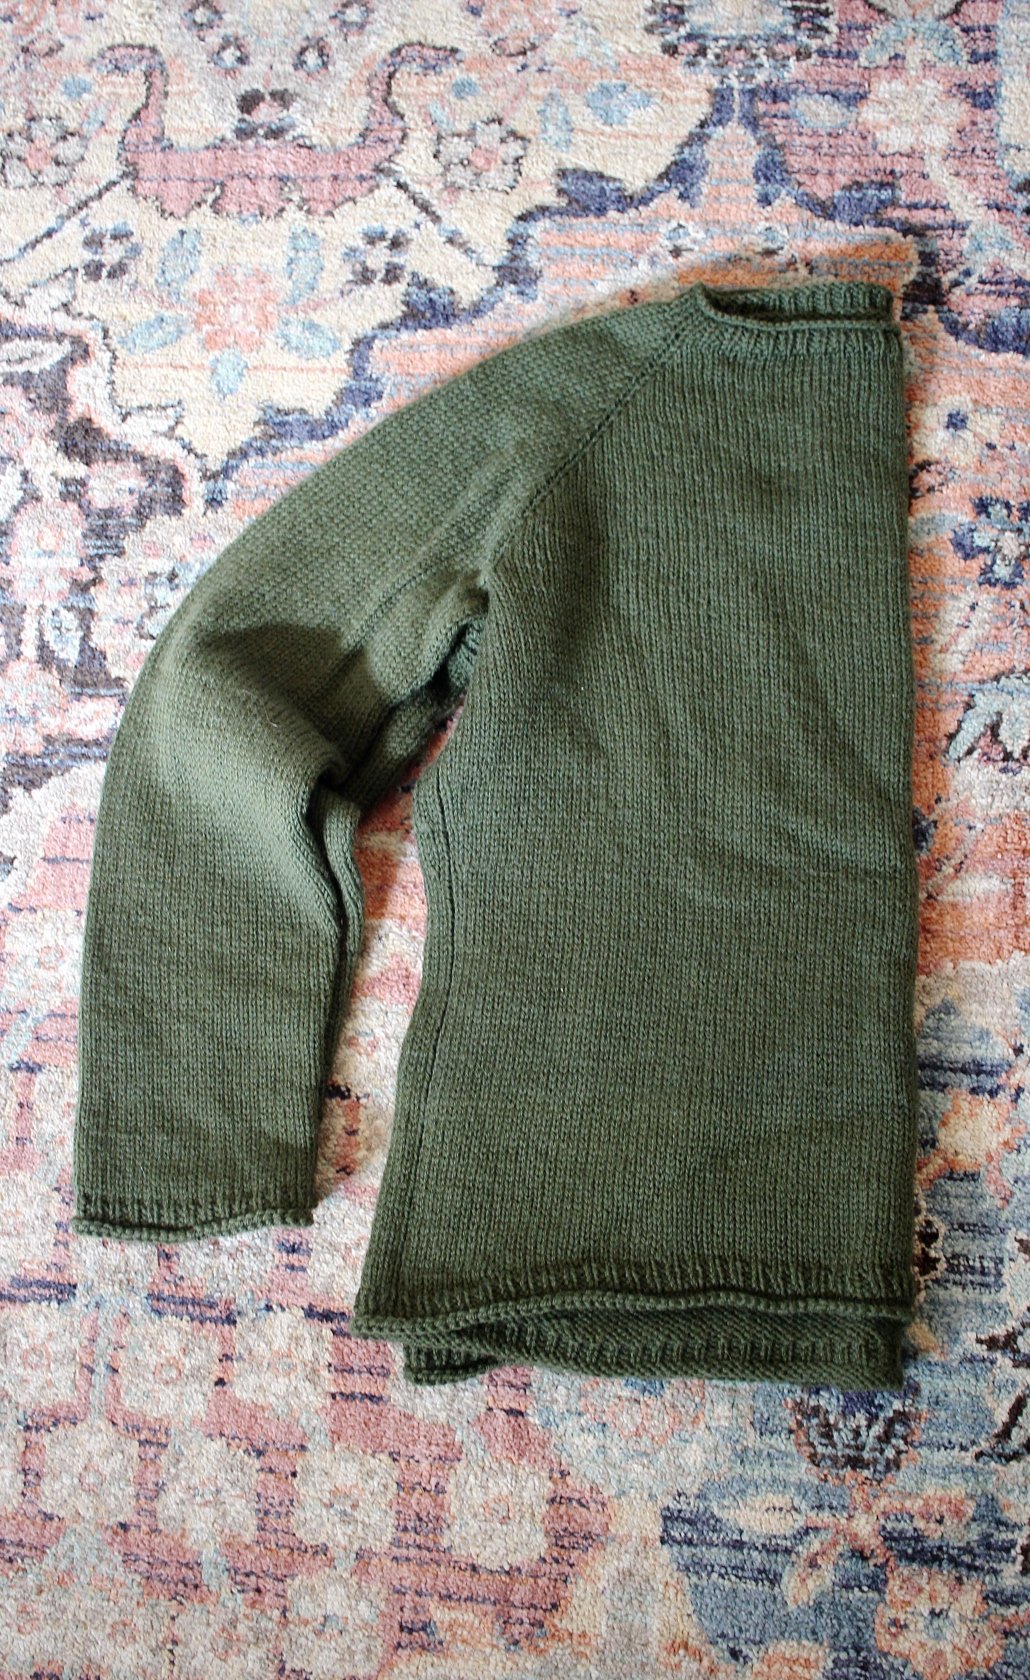
A finished dark green hand knit sweater folded in half.

There are a lot of things I love about this sweater. I love that I knit it from stash yarn in a dark green that I wear all the time. I love that it was a big, yet portable project that I could work on in the car or on the couch. I love the neat rolled edge detail at the cast-on and bind-off edges. I love that my guesses about how the sweater would grow after blocking were spot on. I love the heavily modified sleeves that are just the right amount of long (and actually fit). I love the curved hem, even though I’d like it to be a little deeper.

Close up of the rolled edge and ribbing at the cast-on and neck.

What I especially love is that, on only the second sweater I’ve made for myself, I was able to mash up different sizes to make something that fits me. It’s the right length. Both the shoulders and the sleeves fit which is more than I can say for most of the commercial shirts and sweaters I’ve tried. Just that last part is enough for a chef’s kiss. I’m especially proud of the sleeves because I basically eye-balled and tried them on to get the right fit after completely ditching the tapered sleeve shape that seems to be the default of many sweater patterns.

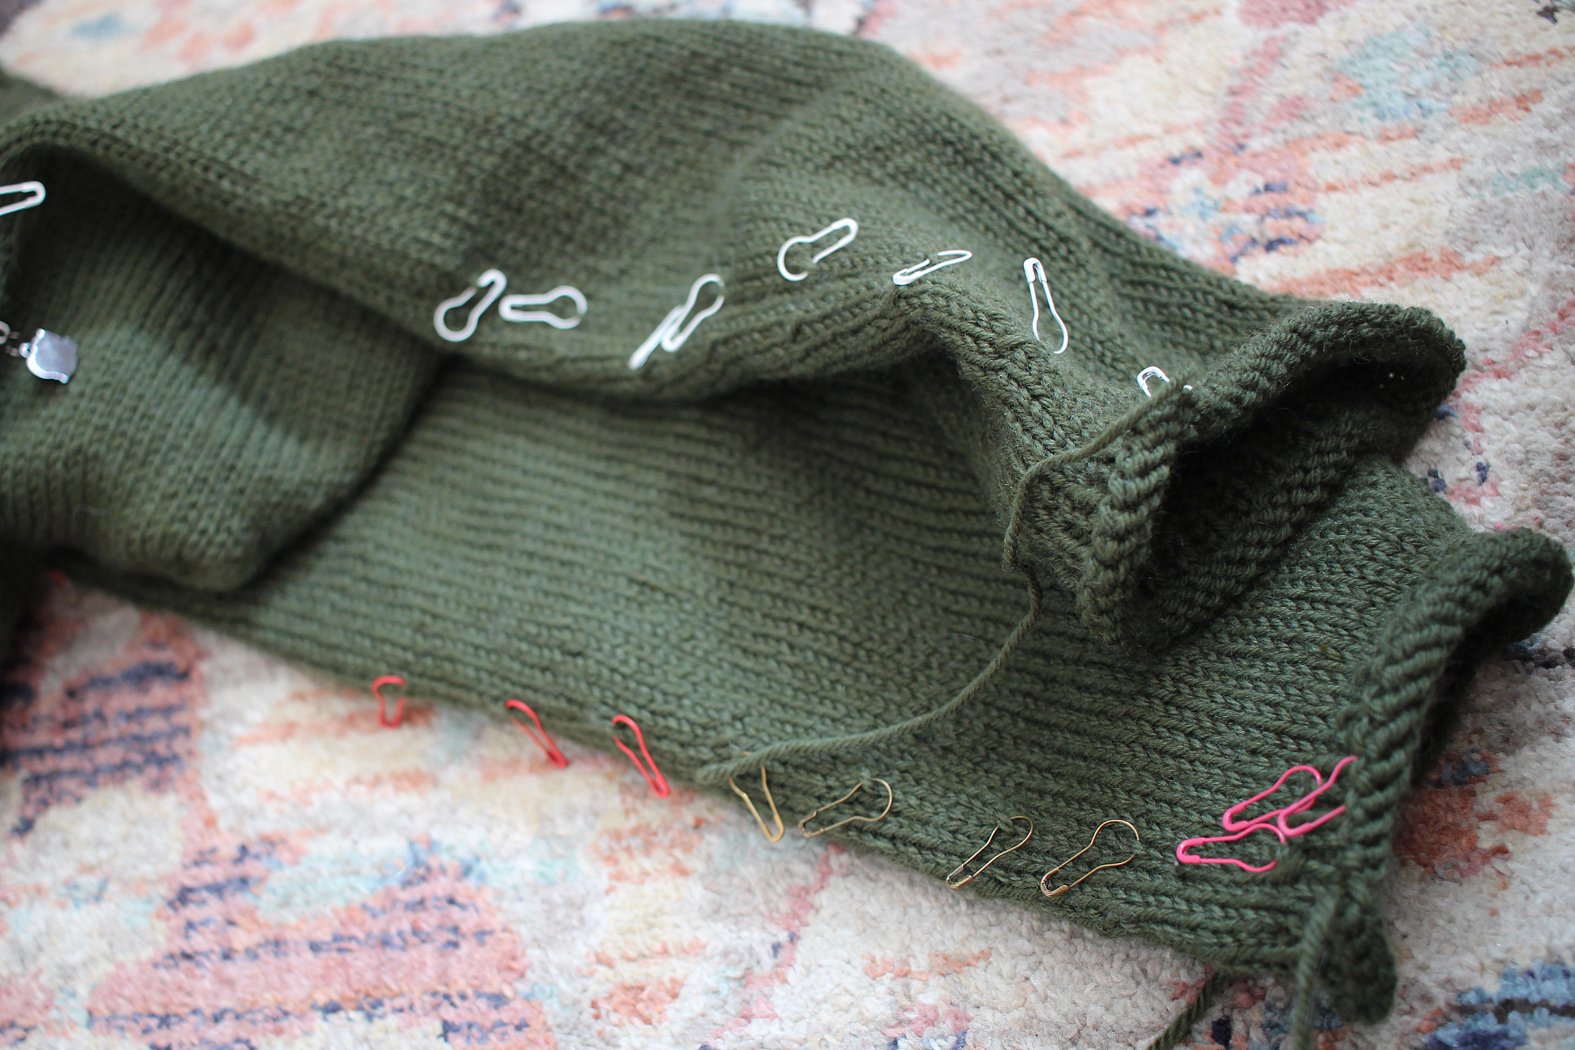
The finished sleeves with all the decrease rows marked with colorful coil-less safety pins.

The only modification which didn’t really turn out was shrinking the body circumference. I did it gradually with one decrease row every inch for 4 inches. The body did drop down to the smaller size, but there’s still a lot of extra fabric hiding under the arms. I don’t quite look like a flying squirrel when I wear it, but I kinda do. It’s a good thing that I wanted this sweater mainly for puttering around the house and being cosy. Next time I need to mash up bigger shoulders with a smaller body in the same sweater (which is basically every sweater I make for myself from now on), I’ll work the decreases over a much shorter length.

Side shape of the heavily-modified Cassidy sweater.

On the whole, I’m really happy with this sweater. It fits well and will help me make even better fitting sweater next time. Plus, it’ll keep me warm and cosy on the snowy and rainy days of this not-quite spring weather.

Pattern: Cassidy by Maria Leigh (Ravelry Link)

Yarn: Mystery Aran Weight Stash Yarn - 515 g (about 1,150 yds)

Needles: US 7 (4.5 mm) circulars

Dates: November 12, 2020 - February 1, 2022

2022 Goals

The start of March is a great time to write about goals and projects for 2022. Yeah? Yeah, I think so.

I didn’t really give my crafty goals any thought in November and December 2021. It wasn’t until mid-January that the idea of goals for this year even started to percolate. In February, some of them even sounded doable. Now that it’s March, I’m ready to get started.

My first big goal is the recurring, perennial aim of finishing up the big, lingering projects and the small, lingering projects too. There’s spinning long-overdue handspun for a friend. There’s ripping out a sock because I knit it too long and need the yarn for sock #2. There’s even a sock-monkey without a head kicking around. I want them all done and not taking up space in my WIP pile. There’s plenty more I’m forgetting too, but their time will come.

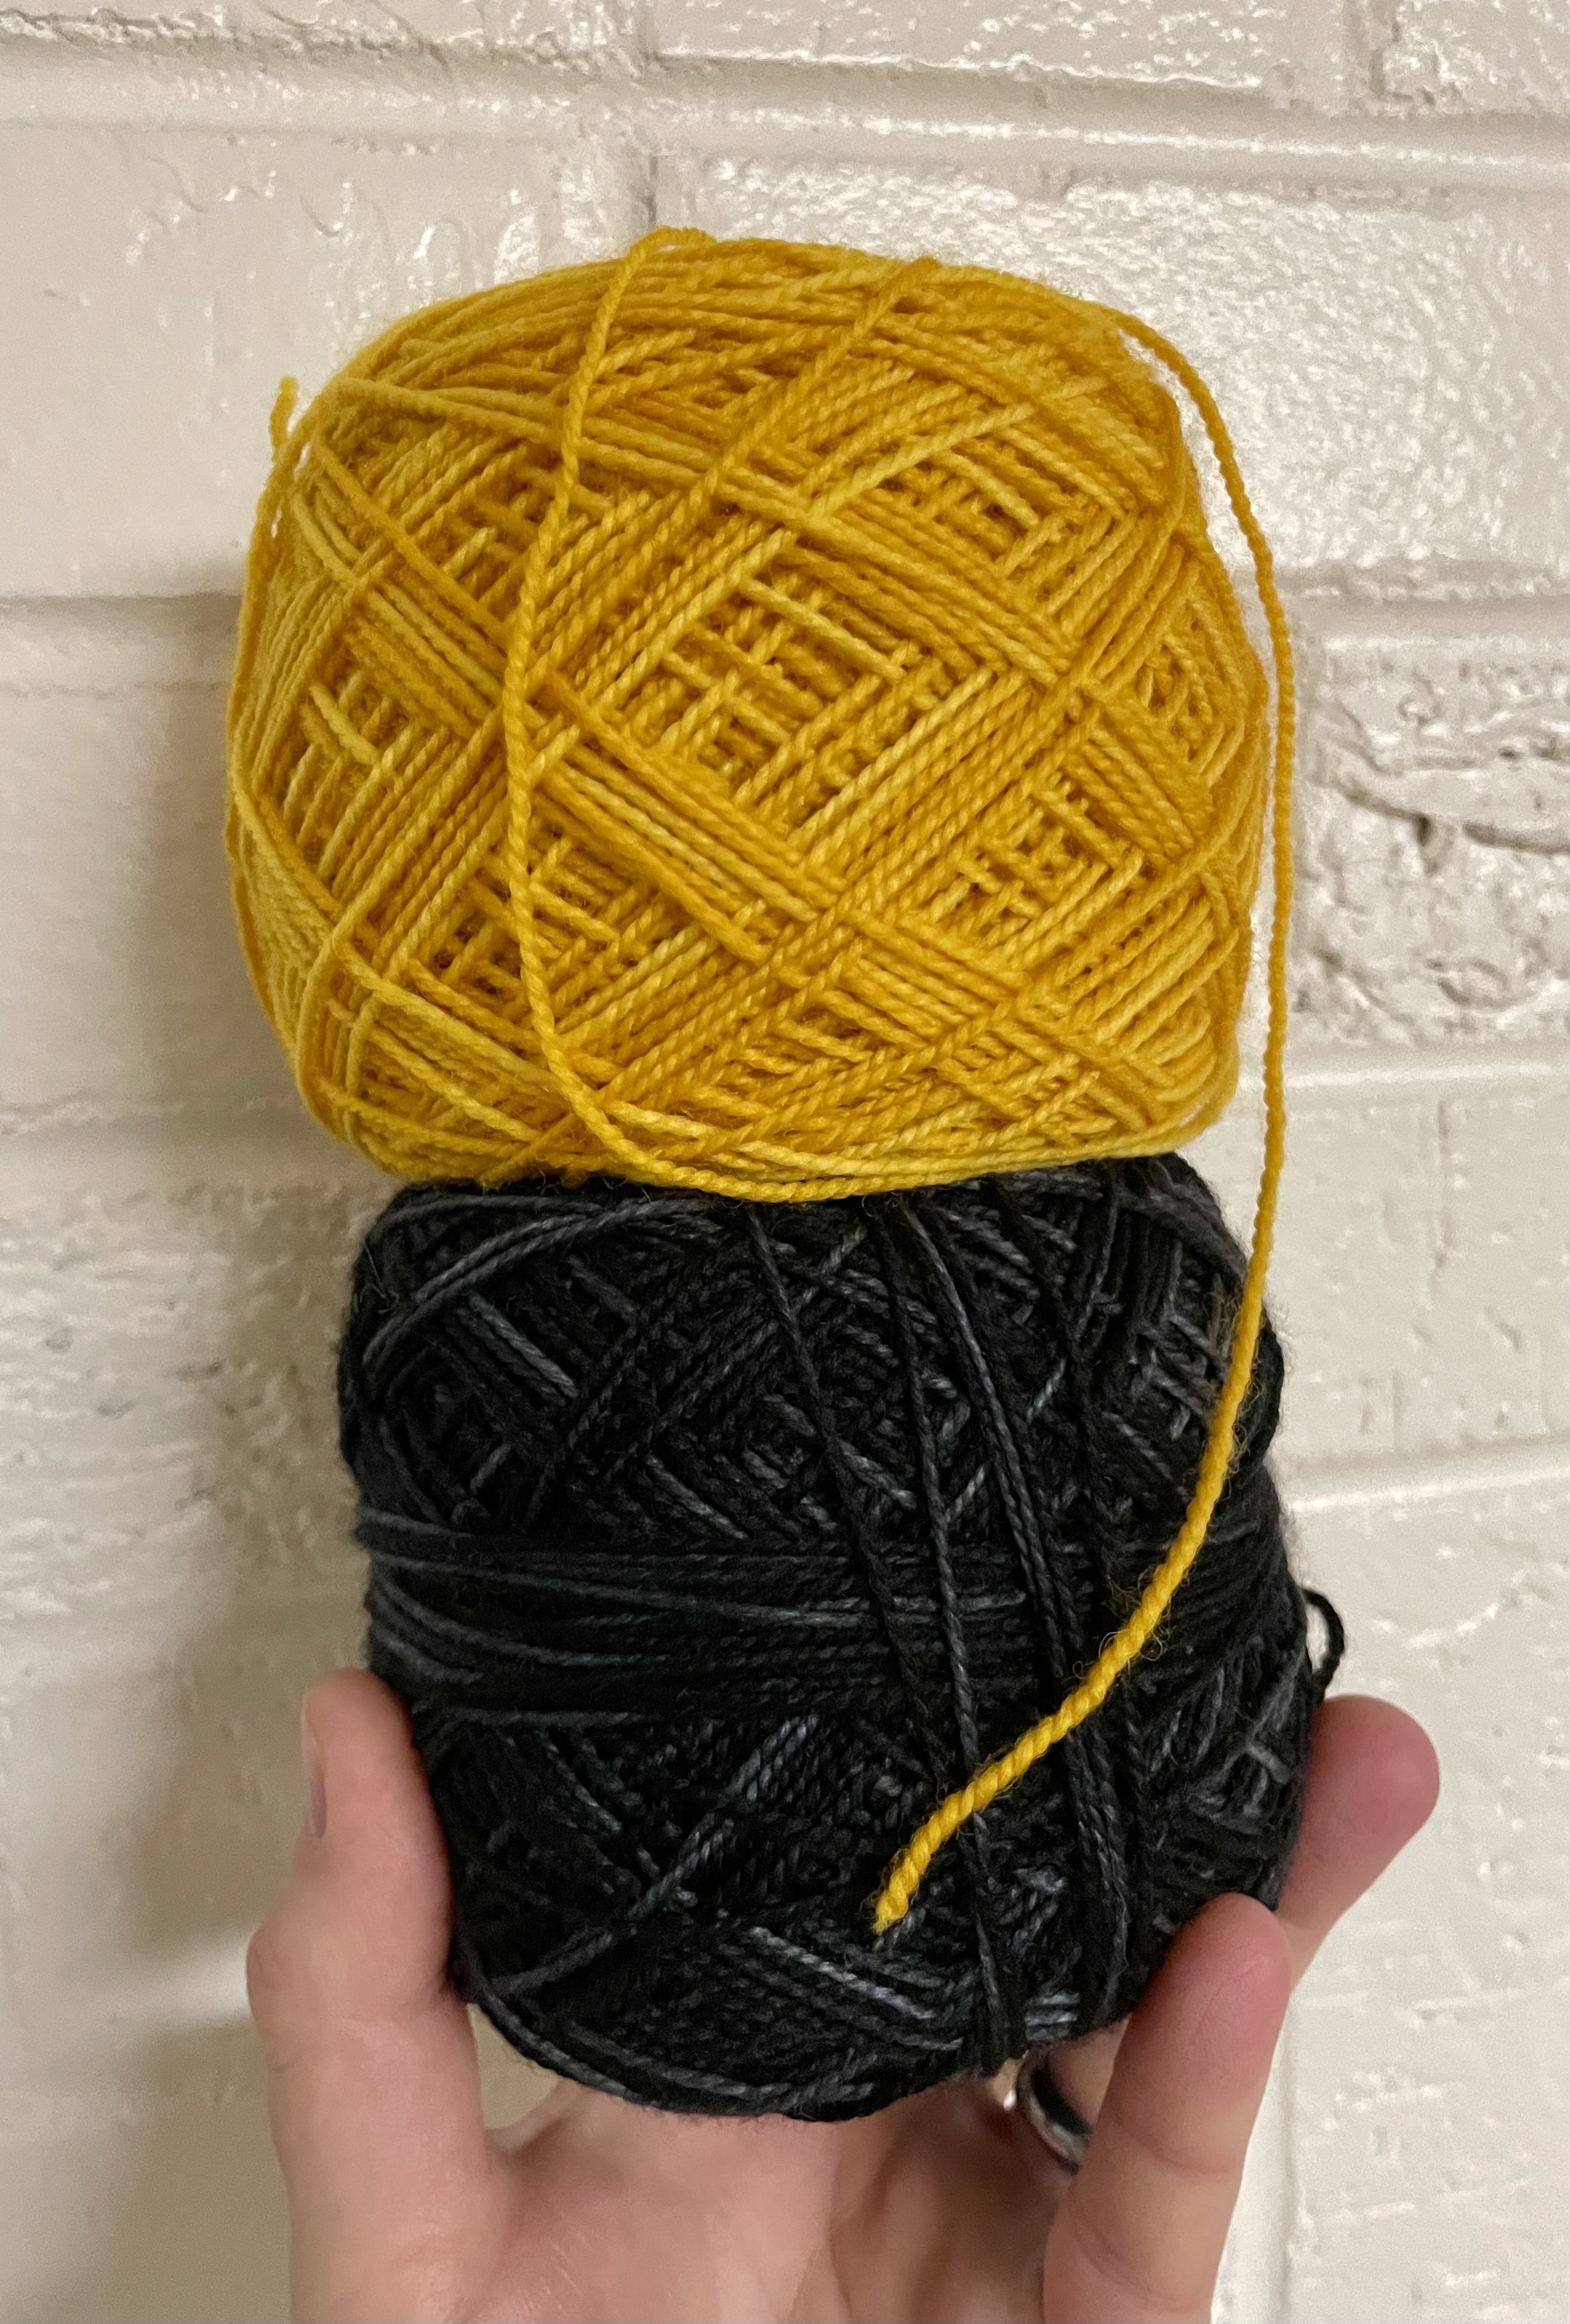
A stack of yellow and black yarn cakes being held in front of a painted brick wall.

My second goal is to make more stuff for me. I’ve made plenty of gifts for others, but my stuff usually gets pushed to the back burner. There’s a long list of mitts, shawls, socks, and sweaters that I’ve wanted to make for years. The yarns are wound, and the patterns are bought, but the needles are still empty.

Hand dyed spinning fiber is shades of blue and maroon.

The third goal is to spin some yarn, any yarn. My spinning wheel has been packed away for I can’t even remember how long. We miss each other. Now that the kiddo is a little older, I might be able to keep it out where I can use it (and maybe get her interested in spinning too).

My other crafty goals have nothing to do with yarn. I want to learn Inkscape and figure out how to make vector art and my own cut files for my Cricut. I want to blog more and get used to writing shorter, more frequent posts. I want to bind books, make cards again, and play with paper.

This is a pretty short list overall, but I know it’ll keep me busy all year.

Wooly Links: February 2022

I finally sorted through my massive trove of saved links from the past year that I never got around to reading/watching. Some left me asking why I bothered saving them in the first place. Others I set aside to reference for different projects. Some were about knitting and spinning I thought were worth sharing. So here are 10 awesome links about knitting, spinning, fun projects, owning a yarn shop, and dinosaurs.


Is you handspun yarn hard and scratchy? Jacey Boggs has a few ideas to spin softer yarn.

While playing catch-up on with all my podcasts and vlogs, I really enjoyed this interview on The Long Thread podcast with Maggie Casey & Judy Steinkoenig.

Huh. Here’s a tutorial mash up of the Long-Tail and German Twisted Cast-ons to make a stretchy edge for 2x2 rib.

A neat roundup of recent textile discoveries from around the world.

Great tips and questions to help you get started with your own yearly temperature blanket. The tutorial is focused on crochet, but would still work really well with knitting.

Toe-up or cuff-down, it is always helpful to know the anatomy of a sock. This post from Lattes & Llamas is clear, detailed, and has plenty of sock photos.

Seeing other people make fun, wild stuff with yarn is always great. Like this Yarniversal Championship Belt from Hands Occupied.

The Simply Scrappy Cowl seems like a good fit for those leftover bits and bobs of special yarns.

I love the everything about the color work Huddling Penguins hat pattern. (Ravelry Link)

12 Yarn Ball Types and how to work from them.

And now for something different…

How to ride a Pterosaur, according to science

A zine library hidden in plain sight in a library book

The Start of Something New

A hand holding six bright, colorful mini skeins of yarn.

You ever have a serendipitous trip to a yarn shop? I somehow lucked into one after stopping at a coffee shop that just happened to be right next door to a yarn shop. I promise I didn’t plan it that way. Inside, there were some marvelously bright mini skeins which were perfect for a knitting pattern that had caught my attention. That project: small, easy, color work Christmas ornaments. I know it’s January, just hear me out.

The holidays and the end of 2021 didn’t leave me much space for knitting. Especially not small bite sized bits of color work. So, when I stumbled across the Nordic Snowflake ornament, I was smitten. I imagined little bits of bright, almost neon snowflakes popping out at me from an obviously fake white tree. Add in the fun of color work and the promise of a quick knit, well, I was hooked on the idea.

One ball of charcoal colored yarn lined up next to 6 bright mini skeins.

The only problem was that I don’t have a lot of bright, almost neon colors in my stash. So, lucking across a whole (on sale) selection to choose from absolutely made my day. The kiddo helped me pick out 6 colors and a charcoal yarn for contrast. The next day, she helped me wind the yarn into cakes. It’s a joint project now I guess. :)

Six wound mini skeins sitting in a black rope basket with a ball of charcoal colored yarn.

This Year's Pumpkin Patch

Knitted orange, blue, and teal pumpkins sitting in grass.

One of these days I’ll get to write about my knitting projects when I finish them instead of months later. One of these days. Most of the time I just enjoy the completed project and let the blog post go so I’m not creating a giant, overwhelming, ever-growing to do list. But these pumpkins are too cute not to share, even if it is December.

Overhead view of 5 hand knit orange, blue, and teal pumpkins sitting in the grass

When I felt the urge to knit a whole pumpkin patch in September, I went with the Cute Little Pumpkin Patch pattern by Norman Schwarze. It’s fun to knit, has just the right amount of technical detail, and makes a good pumpkin shape with increases and decreases. The dark orange one was even mistaken for an actual pumpkin!

I absolutely love this pattern, and it’s pretty easy to make larger or smaller either by using different weight yarn or working fewer increase rows. The pumpkins I made with worsted weight yarn are the perfect size to sit on a shelf. The tiny pumpkin I made with marled fingering weight yarn is my favorite of the bunch and fits easily in my hand. (Of course, it’s also the one I didn’t get any good photos of before packing it up for next year.)

Close up of a blue pumpkin knit using the Spice Knit Pumpkin Pattern from Knit Picks.

This blue pumpkin is the only one I made this year with the Spice pattern from Knit Picks. The kiddo wanted a squishy blue pumpkin and a squishy blue pumpkin is exactly what she got. Of course she didn’t let me pack that one up.

Teal knitted pumpkin front and center with orange and blue pumpkins sitting behind.

I’m sure I’ll knit more pumpkins next year. Some, like most of the ones I made this time, will be gifts. Some will be for me. But all of them will probably be cute and tiny.