Time For Some Wooly Spring Cleaning
/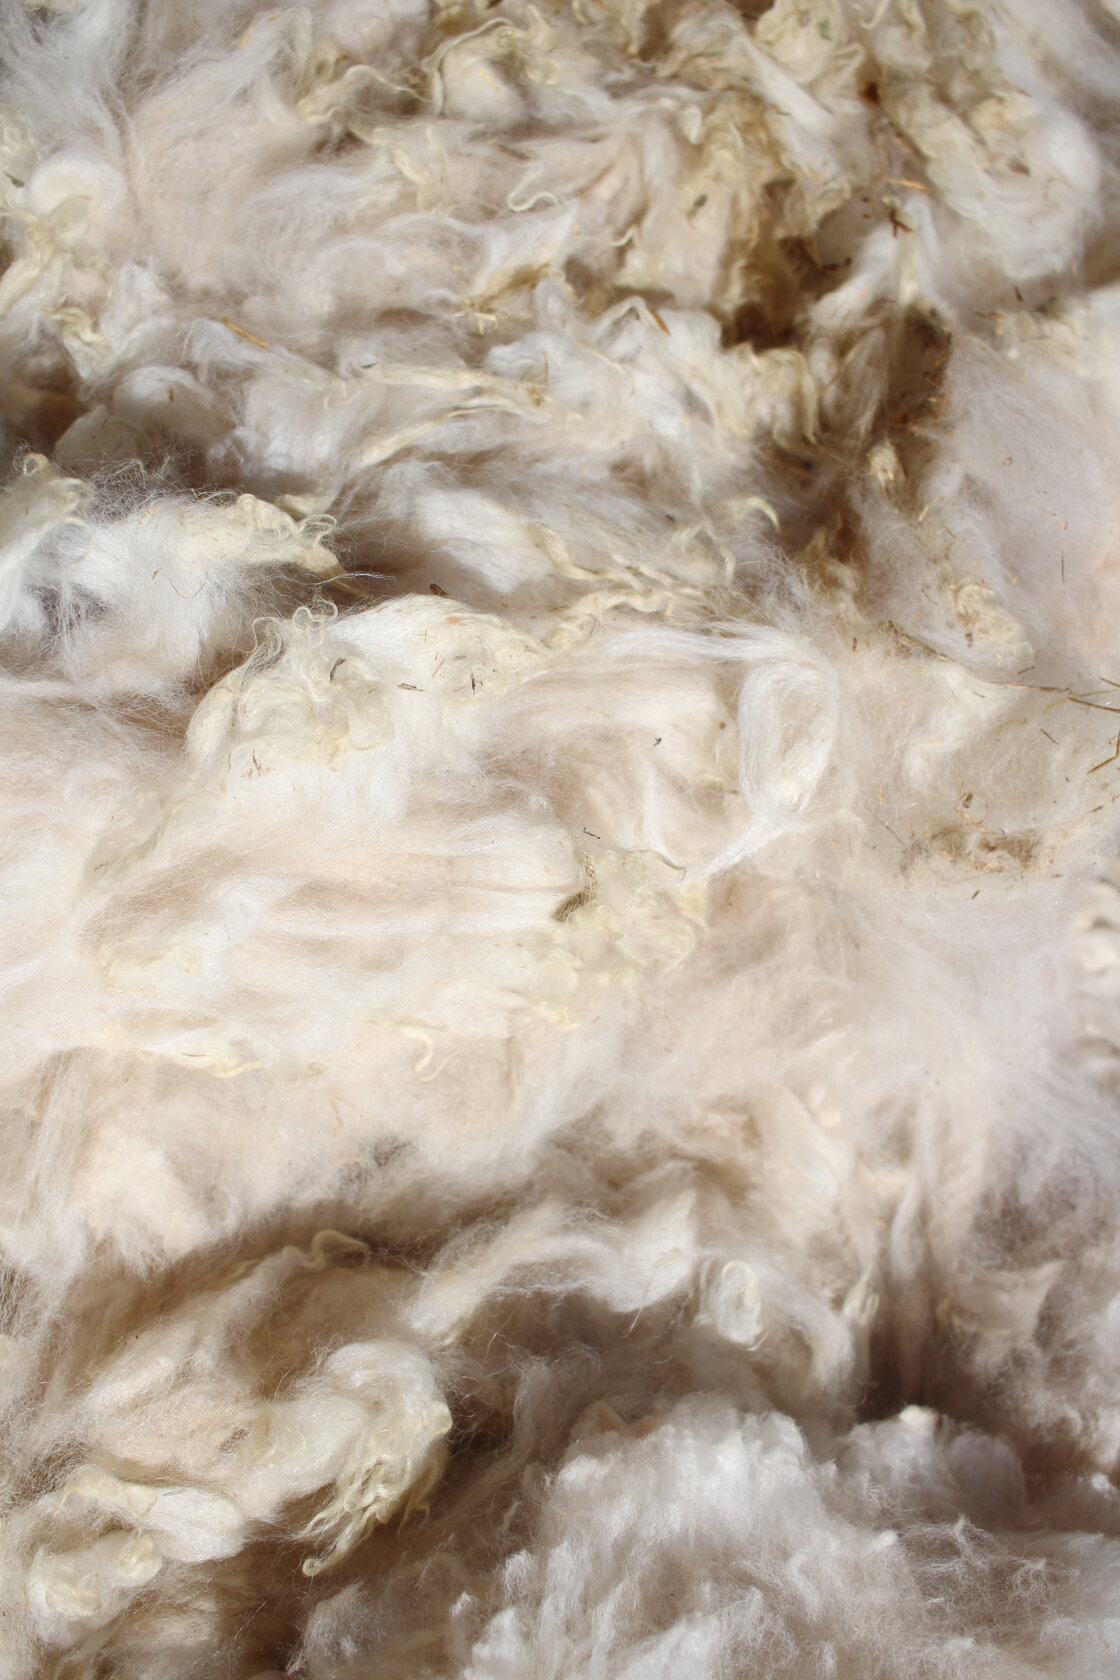
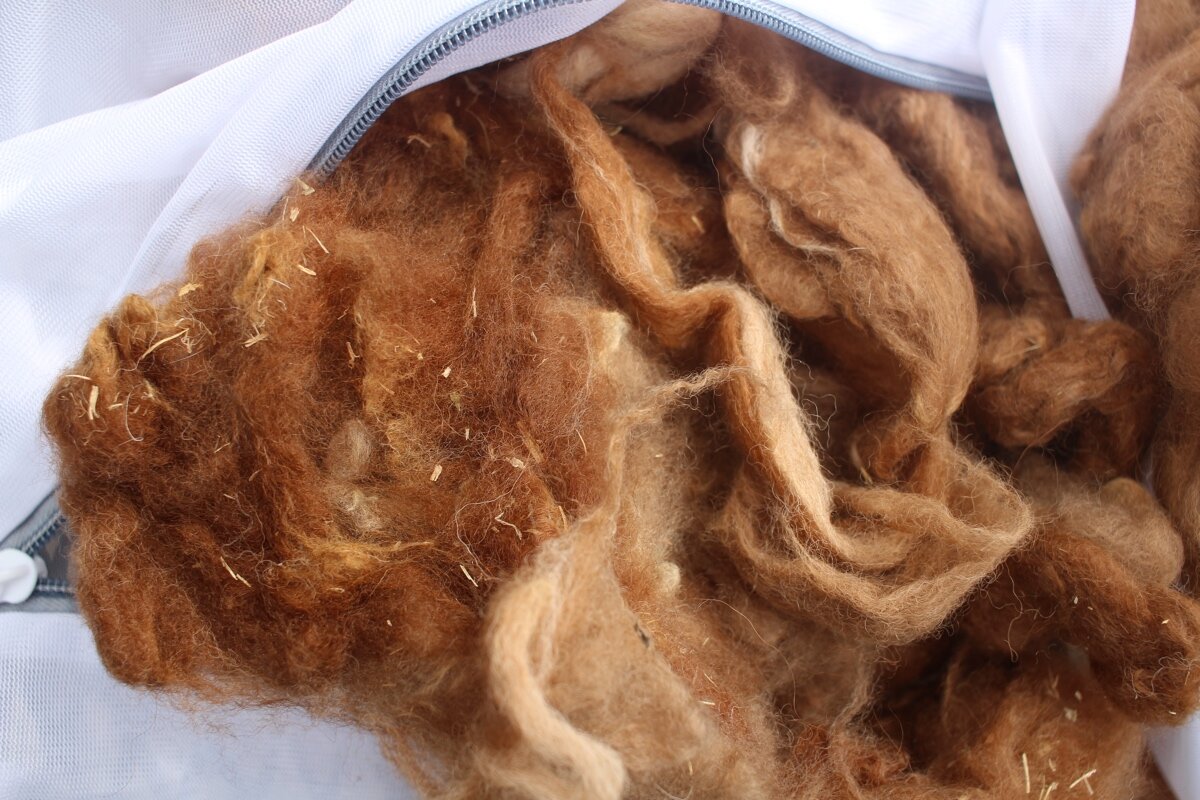
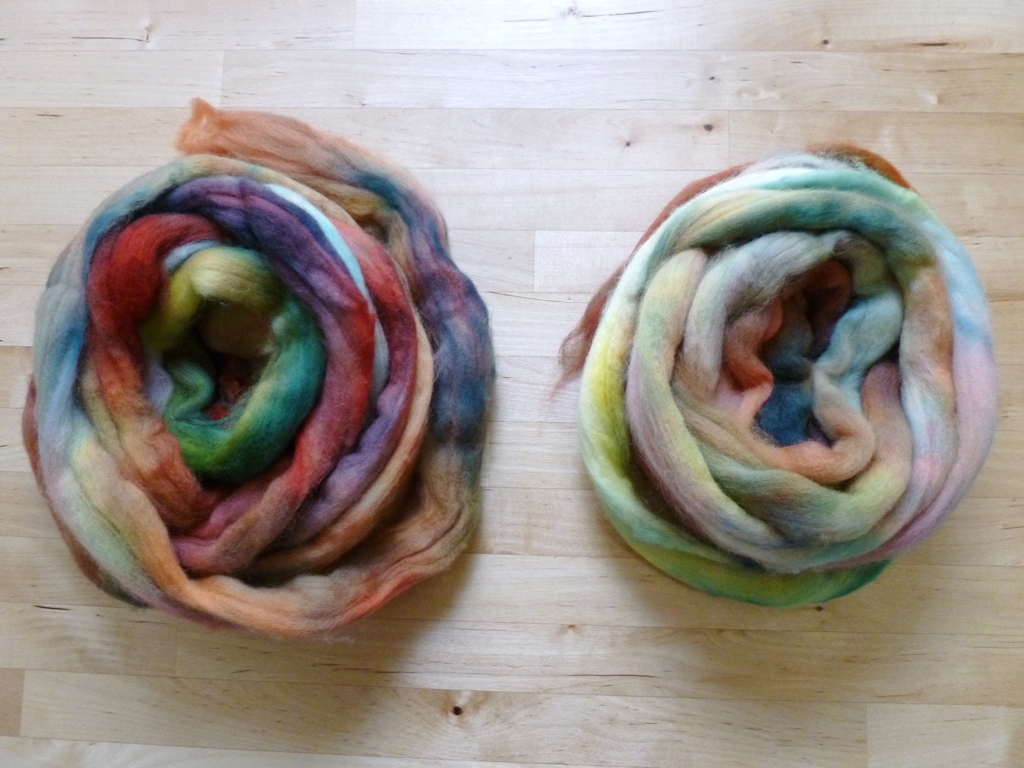
Close up details of the unwashed wool blanket with plenty of lanolin and veggie matter to go around.
Warmer Spring weather has kicked up in fits and spurts over the past few weeks. So, it’s time for that giant box of fiber that’s been sitting on a shelf in the garage to finally get some time in the sun and the tub.
My dad sent me a 16” x 16” x 17” box last year. I poked at it a little bit, but wasn’t quite ready to jump into washing it just then. I wanted to do a little practice first and had a much smaller chunk of alpaca that would be a good start to learn how to wash raw fiber. I chronicled that learning attempt here, and it went really well. With a little experience and confidence under my belt, I was ready to get started…eventually.

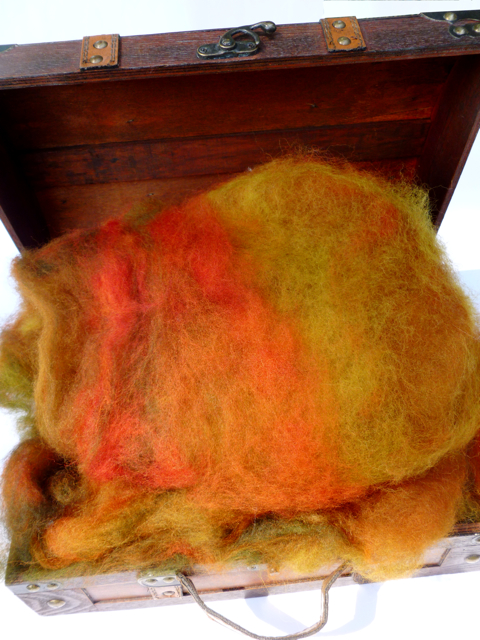
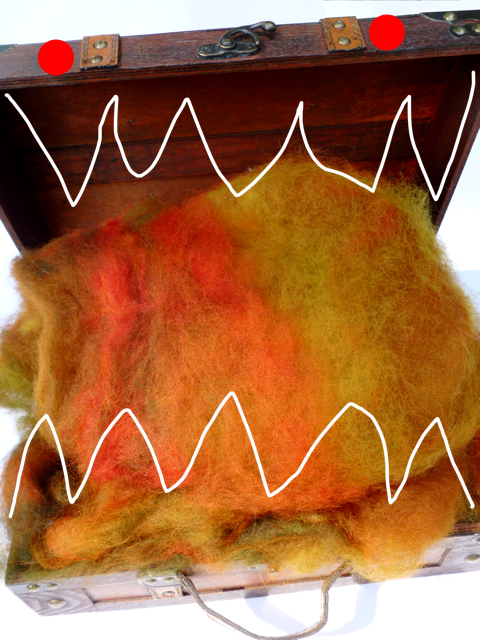
One of the two bags from the box and absolutely stuffed full of a skirted wool fleece.
I opened this box and dug in before I could change my mind or the weather changed my plans for me. The box was packed with two bags that each contained a full skirted fleece! I only had the time and bags to work with one of the bags, so I left the second fleece in the box for later. Maybe this summer? Hopefully this summer.

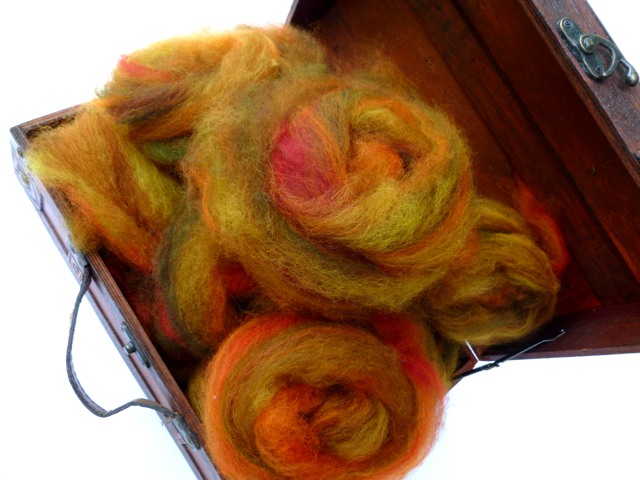
A small sample of the wool from this fleece.
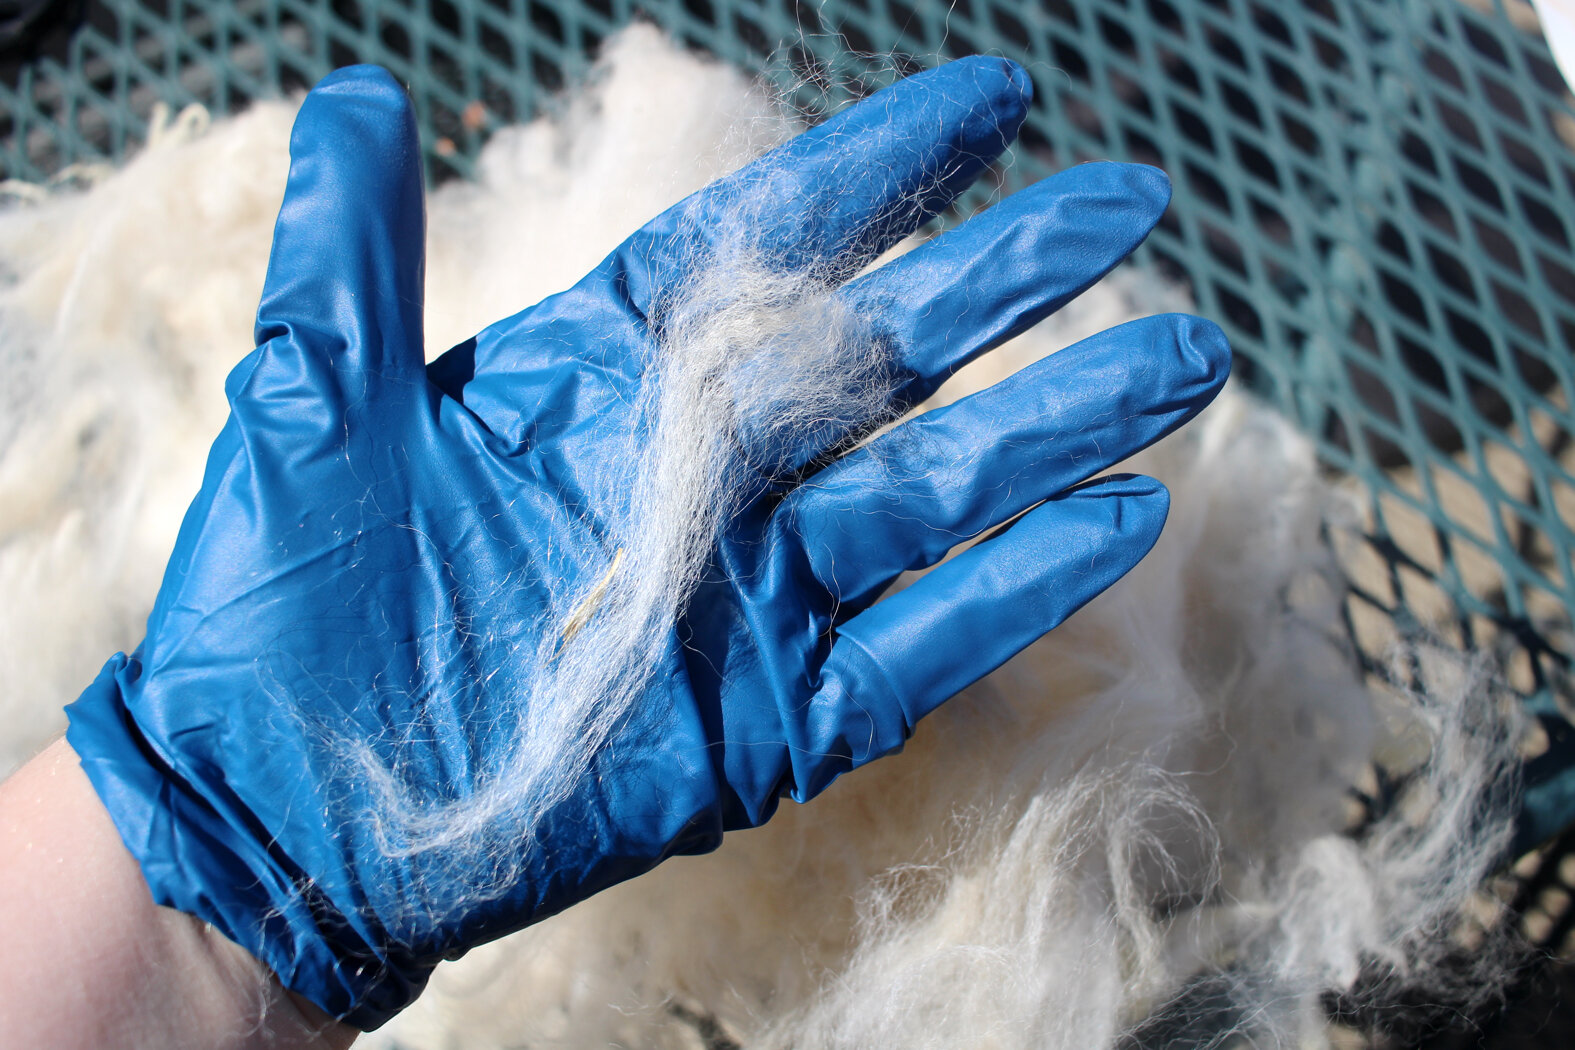
A close up of one of the wool locks.
Anyway, I don’t have any details about what kind of wool this, just that it’s wool. The fleece wasn’t dirty and dusty like alpaca, but a little bit greasy and yellow from the lanolin. There was a fair amount of veggie matter and some second cuts - both of which I pulled out much of what I could. While the locks don’t have much in the way of a tight crimp, it is strong with a 4-5” staple length. After pulling out the dirtiest sections (spoiler alert: I should have pulled out more), I divided the fleece into 7 bags for easier washing.

7 mesh bags full of wool fleece ready for a wash in a utility sink.
My original plan was to wash the fleece in a big tub in the back yard, but that was before I had a utility sink. Washing a big chunk of wool seemed like the perfect thing to really break that sink in. I grabbed the 4 of the 7 bags to get started because I only have so much drying room. Then I filled up the tub with the hottest water I could get, 120 F, and added my soap. I’m using Mrs Meyers Clean Day Dish Soap (<- affiliate link) which is sulfate free (and what I used to wash the alpaca fiber). This batch got two soaks in soapy water (so much dirt!) and two soaks without soap. Then I laid them flat to dry. It was so hard not to poke the bags every hour to see if they were dry yet.
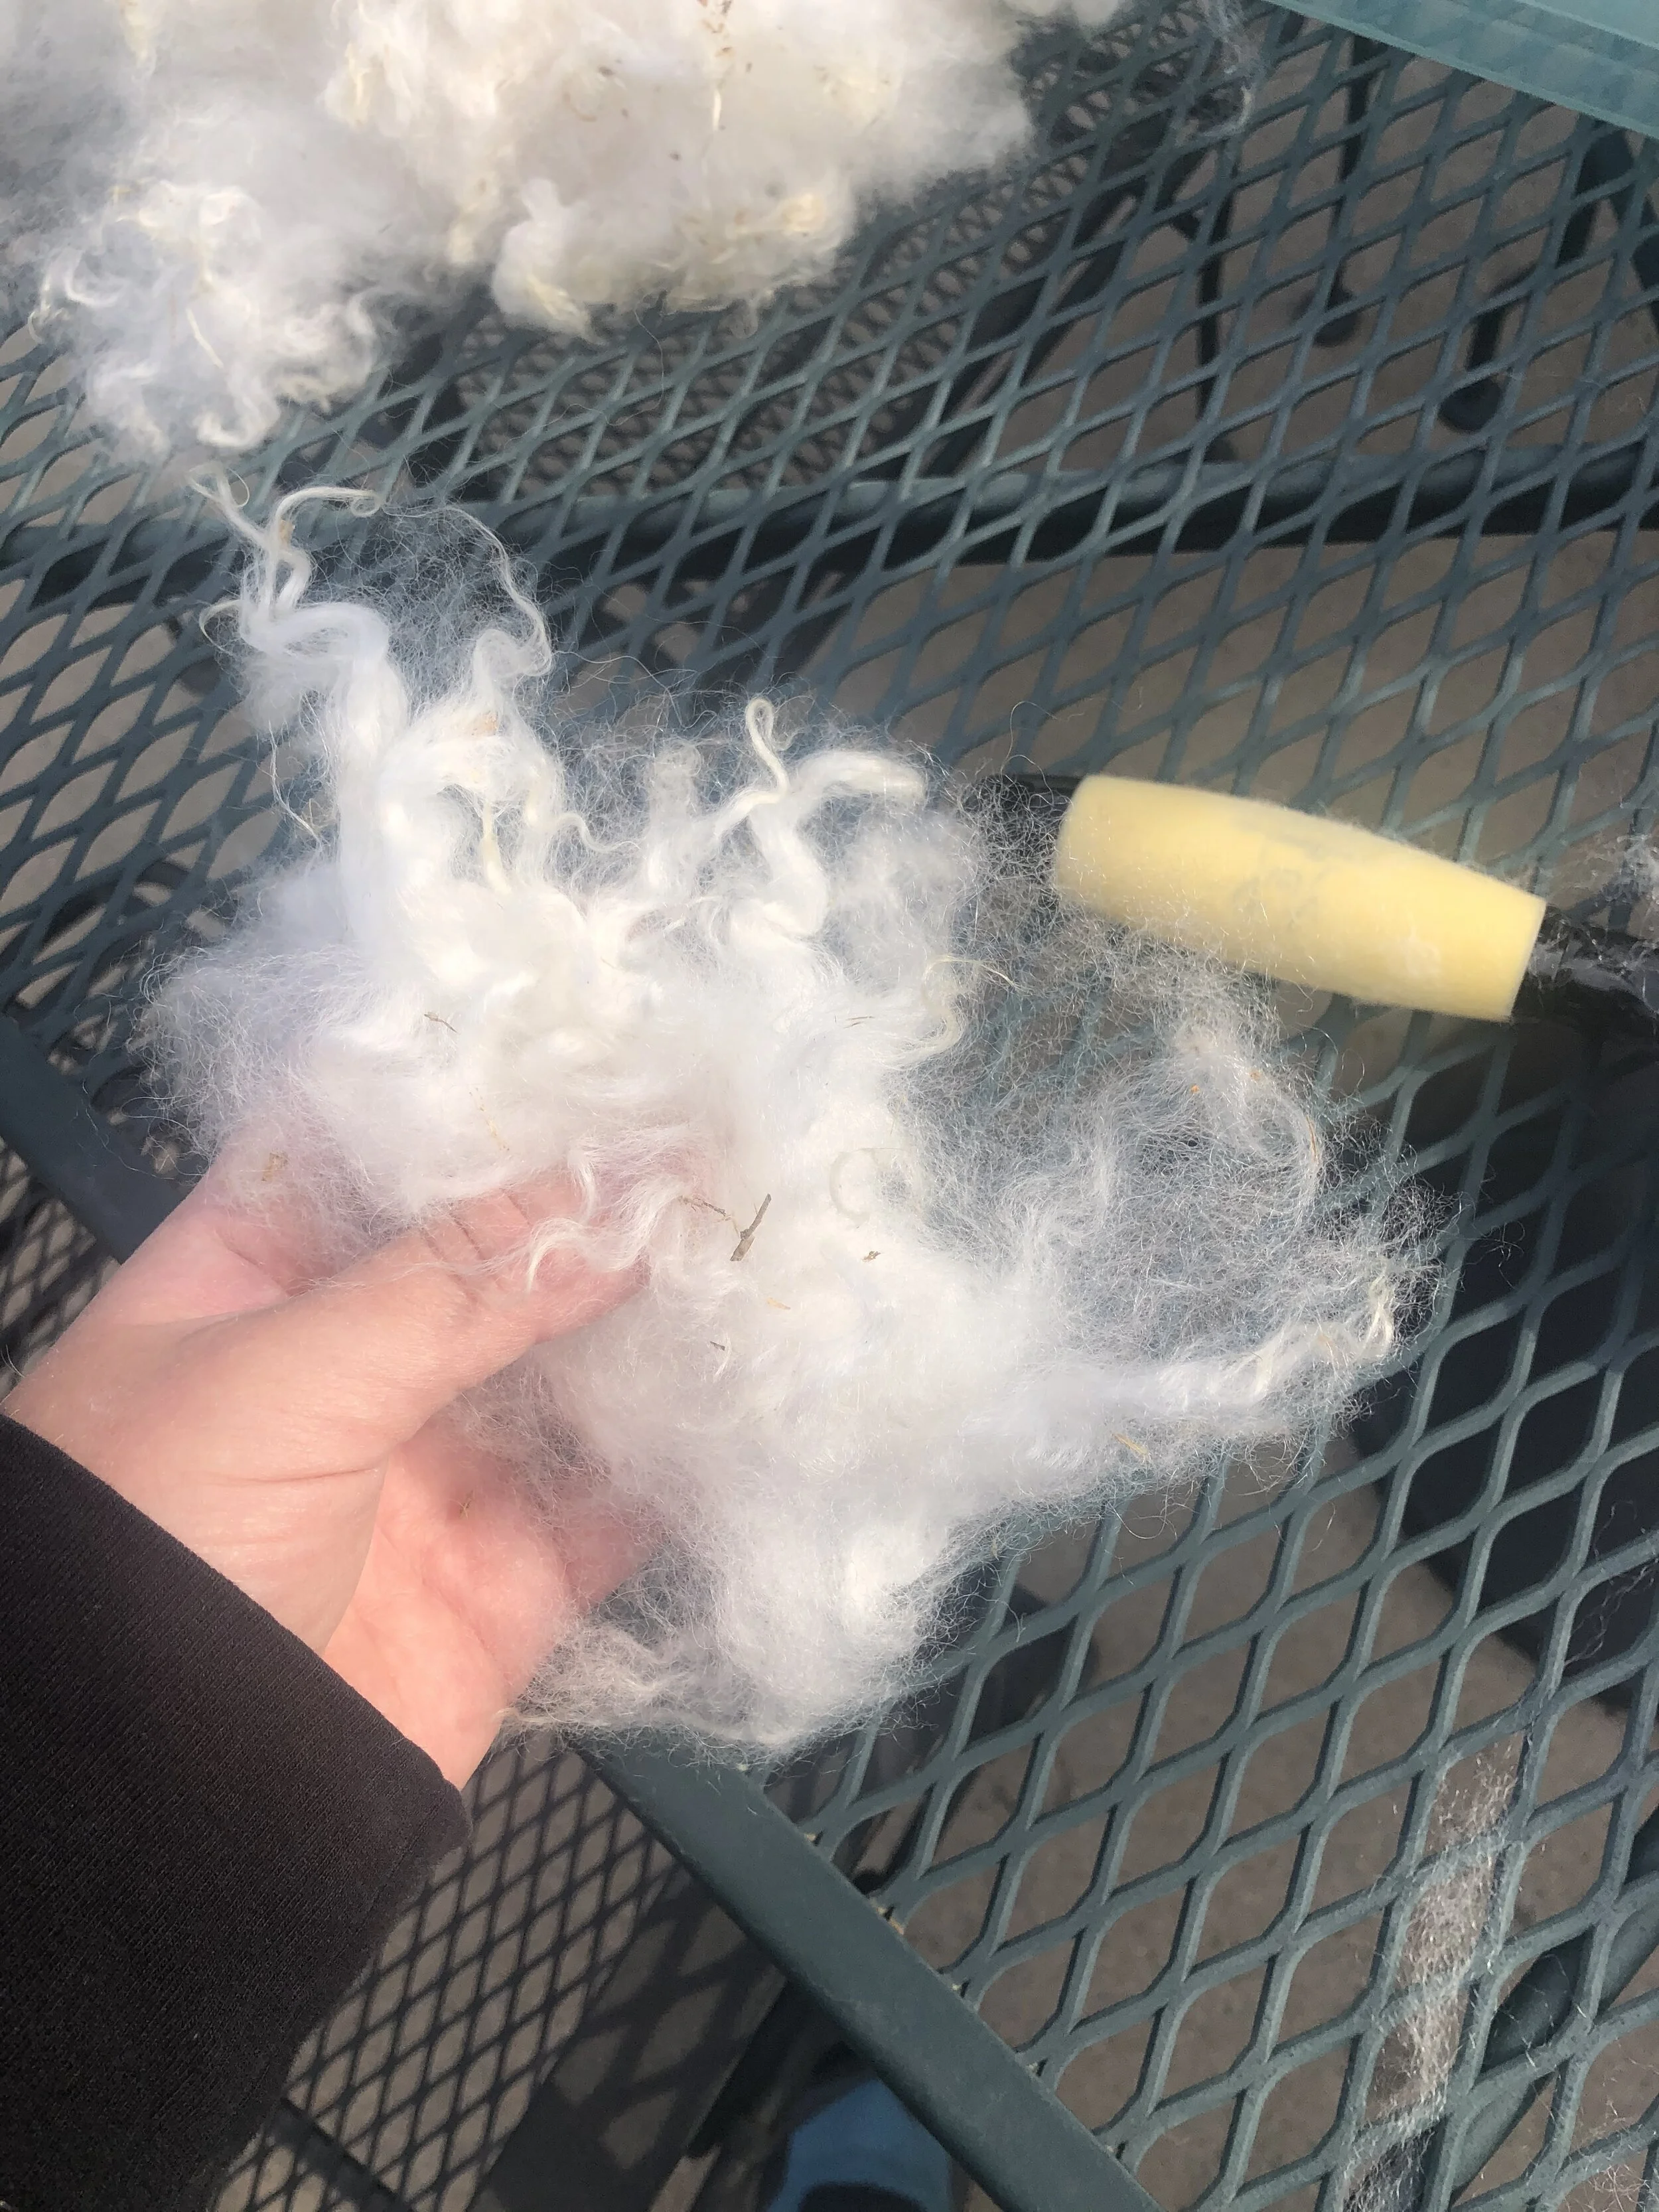
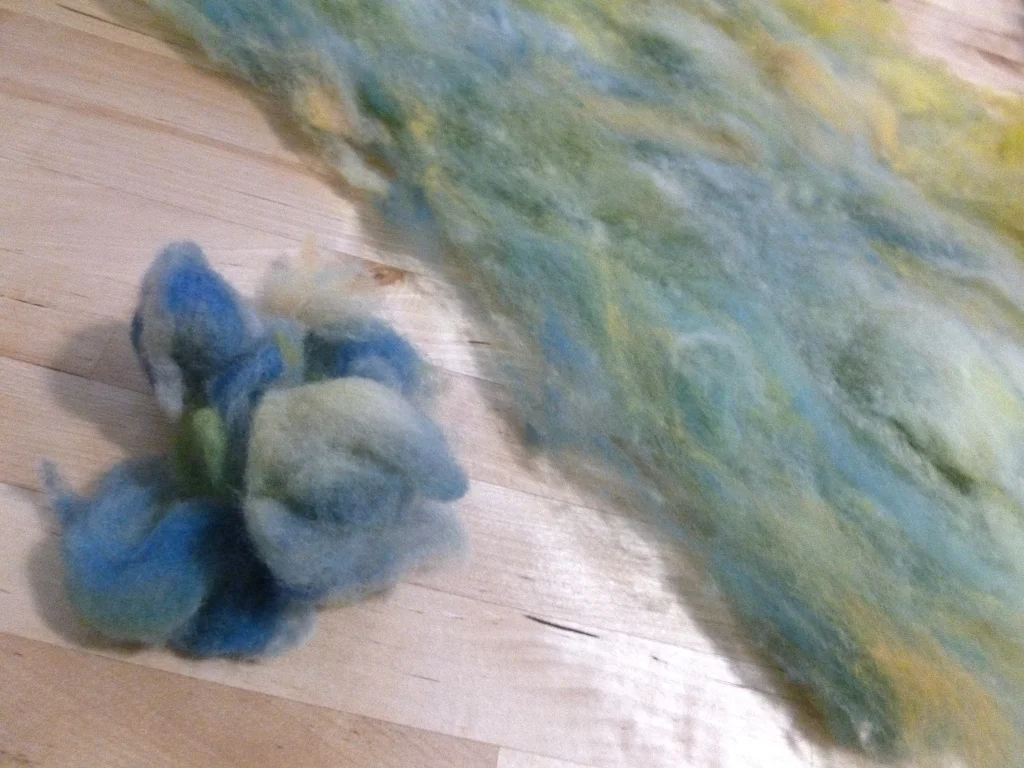
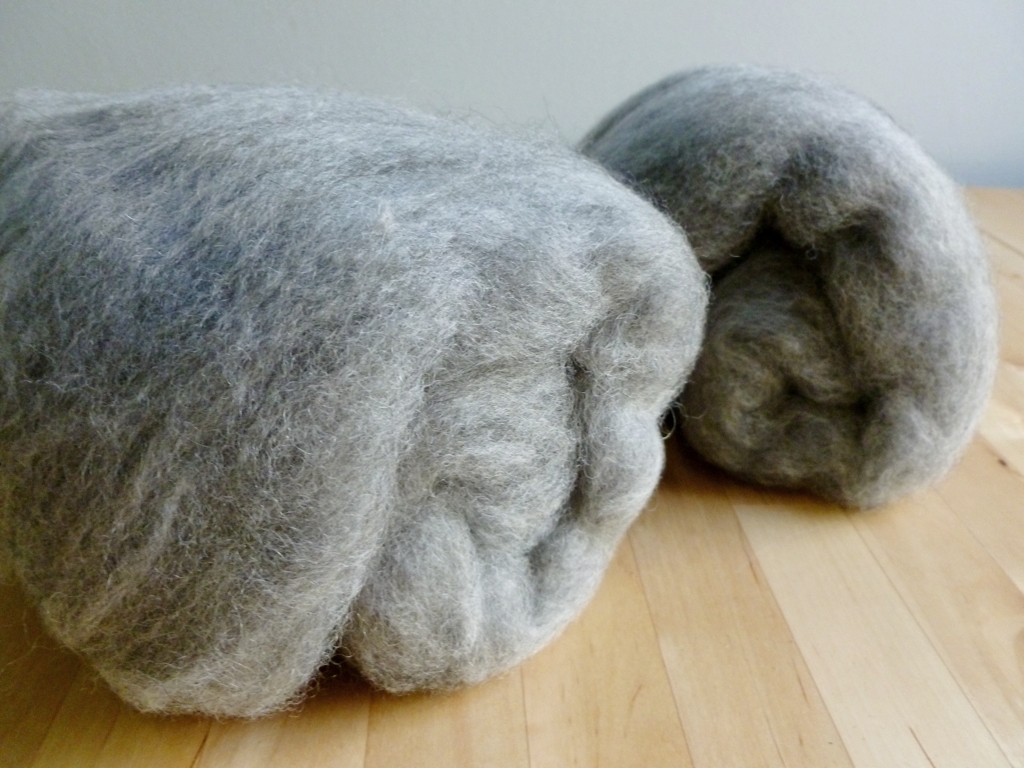
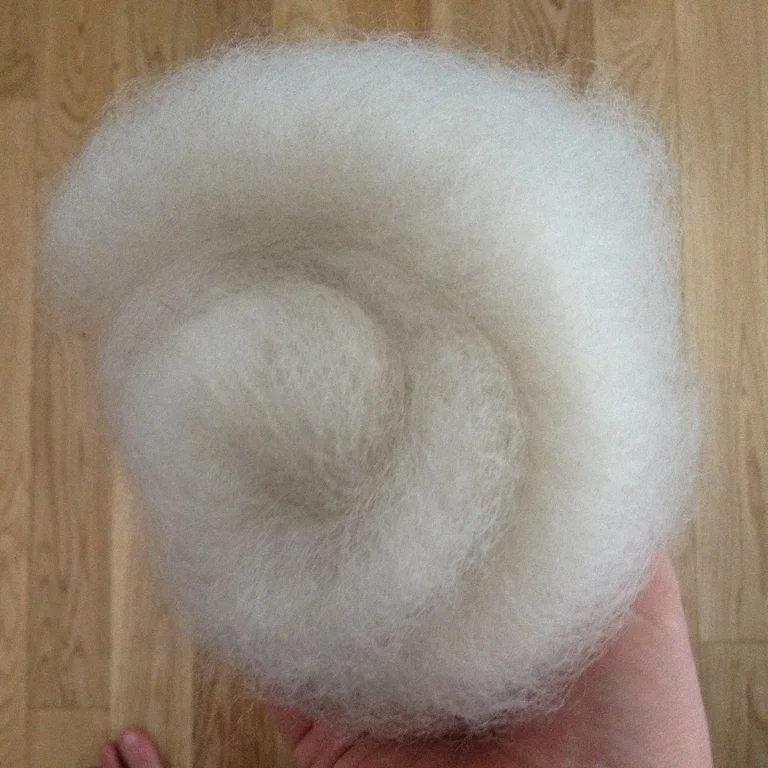
A handful of washed fleece showing off the lock structure and a little bit of veggie matter.
When all the wool was finally dry, I was afraid that I’d felted it in the wash! I didn’t - whew! - but the wool was compacted. It takes a little effort, but I can still pull it apart and tease out the individual fibers. Now that the wool was clean I could finally get a good look at it. Most of the fiber is a bright white and only a few of the tips stayed yellow. It is also very soft and fine. I’d say that I lucked out with this fleece. Thank you, Dad!
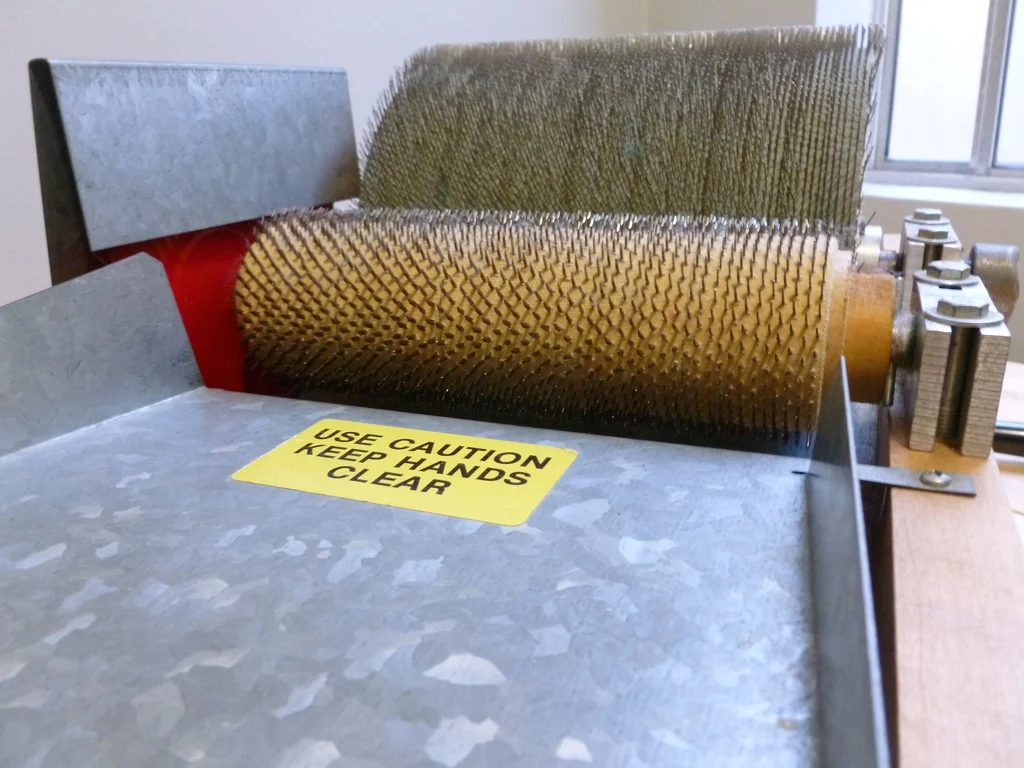
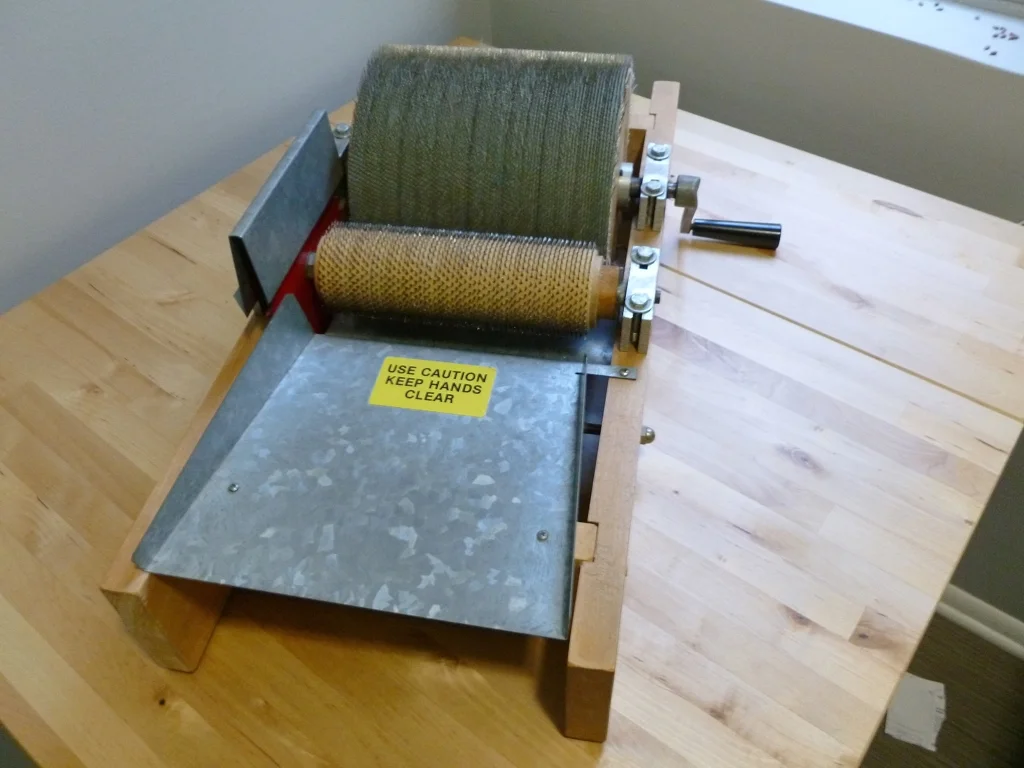
Of course, I couldn’t resist seeing what would happen after the wool took a trip through the drum carder. This was a learning experience on all fronts. The wool (because it was compacted from the wash), took a chunk of work to get ready to feed into the drums. Then all the veggie matter I hoped would come out with drum carding, didn’t. So I spent way more time picking out grass and hay that I’d skipped over in the beginning. Bah. I also learned that this particular wool is very fine and two passes through the carder is the most it can take. Anything more will tangle the fiber into neps which would be a complete waste of some really beautiful wool.
I was also reminded of a few absolutely key points:
Don’t wear all black when working with white fiber.
An apron to wipe your hands and hold tools would be really helpful.
Save outside drum carding for less windy days.
Keep your hands moisturized so the fiber doesn’t just cling to your fingers for the fun of it.
Find all the tools you’re going to need before you start working with the carder.
Toddlers don’t care about drum carding. Toddlers care about being pushed on the swings. (This one is the most important.)
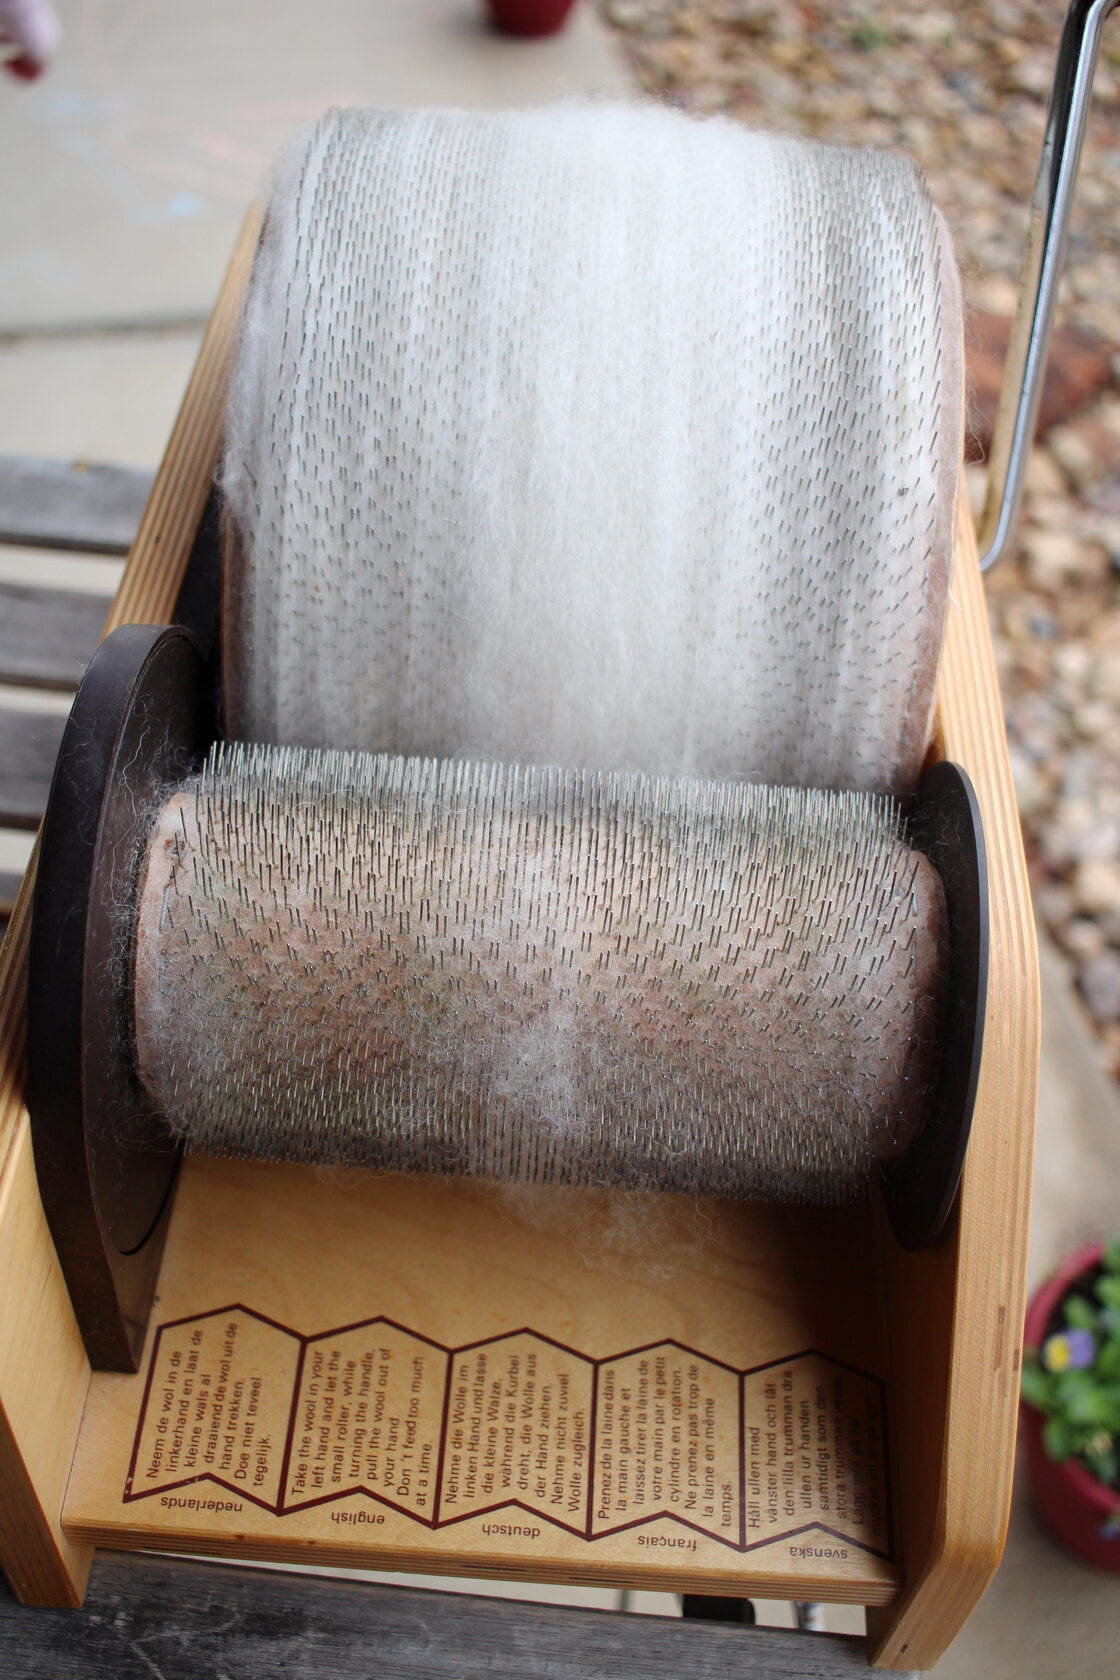
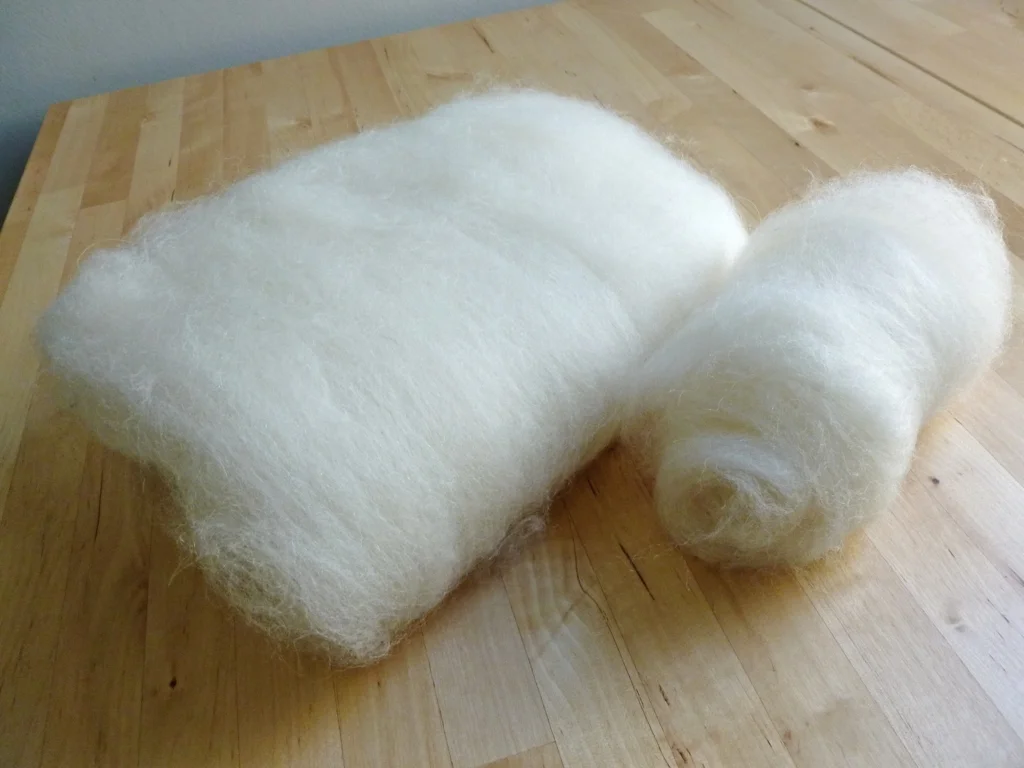
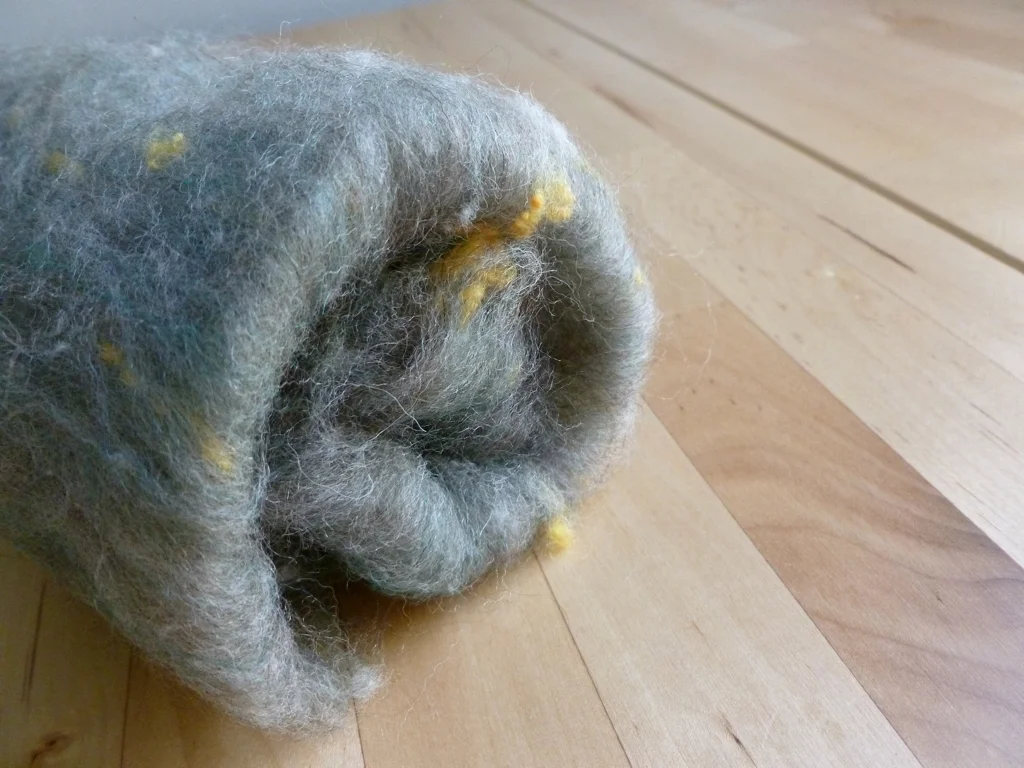
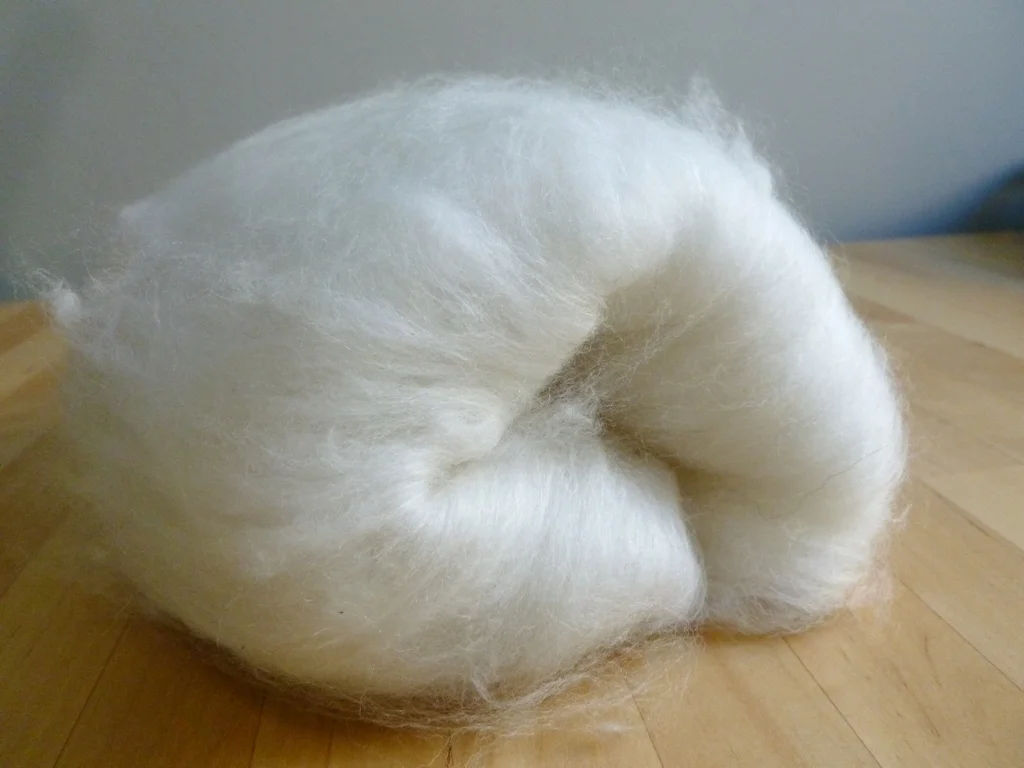
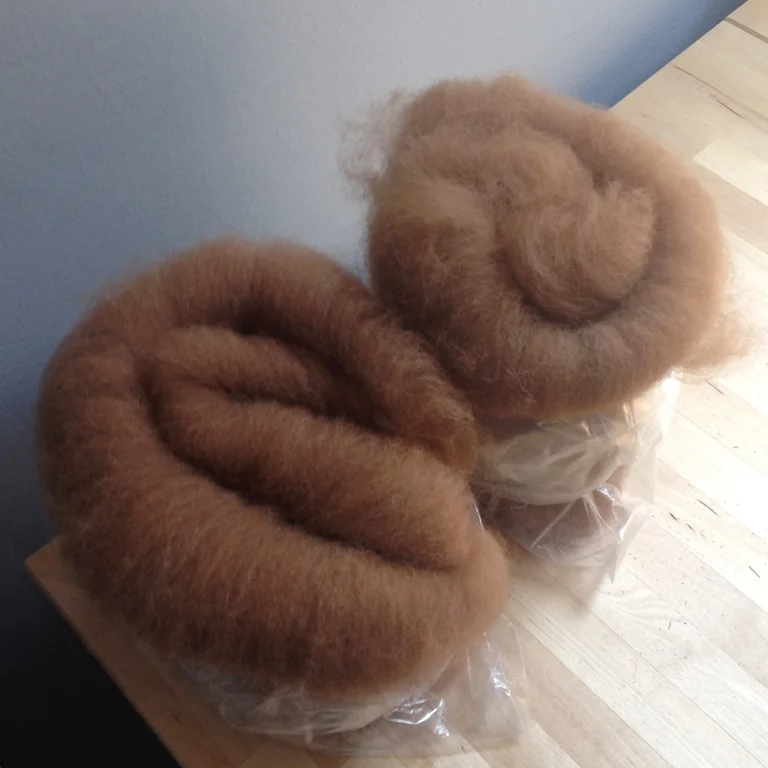
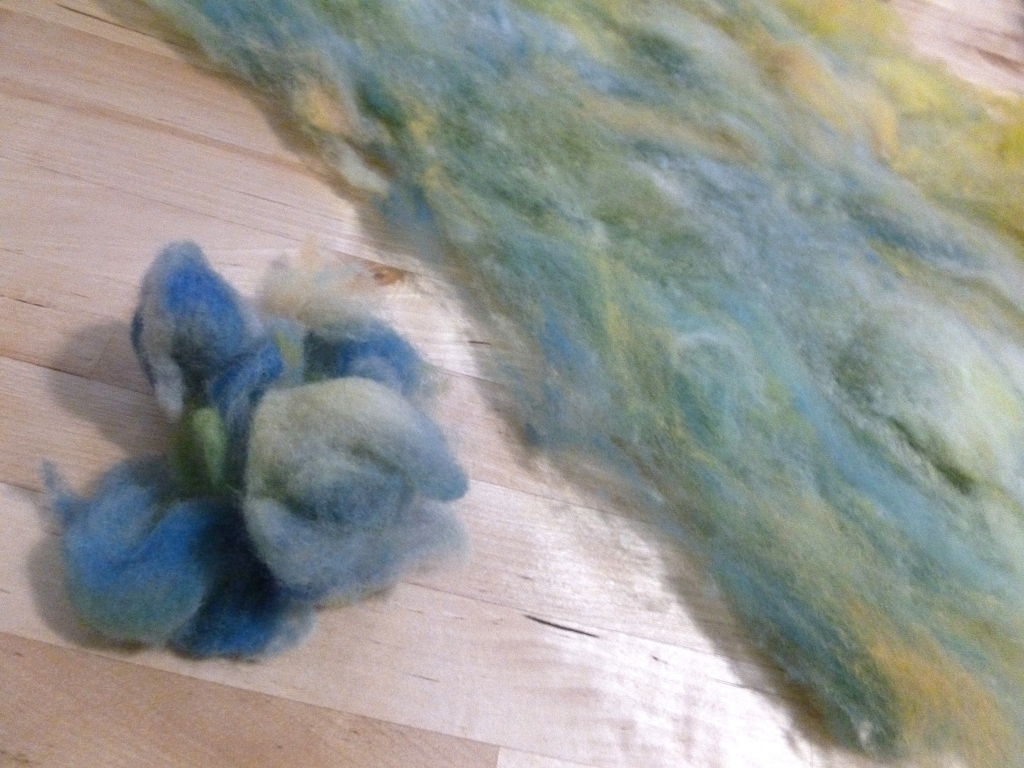
The first finished batt from the washed wool fleece ready to come off the drum carder.

The fluffy and flighty wool batt after pulling it up to come off the drum carder.

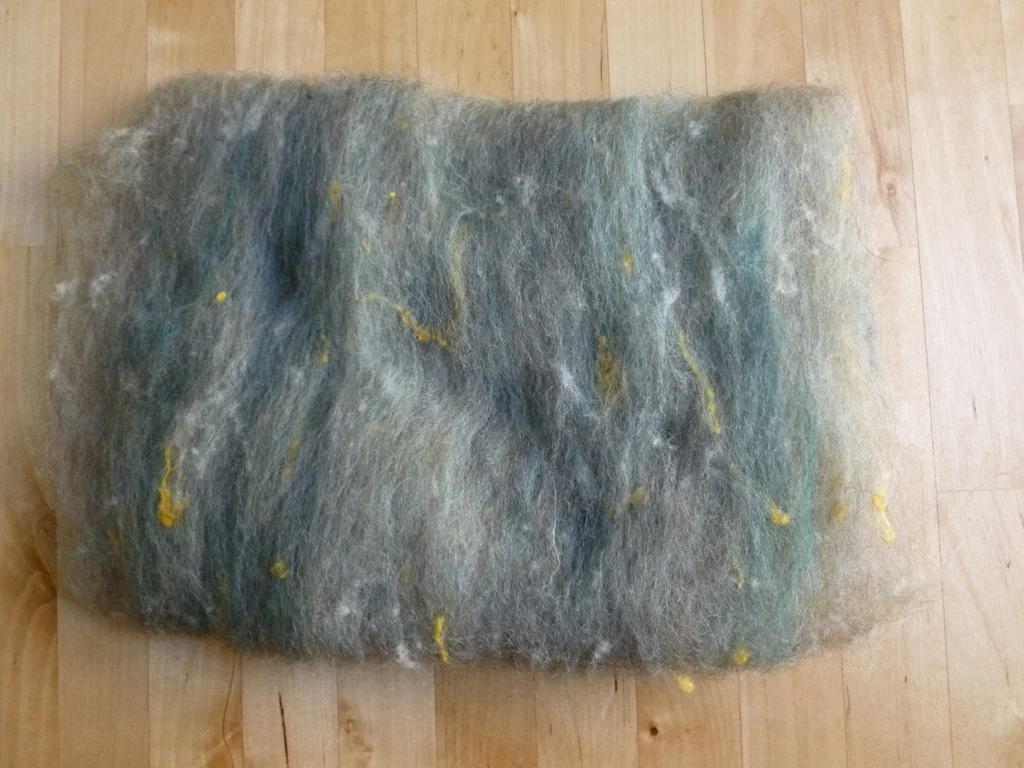
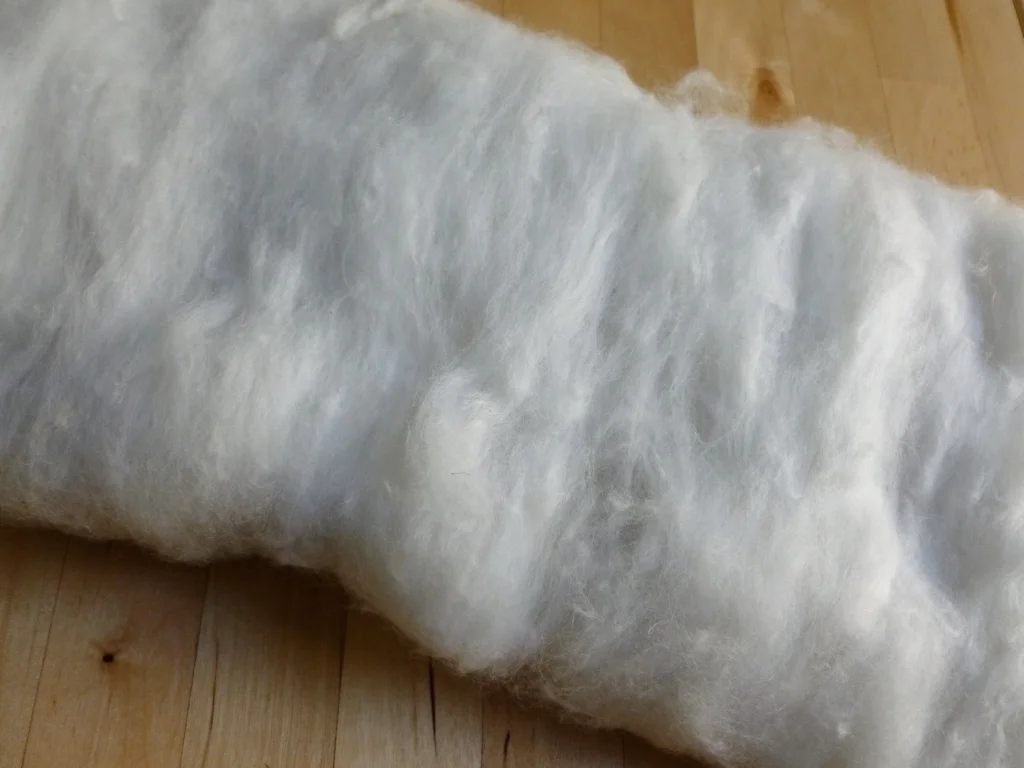
Close up view of the underside of the batt as it comes of the drum carder.
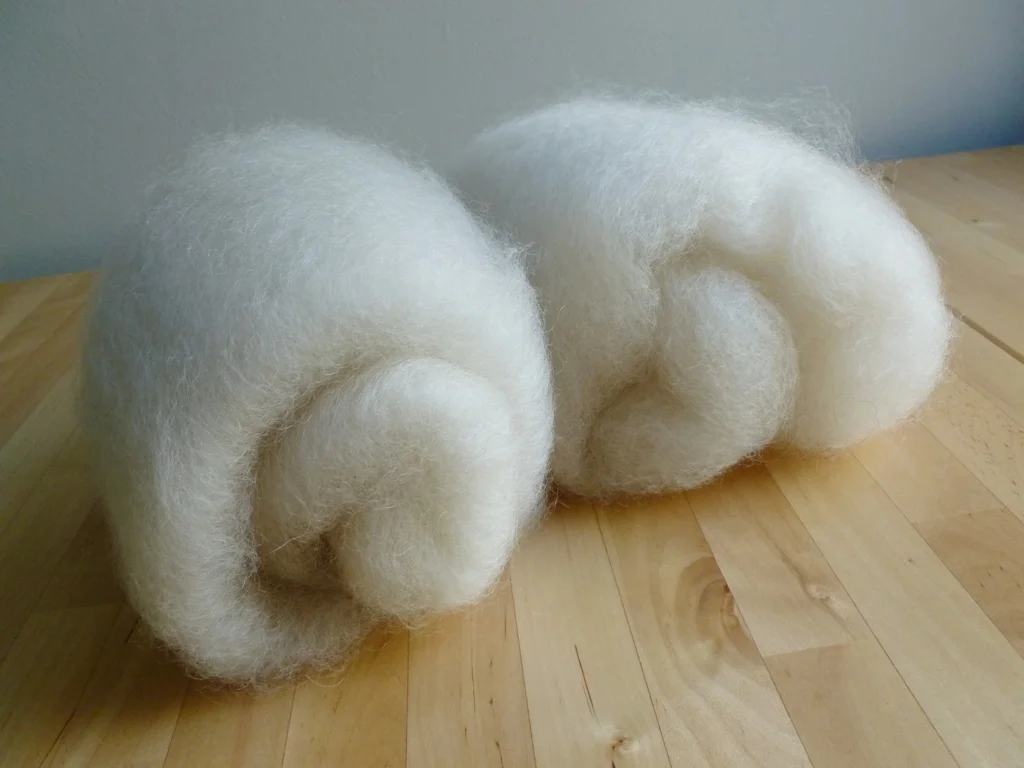
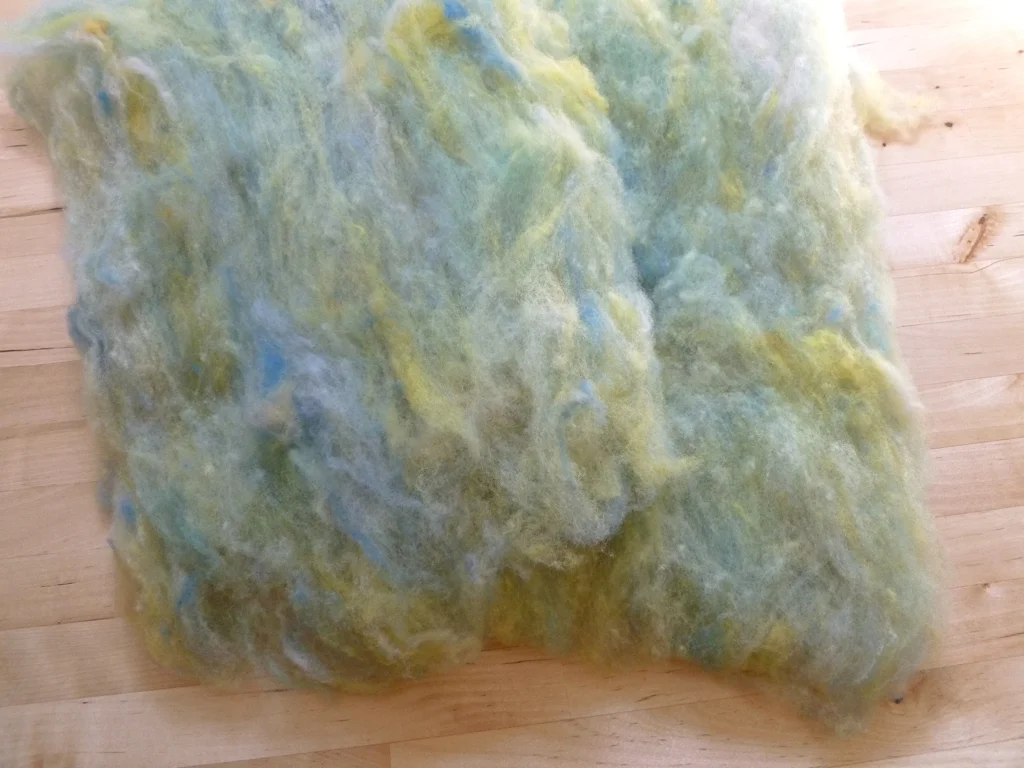
The finished batt is just shy of 2 ounces and only a small fraction of what I washed. The drum carder wasn’t cleaned after my last carding projects so there’s bits of green wool and cinnamon alpaca in there. Still, it looks really good even if it does have more veggie matter in there than I’d like. I’m looking forward to spinning up a few samples of 2 and 3 ply yarns. It’ll certainly help me decide what to make with the finished yarn when I have a better idea of how much fiber I actually have.

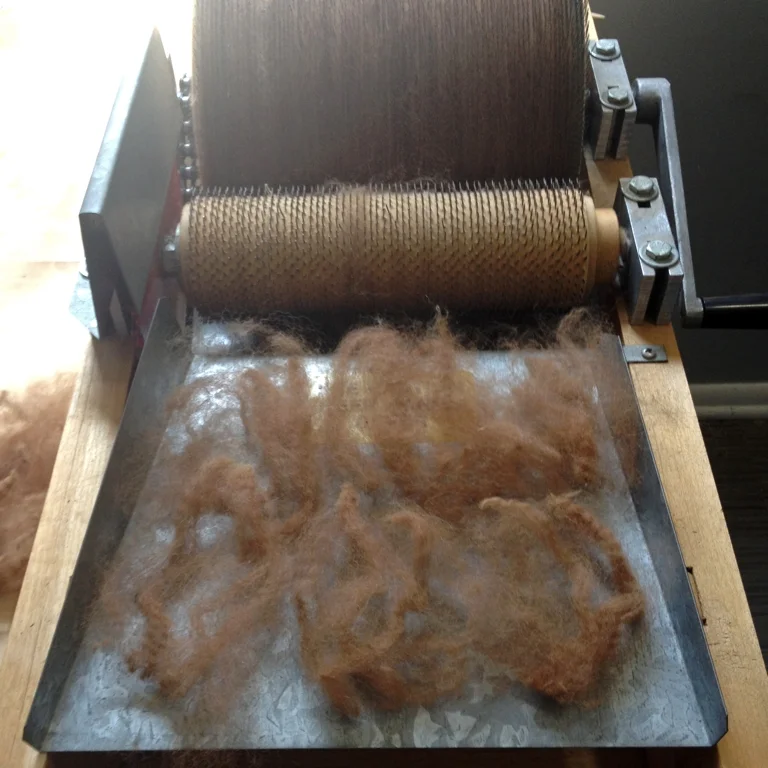
The drum carder after removing the batt. The drums are still covered wool stuck down at the base of the cloth.
Now I have to go pick all the stray fibers out of my drum carder before I can card the next batch.
This post contains an affiliate link which means, if you decide to buy through that link, I’ll get a small commission. My opinions are my own, and formed after multiple uses. I wouldn’t recommend this soap if I didn't think it worked. Thanks!