A Day At The Estes Park Wool Market 2019

Learn how to shop at a fiber festival, and follow along with me for the day at Estes Park Wool Market 2019. | withwool.com#fiberfestival #epwoolmarket #spinning #knitting #estespark

Last weekend I packed up the family and plenty of snacks to drive up to the Estes Park Wool Market. It’s a fun local wool festival that I enjoy visiting every year with a neat marketplace, classes, demos, and animals. Then when we’ve had our fill of the festival, we can head over to Rocky Mountain National Park which is always worth a visit. Since we had to skip the festival in 2018 (new baby + no sleep = so tired), I was really looking forward to going this year. Plus, it would be the Mini’s first fiber festival! How could we not go?

Learn how to shop at a fiber festival, and follow along with me for the day at Estes Park Wool Market 2019. | withwool.com#fiberfestival #epwoolmarket #spinning #knitting #estespark

I wasn’t about to let precious knitting time go to waste and brought my Curve of a Boat shawl with me for the drive. The pattern was great for letting me knit and watch the scenery at the same time.

Learn how to shop at a fiber festival, and follow along with me for the day at Estes Park Wool Market 2019. | withwool.com#fiberfestival #epwoolmarket #spinning #knitting #estespark

We started in the marketplace. Mini didn’t mind being pushed around in the stroller too much, but she definitely wanted to be carried around for a better view of all the yarn and excitement. Thankfully, she let me follow my usual festival shopping routine which looks like this.

  1. Go in with a list. I like to make a list of all the projects I’m shopping for and what materials I need. If the festival is going to be super crowded or huge, I check out the vendor list before hand and write down which ones I want to visit as well.

  2. Next I take a full circuit of the market place to see which ones catch my eye or might have something I want. Unless I see the absolute perfect yarn/fiber, I write down the vendor and their location so I can come back later. Admittedly, this is way easier to do at smaller festivals where backtracking isn’t so much of a hassle.

  3. Once I know which vendors I want to visit, I get down to shopping and trying not to get overwhelmed by all the pretty yarn. Knowing where I want to go helps me get exactly what I want for a project and not settle when the perfect thing might be in the next booth. And when I see a sample project that I like, I take a photo of the info so I can look it up later.

Once I know which vendors I want to visit, I get down to shopping and trying not to get overwhelmed by all the pretty yarn. Knowing where I want to go helps me get exactly what I want for a project and not settle when the perfect thing might be in t…
Learn how to shop at a fiber festival, and follow along with me for the day at Estes Park Wool Market 2019. | withwool.com#fiberfestival #epwoolmarket #spinning #knitting #estespark

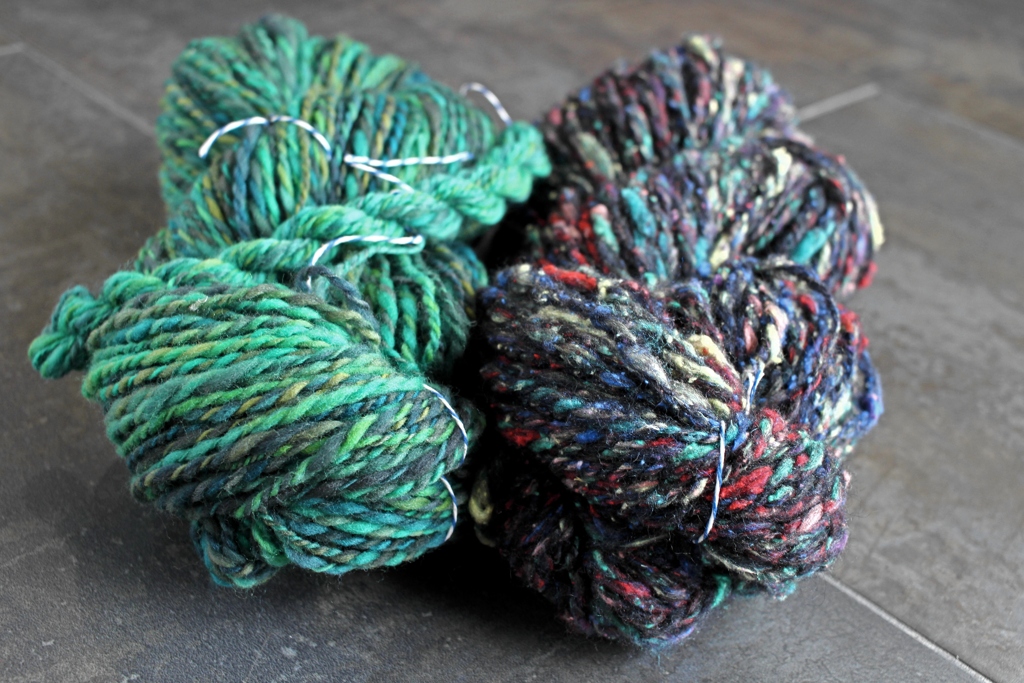
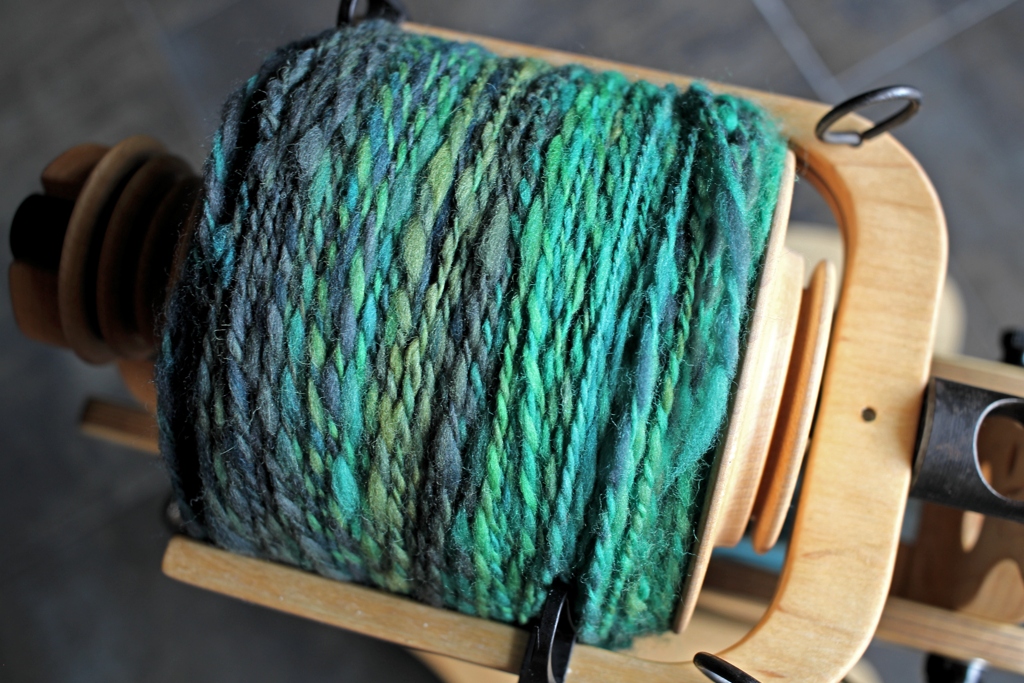
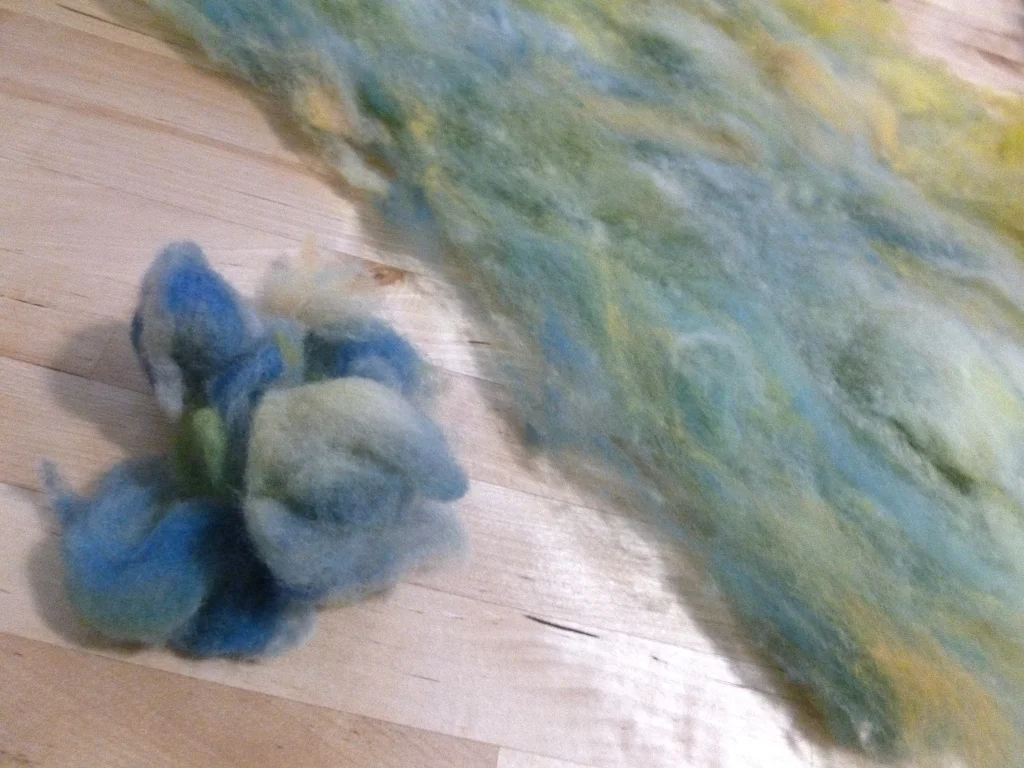
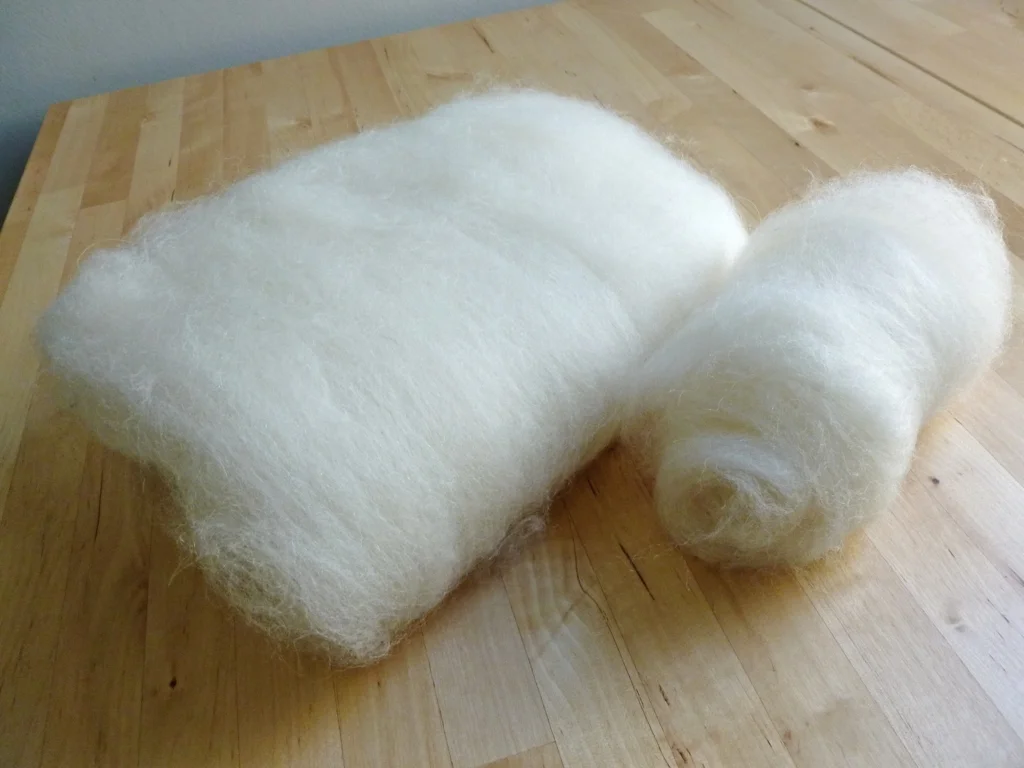
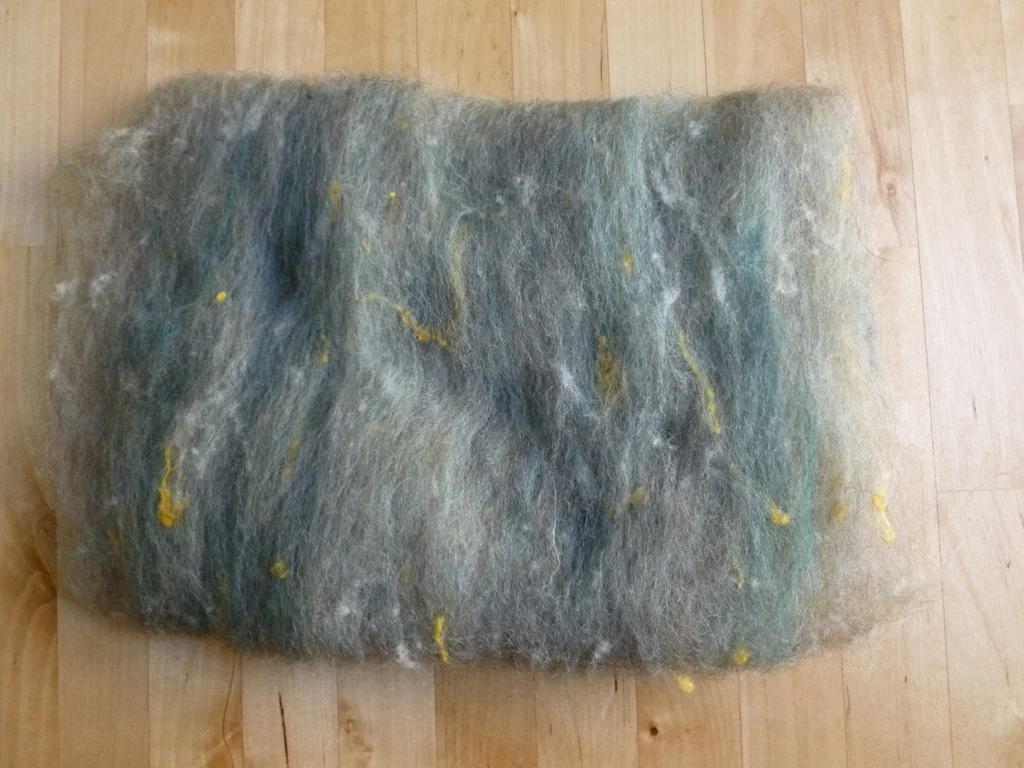
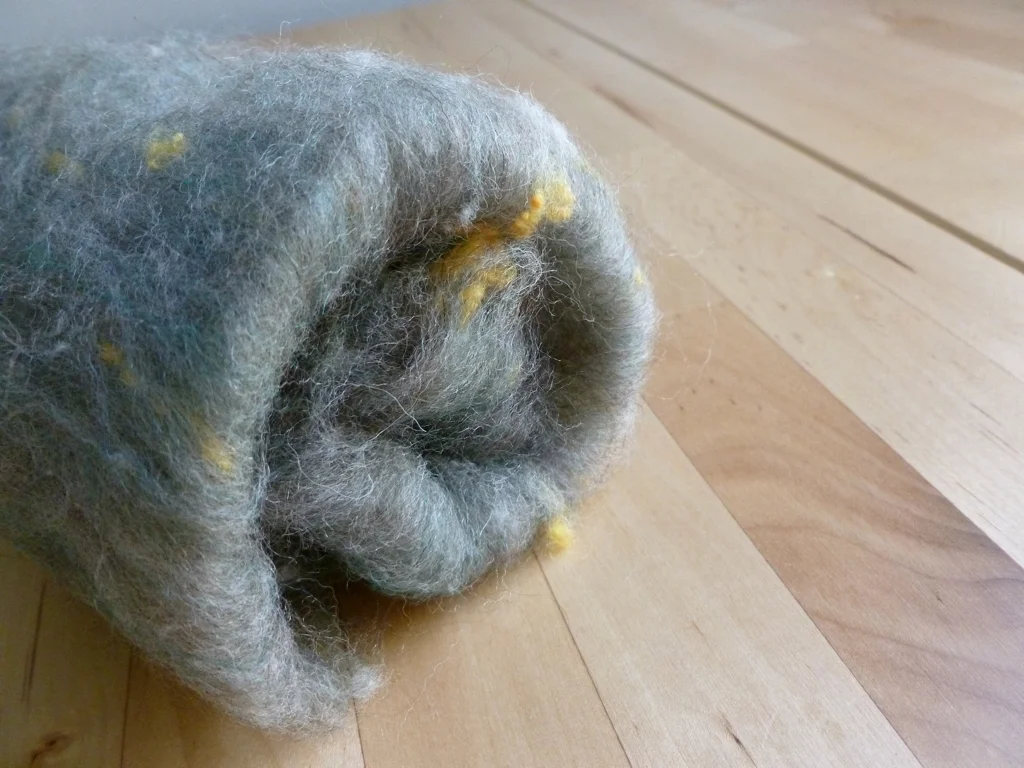
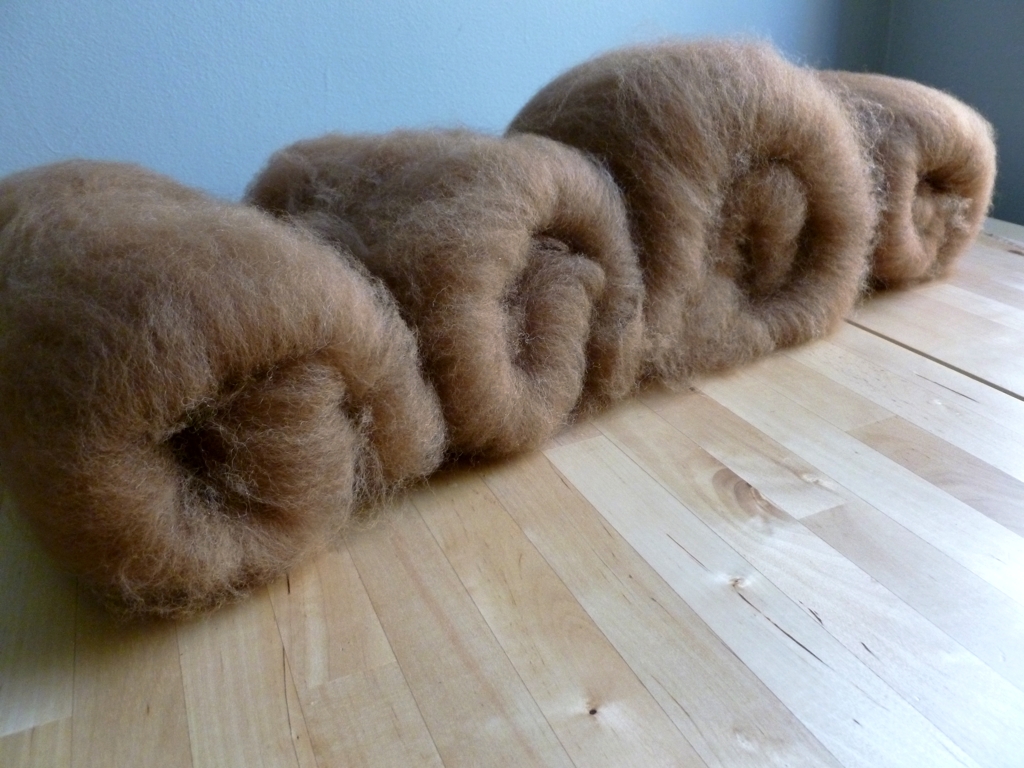
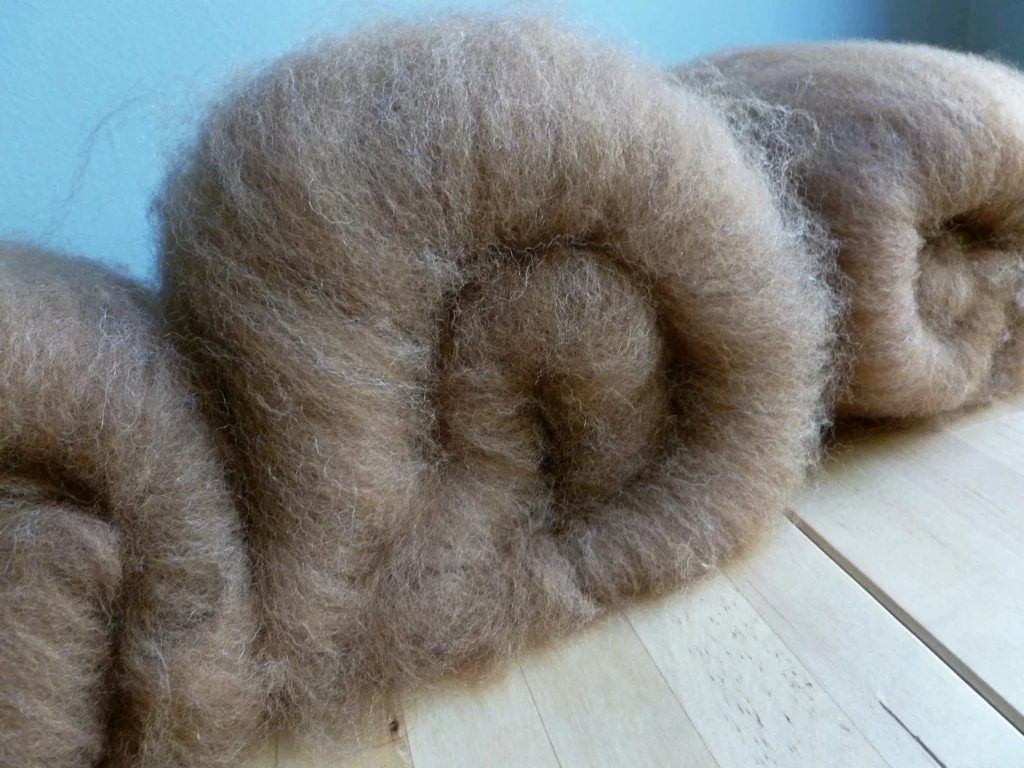
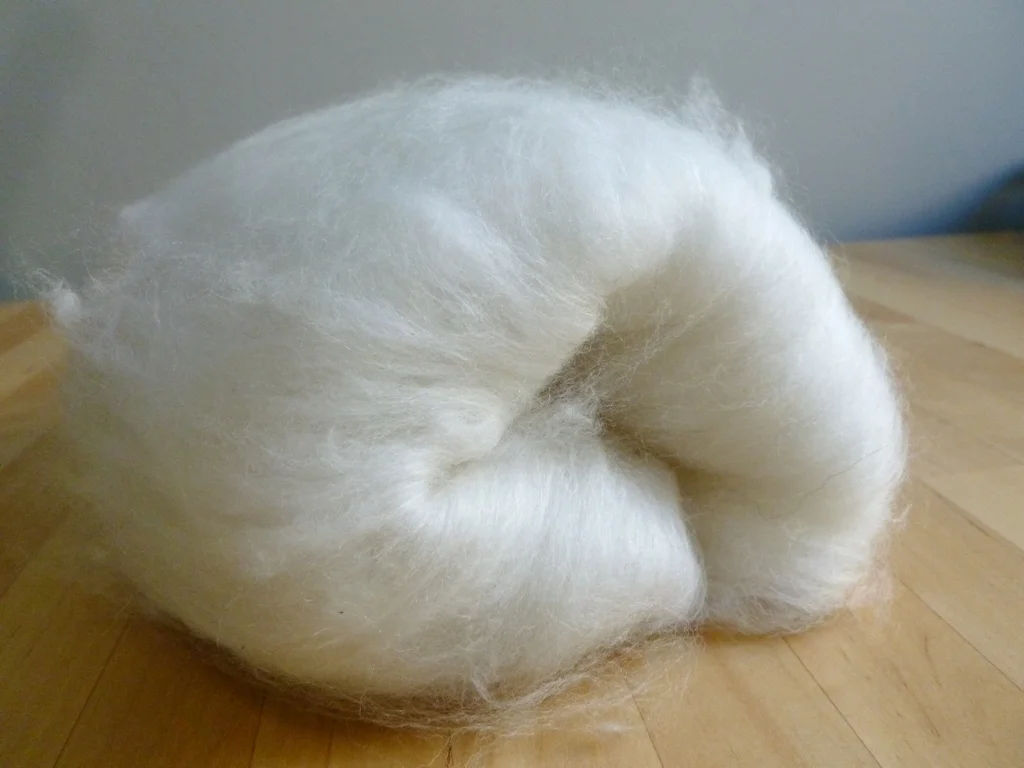
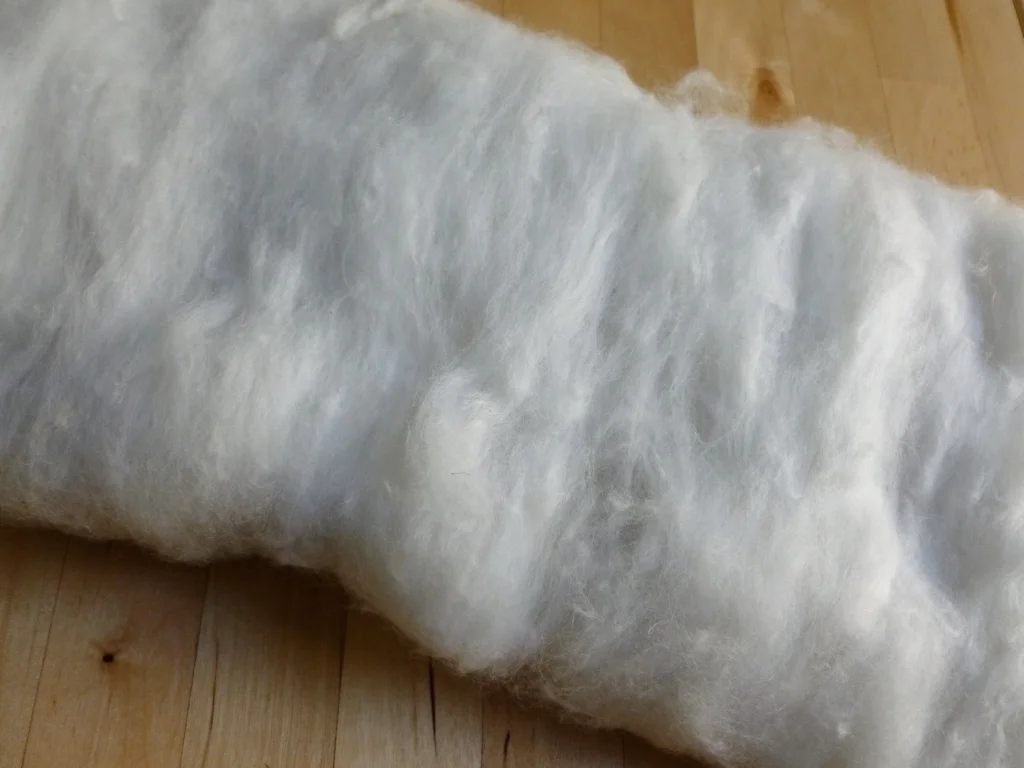
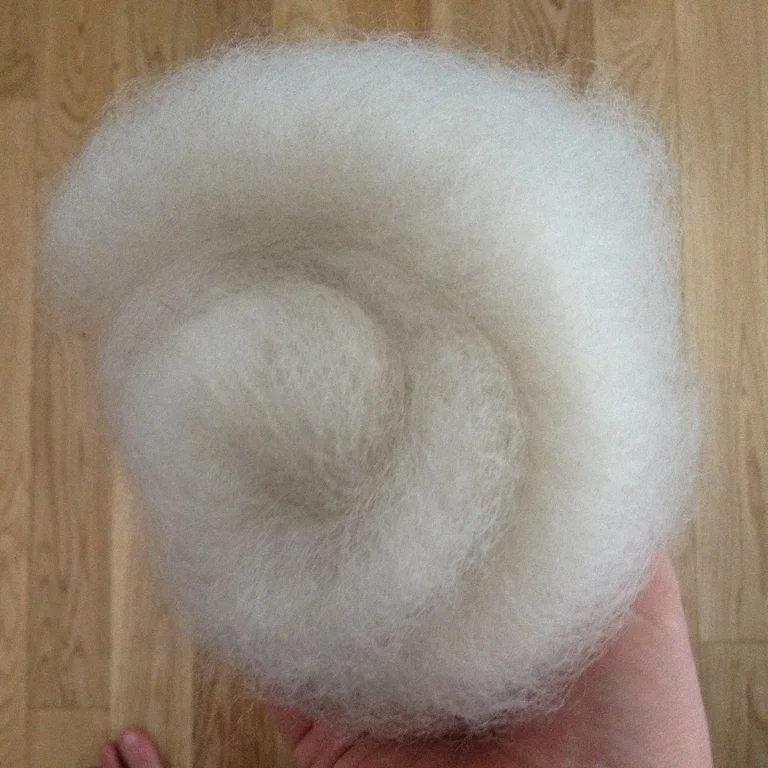
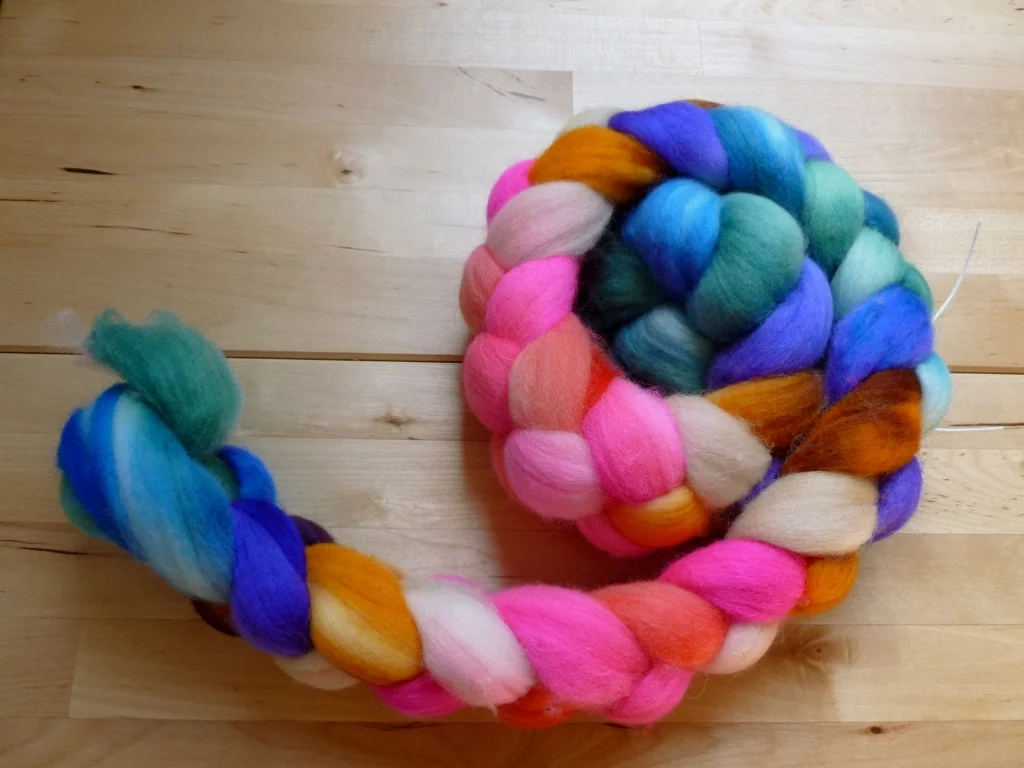
My shopping list was pretty short this year. I only had two things on my list: a large, single skein gradient to knit Wingspan by Kyle Vey and fiber from Hummingbird Moon. I couldn’t find the colors I wanted for Wingspan but I did buy two very fun fiber bumps from Hummingbird Moon. The colors she dyes always spin up magically, and I can’t wait to see how these transform.

After finishing up in the marketplace, we took Mini on a walk to see all the animals. There were sheep, goats, llamas, alpacas, and rabbits. I’m pretty sure she liked seeing all these new and interesting animals, but was much more interested in getting lunch.

Learn how to shop at a fiber festival, and follow along with me for the day at Estes Park Wool Market 2019. | withwool.com#fiberfestival #epwoolmarket #spinning #knitting #estespark #navajochurro
Learn how to shop at a fiber festival, and follow along with me for the day at Estes Park Wool Market 2019. | withwool.com#fiberfestival #epwoolmarket #spinning #knitting #estespark #alpaca
Learn how to shop at a fiber festival, and follow along with me for the day at Estes Park Wool Market 2019. | withwool.com#fiberfestival #epwoolmarket #spinning #knitting #estespark #llama
Learn how to shop at a fiber festival, and follow along with me for the day at Estes Park Wool Market 2019. | withwool.com#fiberfestival #epwoolmarket #spinning #knitting #estespark #goats

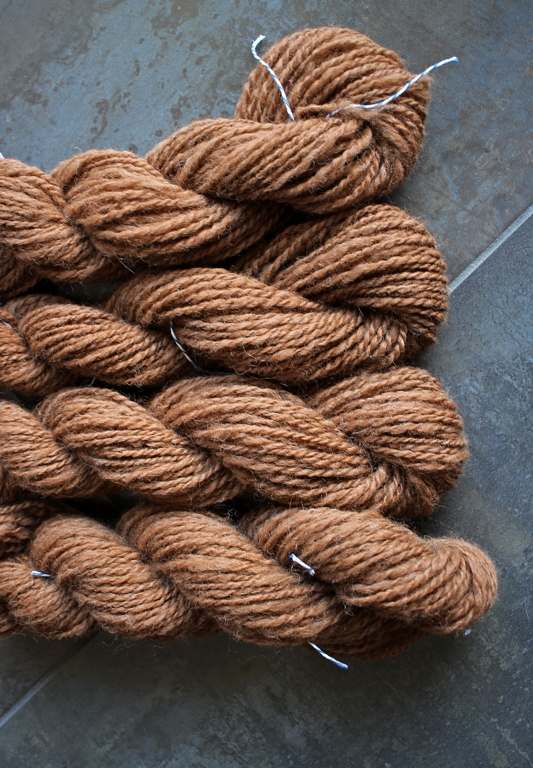
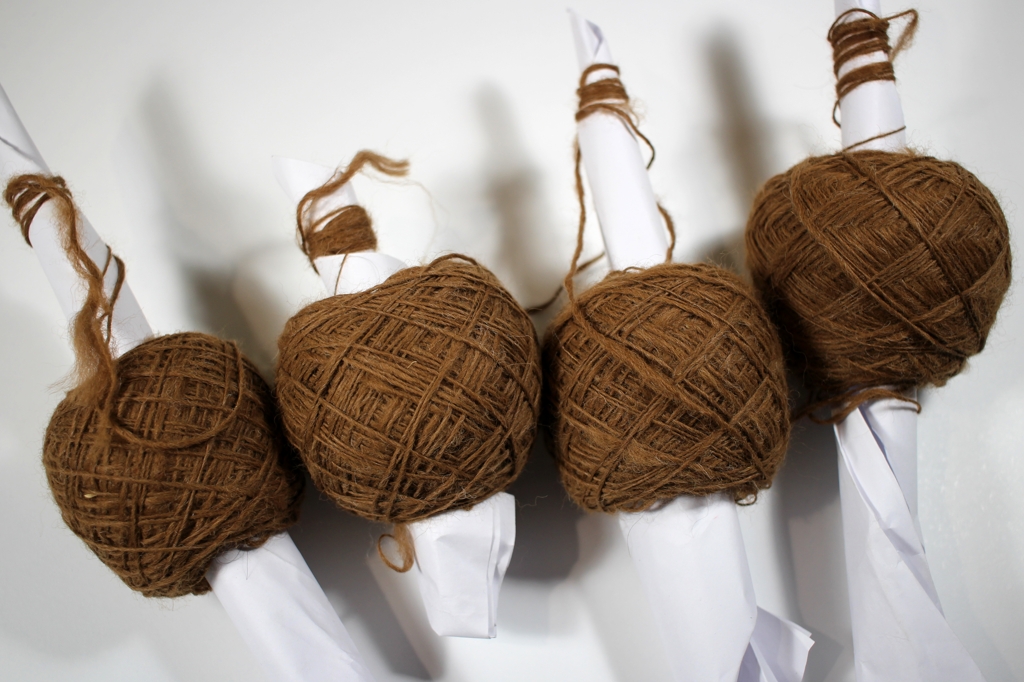
We left the festival and grabbed burgers before spending the rest of the day wandering around downtown Estes park. I picked up a few souvenirs and just the right amount of chocolate drizzled caramel corn. It was a nice surprise to come across the Estes Park Area Weaver’s Guild during our walk. Their space was filled with huge floor looms and a giant walking wheel. The wheel and been repaired and restored, and my fingers were itching to give it a spin. Maybe it’s finally time to get back to my own spinning wheel.

Learn how to shop at a fiber festival, and follow along with me for the day at Estes Park Wool Market 2019. | withwool.com#fiberfestival #epwoolmarket #spinning #knitting #estespark #spinningwheel

All in all, it as a good trip and a nice family adventure. We all had fun and I’m sure we’ll be back next year for the festival. We didn’t make it to Rocky Mountain National Park this time, but now we have a reason to go back to Estes Park again soon.

Finally! Soft Alpaca Handspun

Took a few tries, but I have finally spun soft alpaca yarn. And it’s everything I hoped it would be. | withwool.com

After many long months and countless other projects, I started feeling the itch to get back to spinning yarn. I hadn’t sat down at my wheel since the end of Tour de Fleece in 2017! Pretty sure my Sidekick was starting to feel a little lonely, and I can’t have that. My last project was 4 ounces of alpaca that I’d turned into batts on a rented drum carder. I spun the batts during Tour de Fleece and set them aside to let the twist relax a little before plying. I just never got to the plying part so the singles have been looking pretty on my shelves since then.

Took a few tries, but I have finally spun soft alpaca yarn. And it’s everything I hoped it would be. | withwool.com

Since the singles were the closest thing at hand and the easiest thing to spin (plus I had to clear my bobbins), they went on the wheel first. Not wanting any leftovers, I decided to ply each single with itself which meant winding each into a center pull ball. Happily, not one of the single broke during winding, and I wasn’t particularly gentle with them either. I’m not going to lie here - I was worried that the plies had too much twist because they didn’t pull apart. Weird thought for a spinner to have, I know, but my previous attempts at spinning 100% alpaca didn’t turn out great.  At least this batch of alpaca was still soft at this point.

Took a few tries, but I have finally spun soft alpaca yarn. And it’s everything I hoped it would be. | withwool.com

My last alpaca handspun turned out wiry and over-twisted which I did not want to repeat. After all, I only had this fiber in my stash for 10 years because I didn’t want to mess it up. So that I’d have to work to add too much plying twist, I went with a slower ratio for me, 5.7:1. Even though the drafting twist had been resting for several months, which could have skewed things a bit, I still aimed to line up the individual fibers and create a balanced yarn. Mostly pulled it off, and the newly plied yarn was soft and not wiry at all. Whew!

Took a few tries, but I have finally spun soft alpaca yarn. And it’s everything I hoped it would be. | withwool.com

I didn’t wash this fiber before turning it into batts which I probably should have because I was cleaning up dirt and VM, and washing my hands every step of the way. I did my usual 20 minute soak with Eucalan and the water was so dirty that I couldn’t see the bottom of the sink. There was no missing that dirt ring though. It took 3 soaks for the water to finally run clear. After squeezing out the excess water, I lightly snapped the yarn but skipped thwacking it against the shower wall because it already had enough of a halo.

Took a few tries, but I have finally spun soft alpaca yarn. And it’s everything I hoped it would be. | withwool.com

The yarn looked pretty limp and sad when I hung it up to dry, but that changed fast. I suppose this is the reason why you spin samples first.

Took a few tries, but I have finally spun soft alpaca yarn. And it’s everything I hoped it would be. | withwool.com

All 4 skeins bloomed into an airy, plump, and positively luscious yarn. Not one of them was wiry or prickly or over-spun. There’s definitely some thick-and-thin spots but it’s reasonably consistent overall. Plus, getting rid of all that dirt made the yarn even softer which I didn’t think was possible. Washing and setting the twist had some other side effects too. Before washing, 2 of the skeins were a DK weight and 2 of the skeins were about worsted weight. All of them plumped up to a light bulky weight of about 7-8 WPI. Of course, this changed the yardage too. The 313 yds I started with turned into 264 yards, a difference of about 15%. Totally not complaining though.

Took a few tries, but I have finally spun soft alpaca yarn. And it’s everything I hoped it would be. | withwool.com

So now what? I’ve finally spun soft alpaca yarn which is a first for me and a long time goal. Definitely going to knit it into some sort of cowl or small shawl because there’s plenty of yardage to play with. Maybe something based in garter stitch with a simple lace pattern. Or I could just keep wearing it as is. :D It is really soft after all. I’m also thinking about submitting the best skein of the 4 to the handspun competition at a local fiber festival - that is if I can figure out all the rules and requirements.

3 Tips for Easier Plying from a Center Pull Ball

Use these 3 tips to make plying yarn from a center pull ball easier and tangle free. #tutorial | withwool.com

Knowing how to ply from a center pull ball is a handy trick to know. It’s great for plying those leftover singles on a bobbin or spindle. It’s great for when you don’t want to have any leftover singles/plies at all. You could even ply yarn from 2 separate center pull balls, not just the ends of one ball.

All that said, you have to use the technique carefully because if can affect the original drafting twist of your plies. This post from Jillian Moreno shows why. Still, there might be cases where you want to affect the twist. Maybe your plies have been sitting for months and the original twist isn’t as active. Or you want to add more twist because there wasn’t enough during drafting.

Personally, I haven’t noticed a huge difference in yarns that I’ve plied from a center pull ball vs. yarns that I’ve plied from bobbins. But I’m not spinning lace weight. In fact, some of my favorite yarns that I’ve ever spun have been plied from center pull balls. So here are my favorite tips and tricks for plying from center pull balls that I’ve learned over the years.

Use something as a center support for the ball.

Use these 3 tips to make plying yarn from a center pull ball easier and tangle free. #tutorial | withwool.com

As you work, the ply that formed the center core of the ball is being pulled out and moving onto the bobbin or the spindle. When enough of the center is gone, the ball will collapse on itself which means tangles and knots and aggravation. Putting something into the middle of the ball when it comes off the winder gives the ball a core of support which prevents those frustrating tangles.

Use these 3 tips to make plying yarn from a center pull ball easier and tangle free. #tutorial | withwool.com

And even if the ball does collapse on itself, like mine did in the photo above, the core will keep the ball open enough to work from and help prevent knots. I was able to ply the rest of this yarn instead of calling the whole thing a loss.

The center core doesn’t have to be anything fancy. Just make sure that what you use is long enough to stick out from both ends of the ball.

  • Rolled up pieces of paper, like shown in this tutorial, work just fine. They’re also a good option if you’re taking a class or don’t have anything else close at hand.
  • A simple nostepinne is a great option for larger center pull balls and I'm using one in this example. They even come with a handle which makes holding onto them even easier.
  • And don’t forget about chopsticks, long handled spoons, or straight knitting needles. Whatever you’re using as a core doesn’t have to be big around, just smooth so it won’t snag.

Keep your hands farther back from the orifice.

How close you keep you’re hands to the orifice during plying seems to come down to personal preference; however, working farther back makes things a little easier. Keep your front hand about 8 - 12”, or 20 - 30 cm, from the orifice.  The extra space gives you more room to properly tension the plies and sort out tangles before there’s a problem.

Working farther back from the orifice also means that you can add twist at a slower rate since the twist will build up over the distance from the orifice to your hands. Then you’ll have a little more time and wiggle room to correct any issues.

One hand controls the plying twist, the other hand tensions the plies.

A post shared by April Klich (@aprilklich) on

I’m using my left hand, aka the front hand, to control when the twist enters the plies, and my right hand, aka the back hand, is holding the center pull ball on the nostepinne. Use which ever hand you prefer for each task.

The front hand only has 2 jobs: control when twist moves into the plies and to feed the yarn onto the bobbin.

The back hand holds the center pull ball and does all the work of keeping the plies evenly tensioned. You mainly want to hold the core support and just keep a thumb and a finger or two on the ball to hold it in place. The outer strand will be able to move more freely than if you’re holding it without the center core. Using this hold, I can angle and move my hand back and forth to evenly tension the plies. Think of it a dance you’re doing with the yarn.

The ball can sit farther back on the core so that the center ply wraps and feeds out slower. If the ball is closer to the tip, the center ply feeds out faster. One position isn’t better than the other. So experiment to see which spot works better for you and the yarn.

Tour de Fleece 2017

12.2 ounces, 418 yards, and 3 weeks of awesome yarn! I had a blast spinning along with Tour de Fleece this year! | withwool.com

And that's a wrap! Another Tour de Fleece is behind us. If you spun along this year, I hope you enjoyed yourself and made handspun you can't wait to use. 

 12.2 ounces, 418 yards, and 3 weeks of awesome yarn! I had a blast spinning along with Tour de Fleece this year! | withwool.com

While I didn't spin every ounce of fiber I pulled from the stash, I'm still pleased with what I did accomplish. I started spinning just for the fun of it with the rough goal of making a heavier than a sport weight yarn. Definitely succeeded on that count. The first skein of the Tour is a textured bulky yarn and the closest I've come to spinning art yarn in awhile. It's 158 yards of Shetland Wool, Alpaca, and Silk Noil. You can read more about the technicals of how I spun it here

 12.2 ounces, 418 yards, and 3 weeks of awesome yarn! I had a blast spinning along with Tour de Fleece this year! | withwool.com

The second skein started as 4.2 ounces of hand painted top and turned into 260 yards of aran weight. I split the top in half down the middle. The first ply I spun as is and second I split in half again. It made a nice lazy fractal that I really want to knit. Pretty sure I've got enough yardage to make a small Boneyard Shawl if I knit at a loose gauge. 

 12.2 ounces, 418 yards, and 3 weeks of awesome yarn! I had a blast spinning along with Tour de Fleece this year! | withwool.com

I spent the last chunk of Tour de Fleece doing some challenge spinning: 4 oz of alpaca batts. Plus, I got to check "Spin a batt I made myself" off my goals for this year. My previous attempts at spinning alpaca turned out wiry and over twisted, and I wanted to do a much better job with this batch. Obviously, I haven't plied it yet but I'm pleased with what's on the bobbins. It's got a reasonably smooth surface and is still soft. Seems like it's got enough twist to hold together during plying too. I'm cautiously optimistic about getting a soft, cushy yarn that'll do justice to the 10 years I've been waiting to spin this precious fiber

 12.2 ounces, 418 yards, and 3 weeks of awesome yarn! I had a blast spinning along with Tour de Fleece this year! | withwool.com

What I didn't do much of was play around with my drum carder. I got 2 batches of fiber through for one pass each. Then I hit a snag. The locks I'm working with are a bit felted. Teasing them open helped get them onto the main drum, but a good quarter of the fiber stayed trapped in the tines when I peeled the batt off. Got any tips for picking the fiber off the drum? I haven't found a good solution that doesn't involve teasers and a lot of time. 

Drum carder snag aside, this was a good Tour de Fleece. I enjoyed spinning everyday - even on rest days - and spun just for the fun off it. I joined a few teams and had fun sharing and talking to other spinners. I’m pleased with all my new handspun, and even have a few ideas of what to do with it. So I’m calling this Tour a win. 

How did this Tour de Fleece go for you? Did you learn something new or try a new fiber? Spin a lot or a little? Make yarn you can’t wait to use? 

 12.2 ounces, 418 yards, and 3 weeks of awesome yarn! I had a blast spinning along with Tour de Fleece this year! | withwool.com

Tour de Fleece 2017 Challenge

My challenge for Tour de Fleece 2017 was getting over the mental hurdle of spinning 10 year old alpaca fiber. Spoiler: It was easier than I thought it’d be. | withwool.com

I admit that I haven’t really been keeping track of the day to day calendar of Tour de Fleece. When are the rest days? No clue. I’ve just been spinning every day and having fun with it. The only reason I figured out Sunday was a challenge day was because I happened to check the forums that day. By some random happy coincidence I just so happened to have some challenging spinning.

My challenge for Tour de Fleece 2017 was getting over the mental hurdle of spinning 10 year old alpaca fiber. Spoiler: It was easier than I thought it’d be. | withwool.com

If you’re not familiar with Tour de Fleece, or Tour de France, there are 3 challenge days when riders tackle mountains with steep grades above 10%. Spinners get to set their own challenges. I was fairly sure that I was going to tackle some sort of art yarn construction. Instead I pulled 4 oz of alpaca batts out of the stash. I haven’t spun a lot of alpaca, and my last attempt had so much twist that it was a wiry, prickly beast. So I’ve been hesitant to try again. Making the mental hurdles even taller is that fact the Bearded One gave me this fiber when we were dating many, many moons ago. I’d had it for several years and it was scary enough to put the fiber through a rented drum carder in 2013! 

Let’s do a little math. The shearing date on the label says 2007. I turned the alpaca fiber into batts in 2013. Now it’s 2017. I’ve had this fiber stashed away for 10 years! To cut myself a little slack, I was only just getting into spinning in 2007 and didn’t truly learn for several more years. Still, 10 years is way too long for such beautiful fiber to be hiding away in my stash. 

My challenge for Tour de Fleece 2017 was getting over the mental hurdle of spinning 10 year old alpaca fiber. Spoiler: It was easier than I thought it’d be. | withwool.com

The batts are 100% alpaca and one solid color. Since there was no need to preserve color sequences, I split the batt into strips and started spinning. I wanted a smoother fiber and went with an inch worm worsted draft and an 8.0:1 ratio to keep from over twisting the fiber. 

I finished drafting the first batt yesterday, and it was much simpler than I expected. Could be that my spinning has improved in the years since I last attempted spinning alpaca. Could be that my brain made things much harder than they had to be. Sometimes the mental hurdles are the hardest to jump. 

My challenge for Tour de Fleece 2017 was getting over the mental hurdle of spinning 10 year old alpaca fiber. Spoiler: It was easier than I thought it’d be. | withwool.com

This fiber is special and I don’t want to waste a single bit of it. The batts aren’t all the same so I’m going to spin each one separately and ply them back on themselves. Sure, it’s more work, but I could use the practice. And I can’t help but picture how cute 4 little skeins are going to be. 

So much yarn! I had to hand wind the handspun to get it all on the bobbin. Worth it. #TourdeFleece | withwool.com

And in non-challenge spinning, I finished plying the 4.2 ounces of hand painted green top! I know I said the galactic handspun was the most yarn I’d ever packed a bobbin, but this skein beats even that. I hand wound a good chunk of the yarn onto the bobbin, and don’t think I could get another yard on there if I tried. Really curious about how much yardage is packed on there because I’m tempted to turn it all into a Boneyard Shawl.

So much yarn! I had to hand wind the handspun to get it all on the bobbin. Worth it. #TourdeFleece | withwool.com

Batt Showcase

My time with the drum carder is over. It went back at last months and the 4 weeks that I had it were a crash course in carding. I made the first batt because I wanted to see what would happen and it turned out pretty despite my complete lack of knowledge. With one batt under my belt, I decided to do a little research and figure out how to actually use a drum carder. What could you make with one? What could be carded? Maybe more importantly, how do you clean one? I watched videos, read articles, and came across people that knew what they were doing. People that threw in disorganized fiber and had art come out the other side.

Up to this point, from the lone batt I’d spun and most of the listings I’ve seen on Etsy, I had the idea that batts were an everything and the kitchen sink kind of thing.The kind that was 3 types of wool, sparkly bits, silk noil, and some angora for good measure. After my research, I found out differently. Sure, there are kitchen sink batts but batts can also be smooth and uniform. They can focus on color instead of texture. Batts can be bold or subtle. Fibers can be carefully blended or smashed all together. Variation is awesome stuff. 

My batts got better was the weeks went on. They’re all on the subtle side since I just wanted to prep my stash of unprocessed fiber to spin - several ounces of alpaca, locks, angora, and random mystery wool. I wanted to play with color too but ran out of time. Well, I can always rent it again.

The very first batt was 40g of mystery wool from a Gwen Erin grab bag.

Second batt was made from 40 g of Corriedale roving.

This batt is my attempt at duplicating a rolag given to me at a previous guild meeting. Looks similar but I won’t know for sure until I spin it.

These 4 soft and lovely batts were carded from the very first ounces of my fiber stash, 4 oz of light rose grey alpaca. Took me years to prep this fiber and I’m glad I finally did.

The Romney, and reason I rented the carder, turned into 2 batts.

More alpaca from the stash which got a good wash before going on the carder. 

Had a small sample of a BFL and Silk roving that I decided to blend with half its weight in Angora. The batt is wonderfully soft with great luster.

Last batt off the carder was 14g of 100% Angora. Working with straight Angora was more difficult than blending it with wool but not impossible. 

It’s nice to have my kitchen table back but I kind of miss having the drum carder around. I still want to play around with color and blending fibers. Plus, using the carder was just fun and I enjoyed it. Before I had one to my spinning wish list though, I’m going to spin up a few of the batts I made. If I like working with them and the finished yarn, I’ll do some research to pick out the perfect drum carder. Any suggestions on where I should start looking? 

Drum Carding Weekend

This was what my kitchen table looked like pretty much all of Saturday and Sunday. See, this is the last week I’ve got the drum carder and I’m determined to make the most of it.

I spent a good chunk of Saturday feeding 3 oz of light rose grey alpaca through the carder. It was amazing to see the fiber go from crimped locks to a soft and fluffy batt. Don’t think I’ll ever get tired of seeing that transformation. 

On Sunday, I carded the 2 oz of Romney bought at April’s spinning guild meeting. The very same Romney that prompted my last minute decision to rent the drum carder.  Locks went in and a fluffy cloud came out. If it looks like a cloud, it has to be a cloud right?

In total, I processed 5 oz over the weekend and I’m still not done. There’s more alpaca and angora coming from my distant stash. Until that arrives, I’ve got grand plans for this bump of fiber from Spun Right Round. Going to use it to try something new, The Monet Effect Technique from Grace Shalom Hopkins. Interested to see how carding recombines the pink, blue, and green together.