3 Tips for Easier Plying from a Center Pull Ball

Use these 3 tips to make plying yarn from a center pull ball easier and tangle free. #tutorial | withwool.com

Knowing how to ply from a center pull ball is a handy trick to know. It’s great for plying those leftover singles on a bobbin or spindle. It’s great for when you don’t want to have any leftover singles/plies at all. You could even ply yarn from 2 separate center pull balls, not just the ends of one ball.

All that said, you have to use the technique carefully because if can affect the original drafting twist of your plies. This post from Jillian Moreno shows why. Still, there might be cases where you want to affect the twist. Maybe your plies have been sitting for months and the original twist isn’t as active. Or you want to add more twist because there wasn’t enough during drafting.

Personally, I haven’t noticed a huge difference in yarns that I’ve plied from a center pull ball vs. yarns that I’ve plied from bobbins. But I’m not spinning lace weight. In fact, some of my favorite yarns that I’ve ever spun have been plied from center pull balls. So here are my favorite tips and tricks for plying from center pull balls that I’ve learned over the years.

Use something as a center support for the ball.

Use these 3 tips to make plying yarn from a center pull ball easier and tangle free. #tutorial | withwool.com

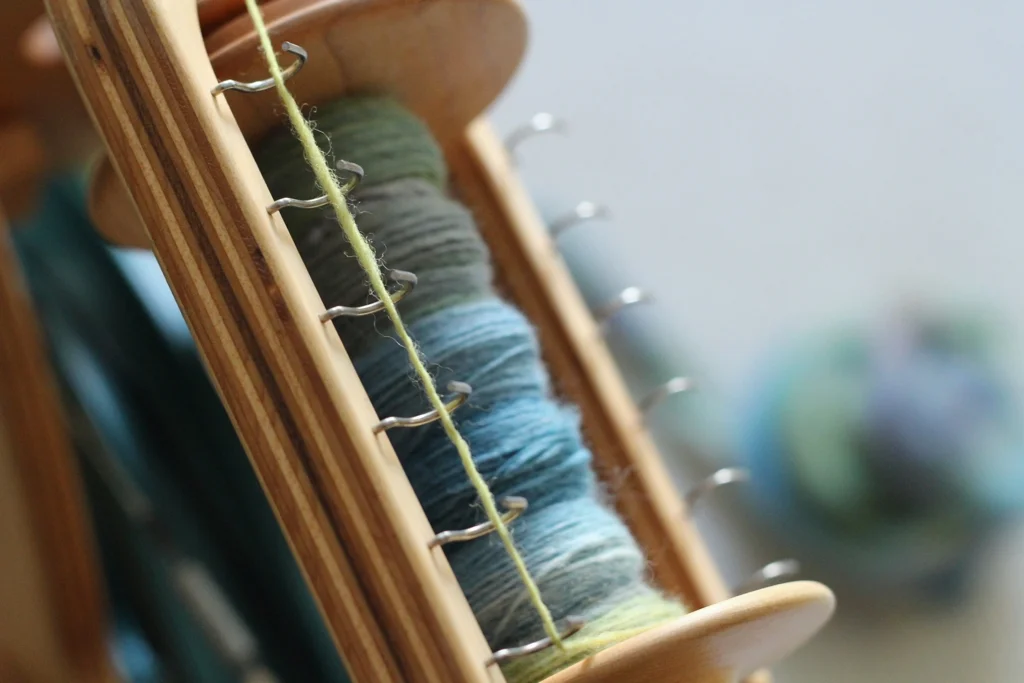
As you work, the ply that formed the center core of the ball is being pulled out and moving onto the bobbin or the spindle. When enough of the center is gone, the ball will collapse on itself which means tangles and knots and aggravation. Putting something into the middle of the ball when it comes off the winder gives the ball a core of support which prevents those frustrating tangles.

Use these 3 tips to make plying yarn from a center pull ball easier and tangle free. #tutorial | withwool.com

And even if the ball does collapse on itself, like mine did in the photo above, the core will keep the ball open enough to work from and help prevent knots. I was able to ply the rest of this yarn instead of calling the whole thing a loss.

The center core doesn’t have to be anything fancy. Just make sure that what you use is long enough to stick out from both ends of the ball.

  • Rolled up pieces of paper, like shown in this tutorial, work just fine. They’re also a good option if you’re taking a class or don’t have anything else close at hand.
  • A simple nostepinne is a great option for larger center pull balls and I'm using one in this example. They even come with a handle which makes holding onto them even easier.
  • And don’t forget about chopsticks, long handled spoons, or straight knitting needles. Whatever you’re using as a core doesn’t have to be big around, just smooth so it won’t snag.

Keep your hands farther back from the orifice.

How close you keep you’re hands to the orifice during plying seems to come down to personal preference; however, working farther back makes things a little easier. Keep your front hand about 8 - 12”, or 20 - 30 cm, from the orifice.  The extra space gives you more room to properly tension the plies and sort out tangles before there’s a problem.

Working farther back from the orifice also means that you can add twist at a slower rate since the twist will build up over the distance from the orifice to your hands. Then you’ll have a little more time and wiggle room to correct any issues.

One hand controls the plying twist, the other hand tensions the plies.

A post shared by April Klich (@aprilklich) on

I’m using my left hand, aka the front hand, to control when the twist enters the plies, and my right hand, aka the back hand, is holding the center pull ball on the nostepinne. Use which ever hand you prefer for each task.

The front hand only has 2 jobs: control when twist moves into the plies and to feed the yarn onto the bobbin.

The back hand holds the center pull ball and does all the work of keeping the plies evenly tensioned. You mainly want to hold the core support and just keep a thumb and a finger or two on the ball to hold it in place. The outer strand will be able to move more freely than if you’re holding it without the center core. Using this hold, I can angle and move my hand back and forth to evenly tension the plies. Think of it a dance you’re doing with the yarn.

The ball can sit farther back on the core so that the center ply wraps and feeds out slower. If the ball is closer to the tip, the center ply feeds out faster. One position isn’t better than the other. So experiment to see which spot works better for you and the yarn.

How Setting The Twist Can Change The Yardage of Handspun Yarn

Every yard of handspun yarn is a wonderful thing, but you might not have as much as you think. Finishing and setting the twist of handspun can drastically reduce your yardage. How Setting The Twist Can Change The Yardage of Handspun Yarn | withwool.…

I’ve been trying to knit more with my handspun as skeins move from being a finished project in their own right to knit-able yarn. The length of time for this transformation varies. For the skein that became Dotted Rays that was about a year and a half.  Recently plied and freshly skeined, I had about 512 yards to work with. That’s about 200 less than the 700 required for a small Dotted Rays Shawl. I plowed on anyway with the thought that I could bind off at any time; the pattern is fairly forgiving that way. After blocking, the shawl was absolutely beautiful but it seemed small. Did the skein really measure 512 yards? 

Had I stretched the yarn when I was winding it?

Did the yarn plump in the bath when I set the twist, gaining in diameter but losing length?

Did plying twist affect the yarn differently after I set the twist in a bath?

Had I just miscounted the wraps?

There’s no way to know for sure now, but I have other skeins to put to the test. The guinea skeins you see before you were spun during Spinzilla 2014 which makes them perfect candidates. Since the challenge of Spinzilla is to spin as much yarn as possible in a week, I was meticulous in measuring the yardage of these 4 skeins. The kicker, the yardage was measured before I set the twist in a cool water bath and snapped between my hands. The plied skeins also got a few good thwacks on the shower wall.  None of the skeins were felted or weighted during washing or drying.  

Here are the steps I followed to remeasure their yardage:

  1. Check to see if the skeins still fit around the swift. 3 of the 4 skeins were wound to have a circumference of 72”. The fourth, the hot pink single, was wound to a 60” circumference. I used the same windmill-style swift that they were all wound on to remeasure. 
  2. If a skein did’t fit over the swift, I loosely rewound it to its original circumference. If I stretched the yarn, I wouldn’t be able to get an accurate number.
  3. Count the number of wraps and do the math to get the new yardage. 

Fiber: Mountain Colors Targhee - Gold Rush

Initial Yardage: 286 yds

Drafting Method: long-draw

Construction: 2-ply

Did it fit on the swift? Nope.

Yardage After Setting The Twist: 238 yds

Yardage Difference: 48 yds or 16.8%

Notes: This skein wasn’t even close to fitting on the swift at 72”. Of the 4 skeins I measured, this one had the most drastic and unexpected before and after. 

Fiber: Mixed Blue Faced Leicester

Initial Yardage: 184

Drafting Method: long-draw

Construction: 2-ply

Did it fit on the swift? Nope

Yardage After Setting The Twist: 168yds

Yardage Difference: 16 yds or 8.9%


Notes: Rewinding this skein was a trying process because I had to spend an hour untangling it. While sorting the strands, I thought it might not have fit because I didn’t put it on the swift correctly. After measuring and finding a 16 yd difference I know it wouldn’t have mattered how I put in on the swift.

Fiber: Abstract Fiber Targhee - Laurelhurst

Initial Yardage: 330

Drafting Method: long-draw

Construction: 2-ply

Did it fit on the swift? Nope

Yardage After Setting The Twist: 316 yds

Yardage Difference: 14 yds or 4.24%

Notes: I can’t really pinpoint the exact reason this skein of Targhee didn’t lose the same amount of yardage as the first skein. It could be how the fiber was prepped and dyed, the length of my long-draw, or plying twist. 

Fiber: Spun Right Round Polworth - Color Bot

Initial Yardage: 133 yds

Drafting Method: short forward draw 

Construction: Single

Did it still fit on the swift? Almost.

Yardage After Setting The Twist: 128 yds

Yardage Difference: 5 yds or 3.6%

Notes: Compared to the plied skeins, the single lost very little yardage which I’m chalking up to how it was drafted and the fact that is was’t plied. The single was spun with a short forward draw from combed top which resulted in a smooth and dense worsted style yarn. Had the single been spun long-draw, my guess is that the lighter and airier yarn would have more potential to lose yardage while setting the twist.

The lack of plying twist is probably the main reason the single only lost 5 yds. Plying compresses the singles as it wraps them together because now they’re positioned at an angle instead of a straight line.  


The numbers of my test are all over the place with one skein losing just 3.6% of its yardage and another losing 16.8%. What’s the same across the board though is that all 4 of the skeins “shrunk”. The skeins that lost the most yardage were plied which points to plying twist as the main force behind the change. Another possibility is that I simply wound the skeins too tightly around the swift and they relaxed to a much smaller circumference. There’s no way my yardage counts would have been correct if that’s the case. 

Realistically, it’s probably a bit of both. I haven’t done the best job of always loosely winding my skeins. Some I couldn’t put them back on the swift if I tried. I’m not saying this to discount how setting the twist changes the plying. Finishing a yarn affects its surface, diameter, final twist, workability, and, yes, even yardage.

I wish I could just give you a formula to estimate how much a skein will “shrink” after setting the twist. That’s just not possible. I spun all 4 of those skeins in a week, 3 with similar methods, and none of them lost a consistent amount compared to another. Calculating how yardage changes after setting the twist is something that has to be done on a skein by skein basis. But is it worth doing every time? Probably not. 

So, what’s a spinner to do? 

Wind skeins loosely. Plied yarns with high twist are going to be stretchier than skeins with less twist. You’ll get a better estimate of yardage this way.

Don’t take the measured yardage before setting the twist as a definite number. It’s a high estimate. 

Spin a sample. I’ll admit that I don’t do this but I’m usually not spinning for than 4 oz at a time or for a particular project. Sampling before before spinning a large quantity or because you want to make a specific kind of yarn lets you test your methods and figure out how much you need to spin. 

Spin more than you think you need. You might need those extra yards. 

When you’ve finally work with that one precious skein of handspun, pick a pattern that calls for less yardage than you have. This is assuming that you haven’t measured the yardage after setting the twist. Plus, there’s less chance you’ll run out of yarn 6” before binding off the last stitch. 

If you’re working with a lot of yardage, it might be worth using a McMorran Balance or a scale instead of counting wraps. Either device would let you calculate yardage by weight instead of relying solely on wraps and skein circumference. 

Spinning Yarn With Sweaty Hands

There’s no way to say this without relying on a host of cliches, so I’m just going to come out and say it. My hands sweat. Sometimes a lot which makes it hard to do things without messing them up. Half the time I’m writing with a napkin under my hand to keep my notebook from turning into a soggy mess. Damp hands make knitting almost impossible without a fan. Spinning yarn, especially drafting singles, isn’t much easier, but I have stumbled upon a helpful trick to keep the working end of roving/top from turning into a mangled clump. 

Instead of holding the roving in my hand, I drape it across my fingers and palm. The tail of the roving is held between the bottom edge of my hand and my thigh. Since the bottom of my fiber supply hand is securing the fiber, those fingers don’t have to do anything. When I do have to use my thumb, it is inches away from the tip. Only the hand I’m using to draft touches the working end of the roving which keeps the fibers aligned in one direction. Holding the fiber this way still gives me plenty of to work with and keeps me from unconsciously putting a death grip on my roving.

Since the fiber supply hand doesn’t move at all, this tip won’t help if drafting backwards or long-draw. So, stick with drafting styles that favor the forward hand. Also don’t forget the fan and a cold drink. 

Spinflix

Sure, there are podcasts, audiobooks, and music but, like Alex Tinsley does with knitting, I do most of my spinning by the glow of Netflix. Since we’re at the start of Spinzilla 2014, I'm taking a page from her book and offering up a few tips for making the most of your spinning entertainment. 

  • TV shows top movies. Like Alex says, you don’t have to pick something as often if you start watching a tv show with several seasons. There’s one other healthy benefit. TV shows are shorter with commercial breaks which are great reminders to take a break yourself. Stretch, get a drink, and walk around for a couple of minutes. A few moments of rest, especially during the week-long challenge of Spinzilla or any spinning marathon, will help keep you injury free and ready to spin. 

  • Go back to your old favorites. Me, I’m going to be binging on Futurama. I’ve seen every episode and know the jokes. It’ll be easy to follow along with the story and laugh while still keeping a close eye on the twist going into the single. 

  • Follow subtitles with caution. If you can read and knit stockinette at the same time, you can probably spin and follow subtitles at the same time. Just stick to techniques you’ve already got under your belt that don’t require looking down at your hands 100% of the time. I can draft long-draw and follow subtitles but I can’t keep up with subtitles and draft inch-worm. 

A few of my favorites that I'll be watching and spinning with this week:

Futurama - Knitting robots and lobster men from outer space! It’s animated sci-fi set in the year 3000 that follows the adventures of a pizza delivery boy frozen for 1,000 years.

Psych - Wasn’t fond of it at first but I was hooked after watching a few episodes. It’s funny and light-hearted with lots of great characters that solve crimes.

Warehouse 13 - Objects with special powers and the secret service agents that track them down. It can be completely off the wall but that’s what makes it so enjoyable.

Black Sheep - My one exception to the ‘TV shows top movies’ guideline. Genetically engineered sheep turn carnivorous and it’s up to a reluctant farm boy to stop them. Lots of black humor in this one.  

What do you like watching while you spin?


Tips for Making and Spinning the Most of Spinzilla

Spinzilla-2014-Dates

Spinzilla is almost here and it kicks off 6AM on October 6th. If you’re on the fence about signing up, you can do that here, October 3rd is the last day. This is the last weekend to prep so here a few last minute tips and info to help you get the most out of Spinzilla. 

How to Prep for the Monster Spinning Challenge

There’s a photo contest this year! There are catergories for Best Yarn Photo, Best Team Photo, Best Sheepzilla Photo Bomb, and Most Creative Spinning Spot. 

Gale Zucker has a few tips for taking the best photos of your handspun.

Tips on prepping your wheel for the big spin.

Beth Smith writes about how to prep fiber for the fastest spinning.

How much fiber do I need? It depends.