Wander the Web 50

Inspiring, fun, thought-provoking, and crafty links to round out the week and jumpstart your brain.

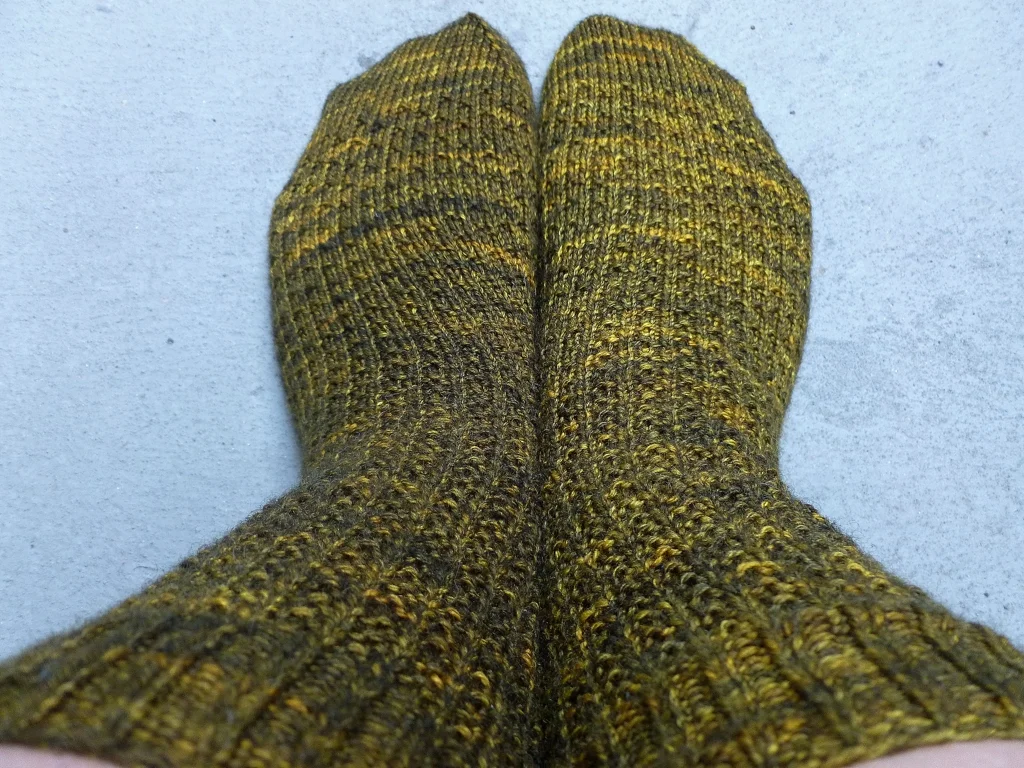
A couple of days ago, I found a box sitting outside my steps. Inside were lots of Happy Birthday! goodies and a comfy pair of hand knit socks. I’ve wanted to knit Hermione’s Everyday Socks for years and Cece beat me to it. Thanks, Cece! They’re awesome socks.

A great primer on different wools and fibers aimed at spinning the perfect sock yarn. 

Make something small every day.

“Great people do things before they’re ready.”

Lucy Sparrow hand stitched 4,000 items -beer, magazines, candy bars, what have you - to stock a corner store.

DIY Natural Dyes Chart - focused on fabric but would probably work for yarn too

Wander the Web 46

Inspiring, fun, thought-provoking, and crafty links to round out the week and jumpstart your brain.

 Take a peak into a 1950’s sewing cabinet

How to wind yarn into a center pull ball; a handy trick when you don’t have a winder handy

Love this textured summer braid

The 3-Dimensional Weaving Machine

These stitched leaves by Hillary Fayle are amazing. 

How to Sew on a Button with Handspun Yarn

How to Sew on a Button with Handspun Yarn | withwool.com

The snow made me do it. Seriously, the only reason I finally sewed the buttons on my latest pair of mitts was because it was cold and snowing. Being able to take photos of said mitts in the snow might also have had something to do with it.  Part of the reason for the wait was that I could never find thread to match the handspun. The thread was too blue, too purple, not blue enough, or not even close. The yarn itself was made of so many different shades of blues and purple that I couldn’t find a good match. Thankfully, I still had a few useable scraps of leftover yarn. Then it was a just problem of attaching the buttons in a way that looked finished instead of just tied on. Solved.

How to Sew on a Button with Handspun Yarn | withwool.com

1. Gather your supplies: buttons, yarn, scissors, your almost finished object, and a tapestry needle to fit through the button holes.

How to Sew on a Button with Handspun Yarn | withwool.com

2.  Decide where the button will go and push the threaded needle through the button and fabric.

3. Sew through all the buttons holes, into the fabric, and finish with both yarn ends on the wrong side of the piece.

How to Sew on a Button with Handspun Yarn | withwool.com

4. Pull both ends through the fabric underneath the button but do not go through the button holes again.

How to Sew on a Button with Handspun Yarn | withwool.com

5. With the ends, tie a double knot and trim off the extra yarn. 

6. Repeat as necessary.

How to Sew on a Button with Handspun Yarn | withwool.com

If you’re having trouble threading the yarn through the tapestry needle, fold the yarn in half to form a loop. Tightly hold the top of the loop and push it through the eye of the needle. 

How to Sew on a Button with Handspun Yarn | withwool.com

Puff Phase 3

The Giant Hexipuff continues to hold power over me. Friday night, I stayed up late to finish the decreases. Saturday morning, the puff had a luxurious bath while I assembled my blocking tool kit: pins, blocking wires, a yard stick, and a sheet of pink insulation sheathing.

Saturday afternoon, the puff came out of the bath and moved to the sheathing which has more than made up for the aggravation it took to get home.* Blocking wires made the whole process really easy. I just poked a wire from one corner to the next and let it pull the edges straight from the inside. Adjusting angles and measurements was a piece of cake. Plus, none of those annoying points from using just pins.

Sunday, the puff dried.

Monday, I made a pillow form which I’d never done before. Flew by the seat of my pants for the whole thing too. After I unpinned the puff and removed the wires, I pinned it back down on top of 3/4 of a yard of black cotton. I completely eyeballed the cutting of a half inch seem allowance. Unpinned everything again and re-pinned the fabric together to roughly mark where the seams should go.

Wonky hand stitching go!

Stitching the entire form didn’t actually take as long as I thought it would. I was imaging the process taking place over a few days. Probably didn’t even take an hour. I even flipped it inside out, put it in the puff, and started stuffing it. If only I hadn’t run out of stuffing halfway through. Retrieving more stuffing will have to be Phase 3, I guess. 

If you decide to follow in my footsteps, this last step is entirely optional. When you’re ready to start sewing, move half your work to a table in another room. Return and find a cat requisitioning the rest of it. Like I said, entirely optional.

*Back when it was time to block my Hemlock blanket, I had to find something big enough to pin it out on. The sheer number of blocking boards required were a bit out of my budget. That’s when giant sheets of foam insulation came to mind. The next day I was hauling two 4” x 8” sheets of the stuff out to my car in a Home Depot parking lot. Not that they even remotely fit in my car. So, on a 90˚ day in the middle of summer, I’m slicing giant sheets of foam into quarters and trying not to stew in my own juices. Still, the heat wasn’t as bad as the high-pitched ‘nails on a chalkboard’ sound that came from dragging a knife through foam. Just thinking about that sound makes my head hurt.