How to Make Bulkier Yarn with Chain-Plying
/Way back when, at least on the internet time-scale, I wrote a tutorial about how to chain-ply commercial yarn to manipulate color which you can read here. The variegated yarn I used flashed and pooled no matter how I knit with it, and chain-plying it created a beautiful marled yarn. Then I used that yarn for an easy (and free) hat pattern. Now I’m chain-plying another commercial yarn because I wanted to make it bulkier. So consider this part 2.
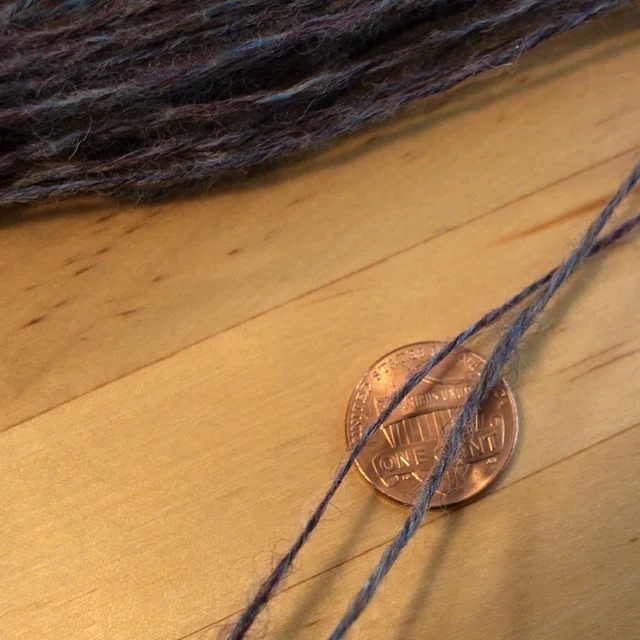
I’ve had the Opal Sock Yarn Bunny by Susan B. Anderson pattern in my Ravelry queue for months. It’s so cute, but I have had the hardest time picking out the right yarn. I wanted something durable and hard-wearing because I like to imagine that this would become THE favorite toy; however, I also wanted the colors to be something whimsical and fun. Turns out durable and whimsical is a hard combination to find. I eventually found a ball of sock yarn hiding in the deep stash. Seriously, I bought this ball of Zitron Trekking XXL 9 years ago on vacation. I almost turned it into a pair of socks, but didn’t want to knit socks on size 0 needles.
I don’t want to knit this totally adorable bunny on size 0 needles either. Plus, I’d like the bunny to be a little bigger than the 6.5” height stated in the pattern. Chain-plying to the rescue. The first and most important step to chain-plying any commercial yarn is to figure out how the yarn is plied. Commercial yarn is generally plied to the left, AKA with S twist, so you’ll need to chain-ply to the right, AKA with Z twist. If you’re plying a single ply yarn, you’ll probably be plying to the left. You can find the full tutorial for how to chain-ply commercial yarn here.
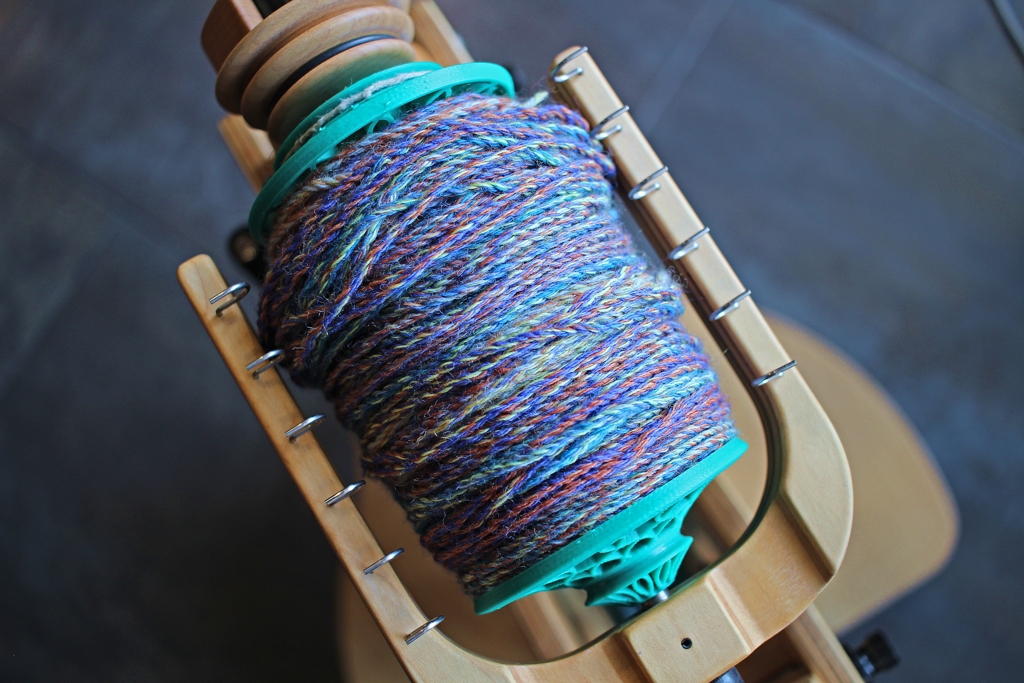
And a helpful tip: If you’re working on a wheel, and have the option, use a jumbo bobbin. The plied yarn will take up more space than you expect. I plied 459 yards of fingering weight yarn and just barely got it all on to a single regular bobbin.
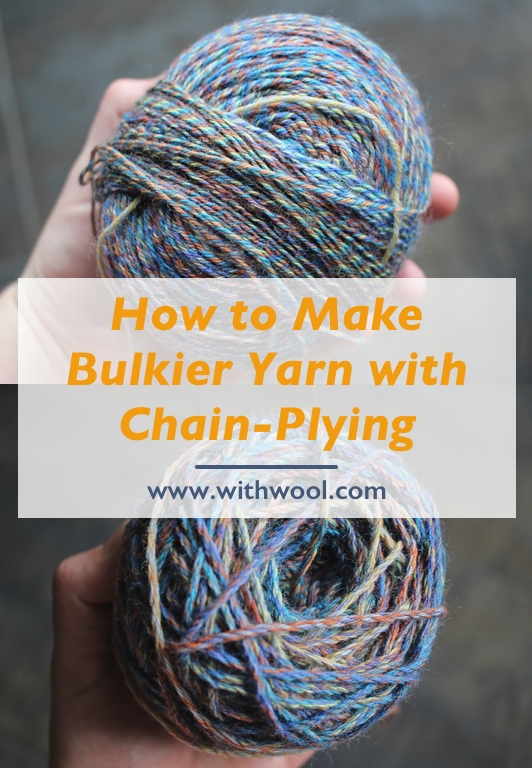
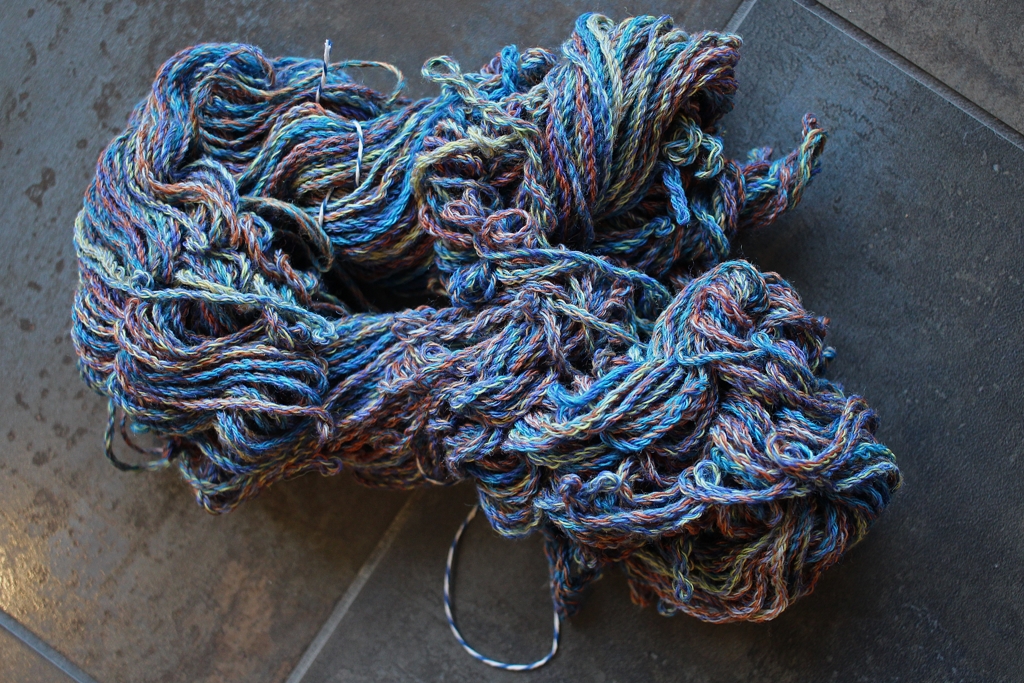
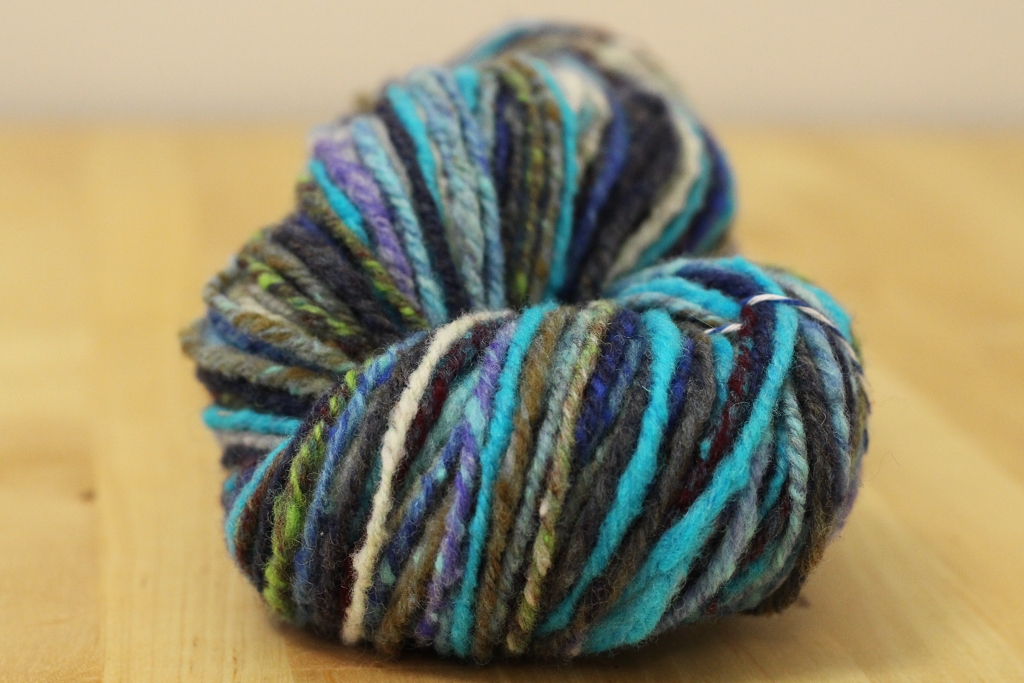
I finished the newly-plied yarn just like any other handspun yarn because you still have to set the twist. I skeined it and measured the results before dunking it in a bath. I had about 137 yards of worsted weight yarn. Then I soaked it in cool soapy water for 20 minutes, rolled it in a towel to squeeze out extra water, and snapped it out my arms to even out the twist one last time. Then I let it dry over night.
The twist really really relaxed and evened out. There are still a few over twisted and kinked spots, but most of the yarn is well behaved and smooth. I measured the skein again to see if setting the twist changed anything. The yarn was still a worsted weight, but I did “lose” 23 yards to the yarn plumping up. So I’m down to 114 yds, and really hoping I have enough yarn because I love it even more now.
Before you go, here’s a few things to keep in mind before chain plying for bulkier yarn.
- Even though chain-plying a fingering weight yarn will make a worsted weight yarn, the “new” yarn won’t have the same feel as a commercial or handspun worsted weight skein. Why? It’s much heavier and denser than either.
Because of how chain-plying works, expect to reduce your yardage to at most a third of it’s original number. My original 459 yds turned into 114 yds.
Sample a small piece of yarn first to see if you like the weight, drape, and density of the chain-plied version. It’d be really frustrating to do all that work and turn out with something you don’t like or wish you could undo. Take it from me, undoing a chain-plied yarn is not quick or easy.

