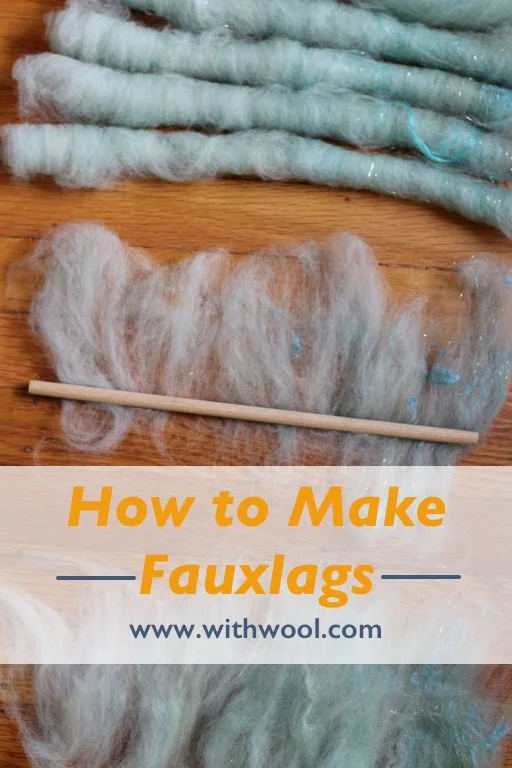
How To Make and Spin Fauxlags

How to Make and Spin Fauxlags | withwool.com

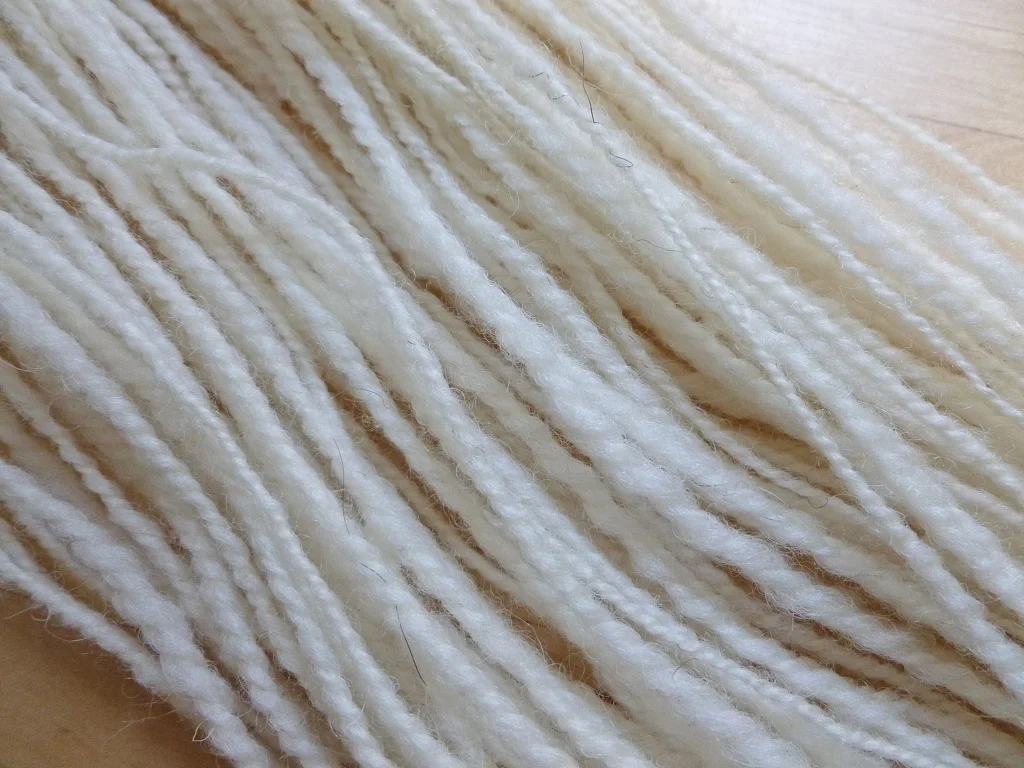
What are rolags and what are fauxlags? The answer to both of these questions is happy little burritos of fiber. They look the same, spin the same, and create the same kind of yarn - an airy woolen handspun. These preps also have added benefit of being quick to spin since the speedy long-draw or a variant is a must to easily draft them. Plus, they’re fun to to make and spin.

The giant difference between the two is how they’re made. Traditionally, rolags are made on hand cards or blending boards and rolled off into a tube. Or they can come straight off a drum carder. Fauxlags are generally made from pre-made batts, carded roving, or top. The only tool you need to make a fauxlag is a long smooth stick-like object such as a dowel, a knitting needle, or a chopstick. Fauxlags are easier to make than rolags because you don’t have to learn how to use hand cards. Plus, a simple dowel is much cheaper than a drum carder (I still want one though), a blending board, or hand cards. Making fauxlags is also an inexpensive way to see if you like working with this prep before investing in dedicated tools for rolags. 

Let’s get rolling!

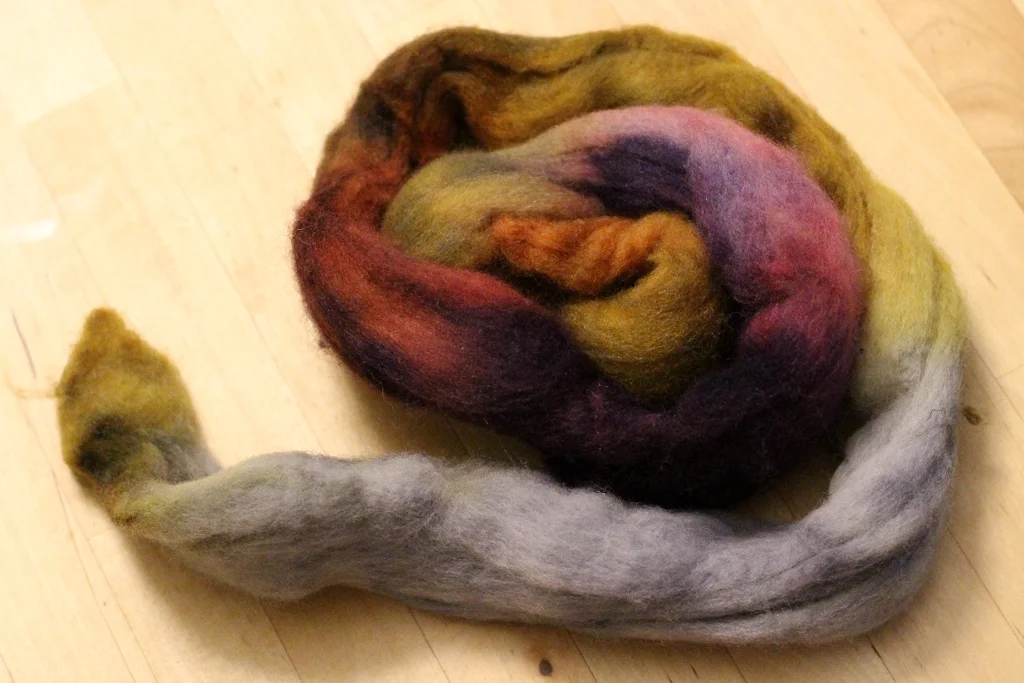
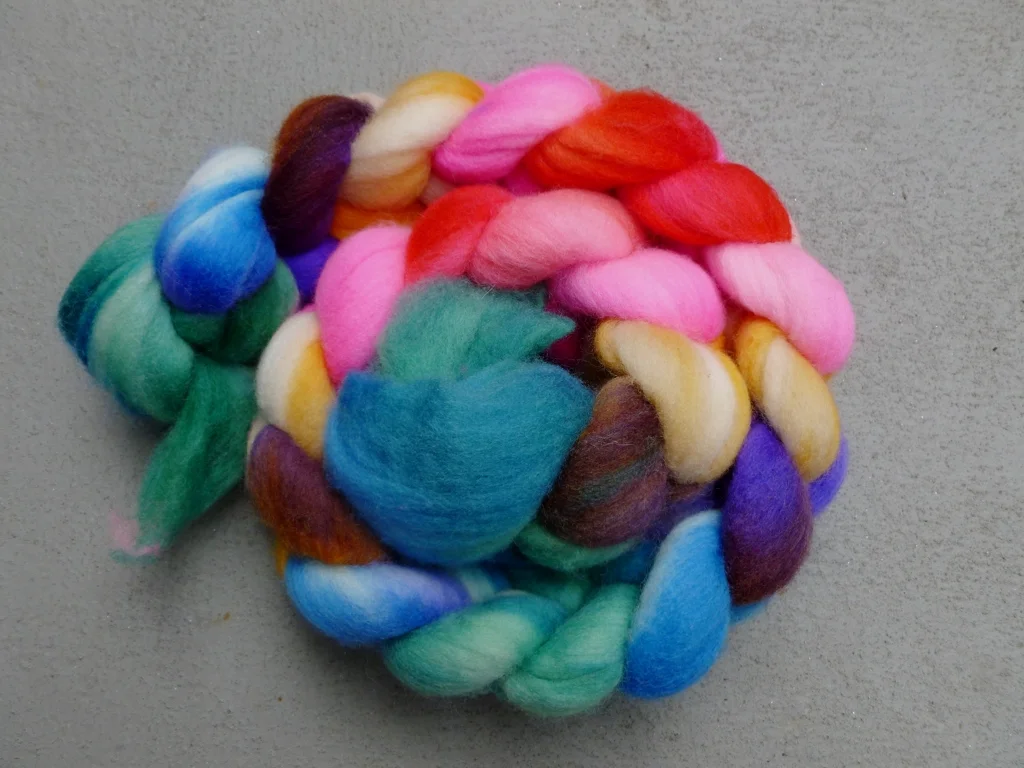
To make fauxlags, you’ll need fiber - roving, top, or a batt all work - and something long and smooth to wrap it around. Dowels, knitting needles, and chopsticks all work. 

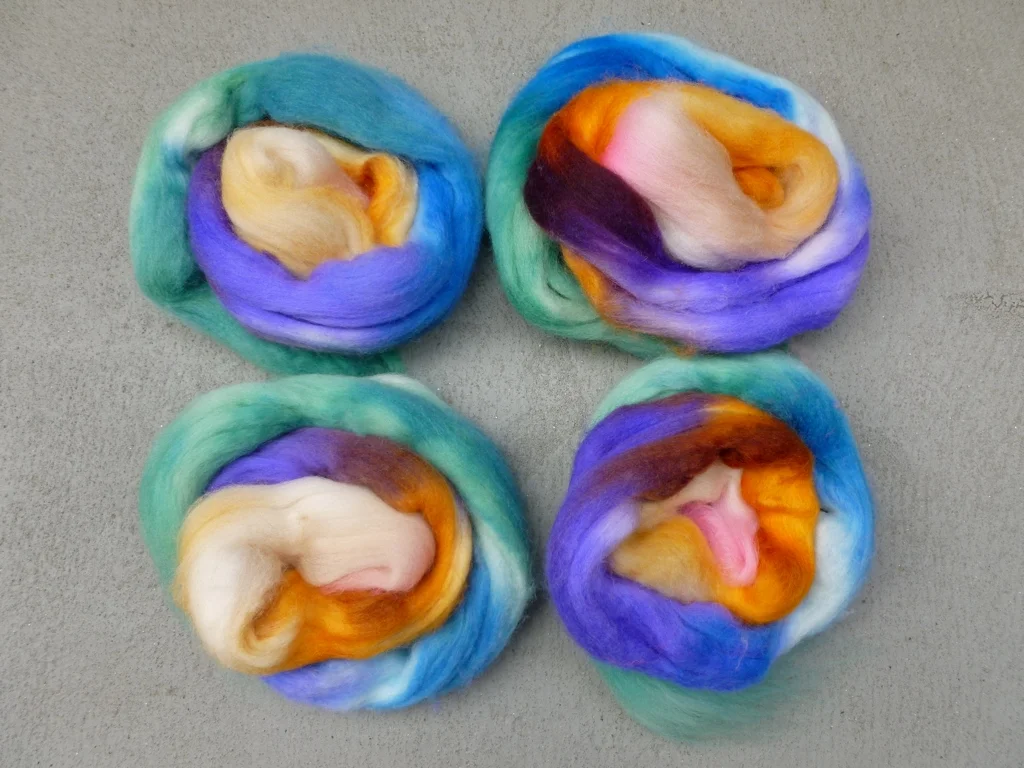
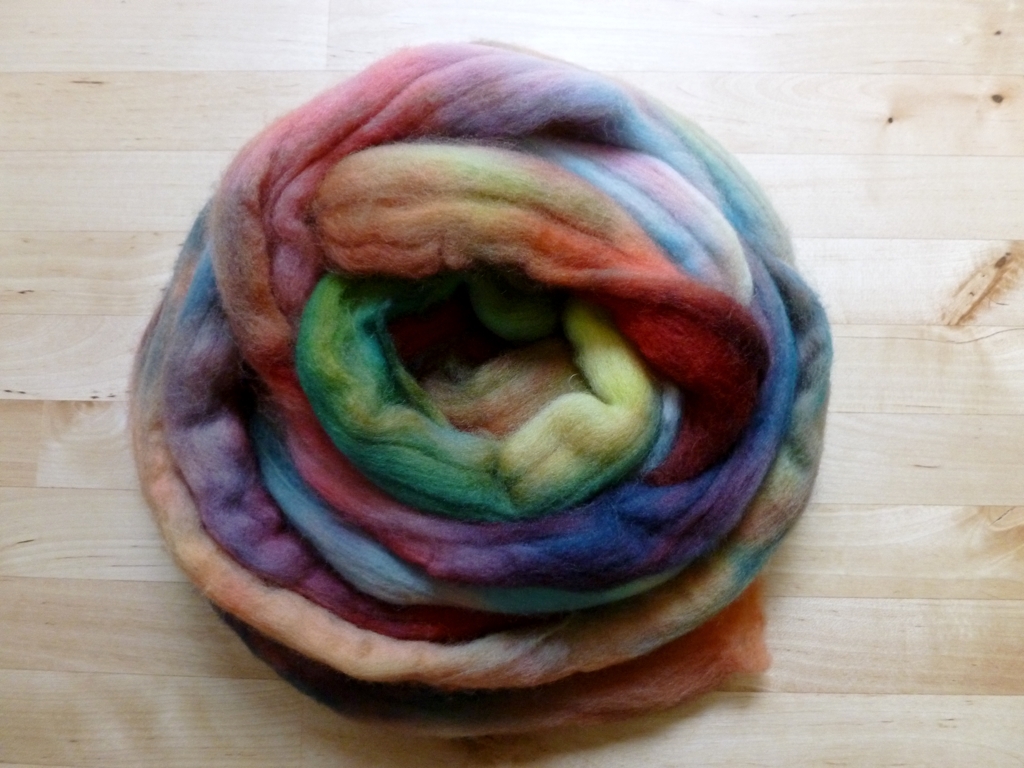
I’m using an 8” dowel and a Fantasy Batt from GwenErin Natural Fibers.

How to Make and Spin Fauxlags | withwool.com

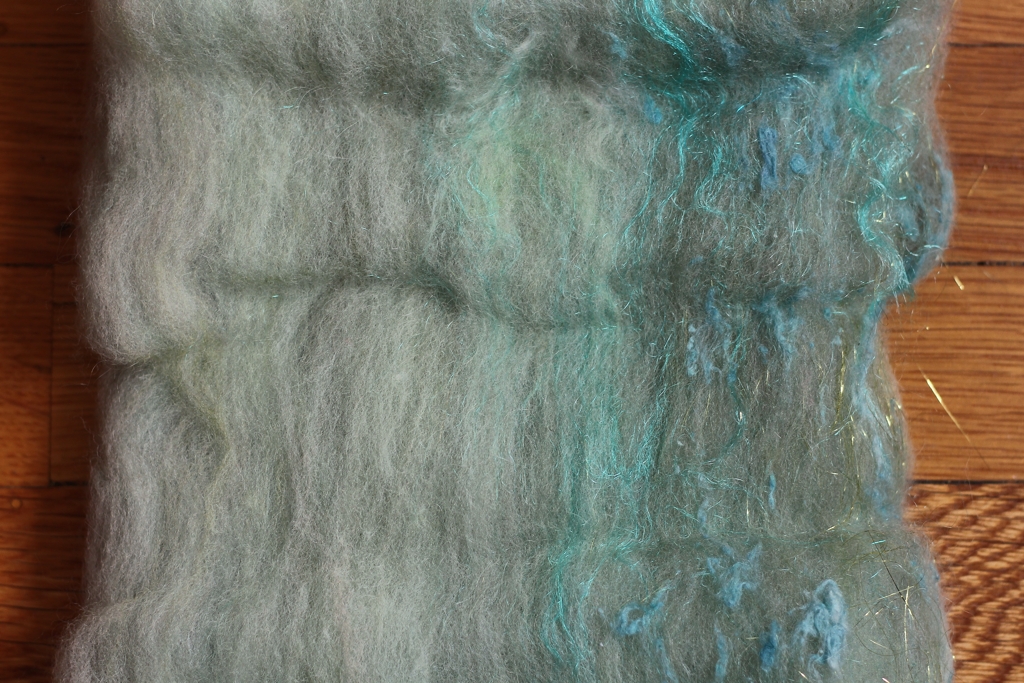
Before we get down to tearing and rolling, we’ll need to prep the fiber. If you’re working with a dense, thick batt, loosen up the fiber by pulling on the sides. We’re not trying to tear it into strips yet (unless you want to change up the colors or textures), just thin out the batt so it’s easier to work with. Fluffing up the fibers helps with roving/top too if it’s compacted or slightly felted. 

How to Make and Spin Fauxlags | withwool.com

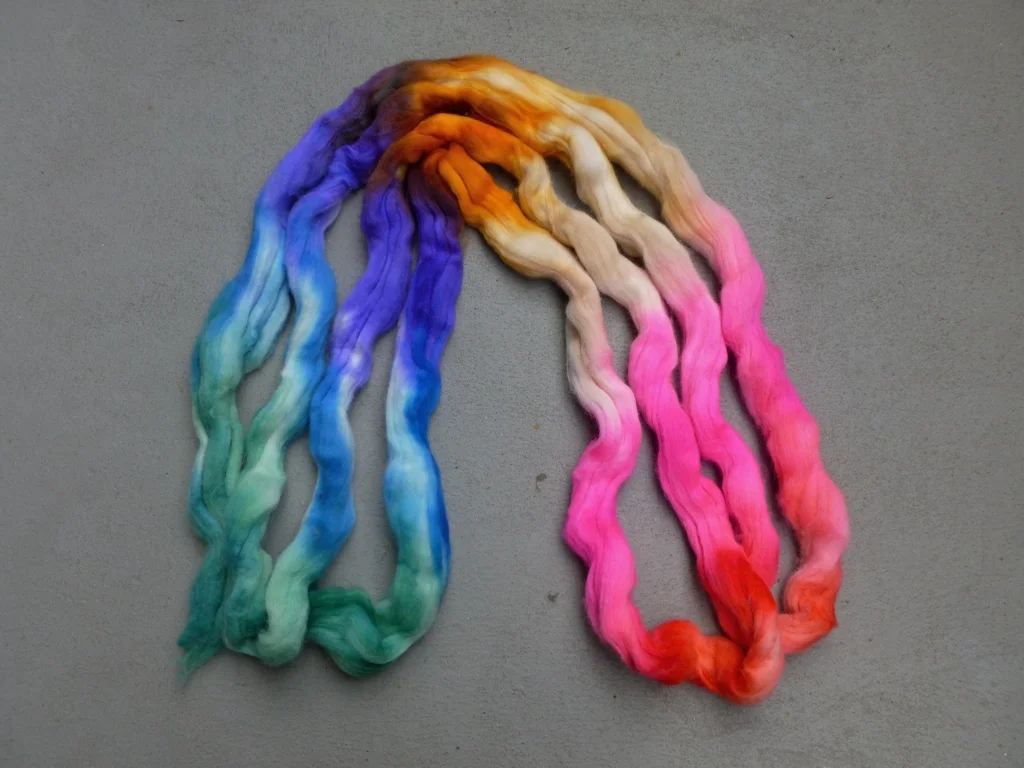
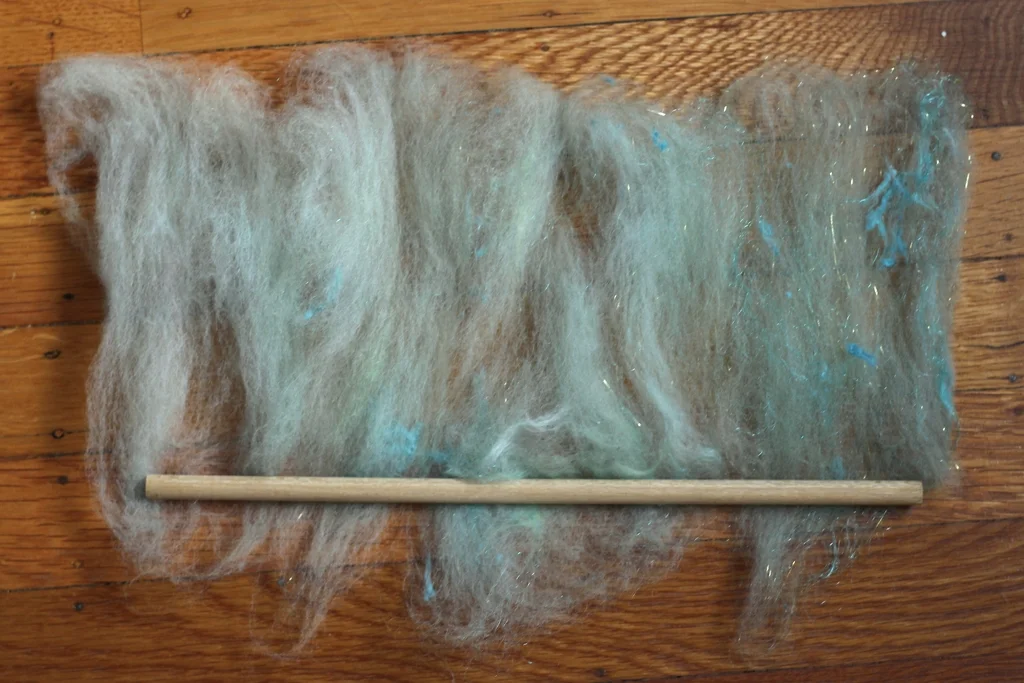
Before we start striping the batt, pull out a few strands to measure staple length. If the fiber is 3” long, you’ll want to space your hands at least that far apart. Any closer and the batt/roving won’t separate because you’re holding both ends of the staple.

How to Make and Spin Fauxlags | withwool.com

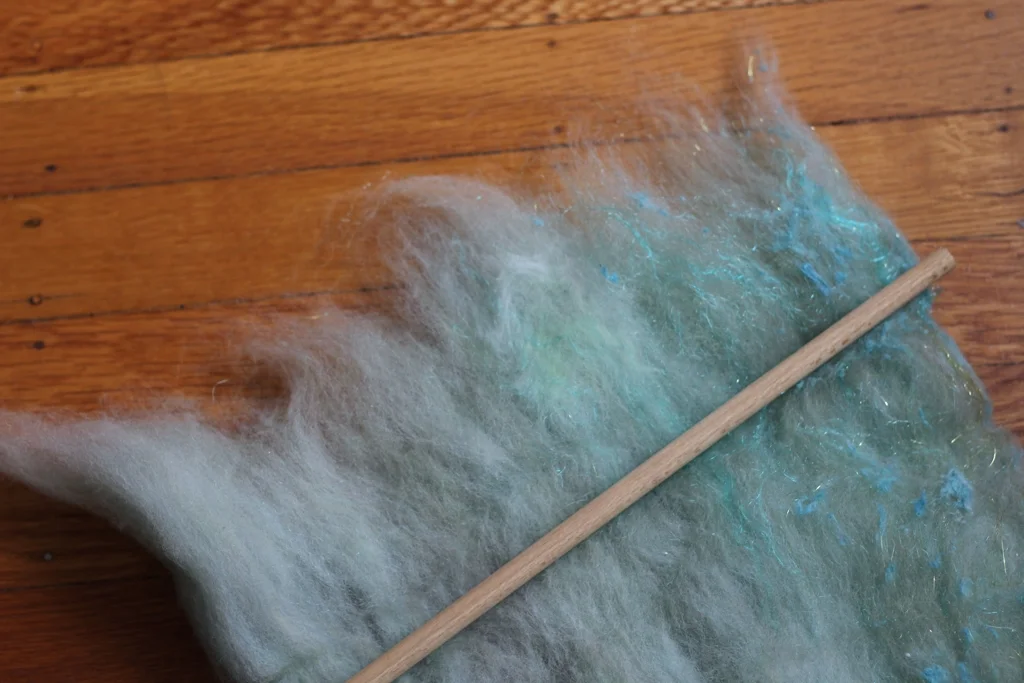
Batts can be difficult to tear evenly and the dowel lets you hold the batt evenly across it’s width for a neater edge. Hold down the dowel with one hand and pull the batt into strips with the other. It’s totally okay if the strips don’t have a clean edge or come away in clumps. Before you roll, you can stretch and pull them into a uniform piece.

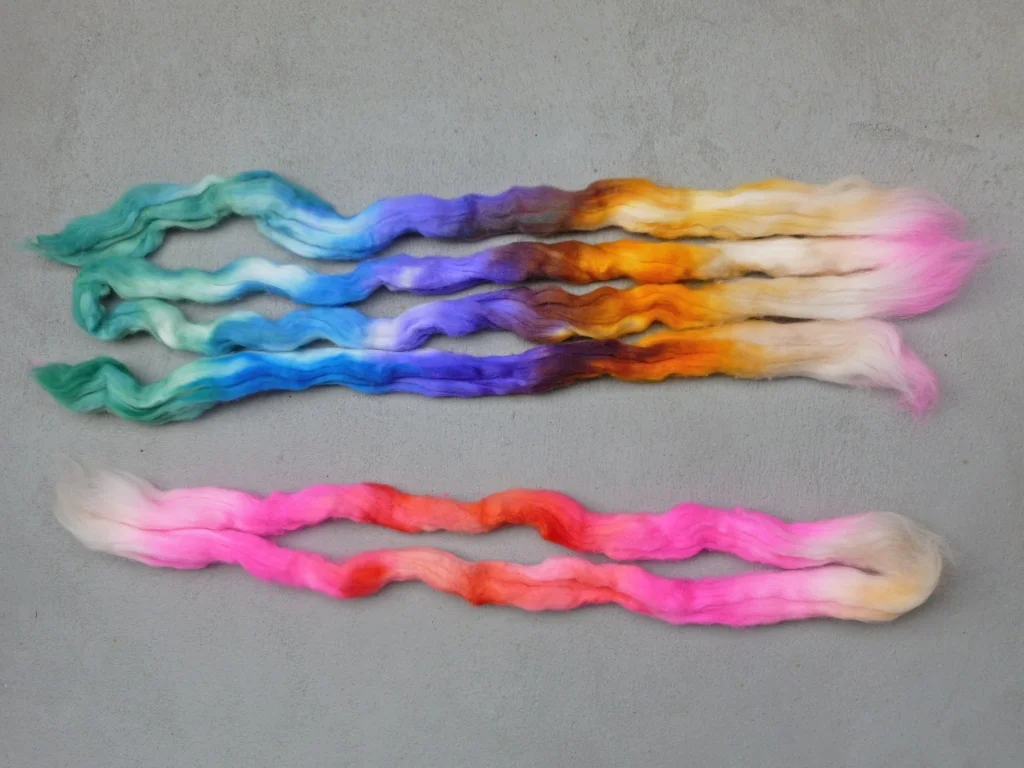
If you’re working with roving, you can skip the dowel for this step. Just grab the fiber between your hands and start pulling it into chunks.

How to Make and Spin Fauxlags | withwool.com

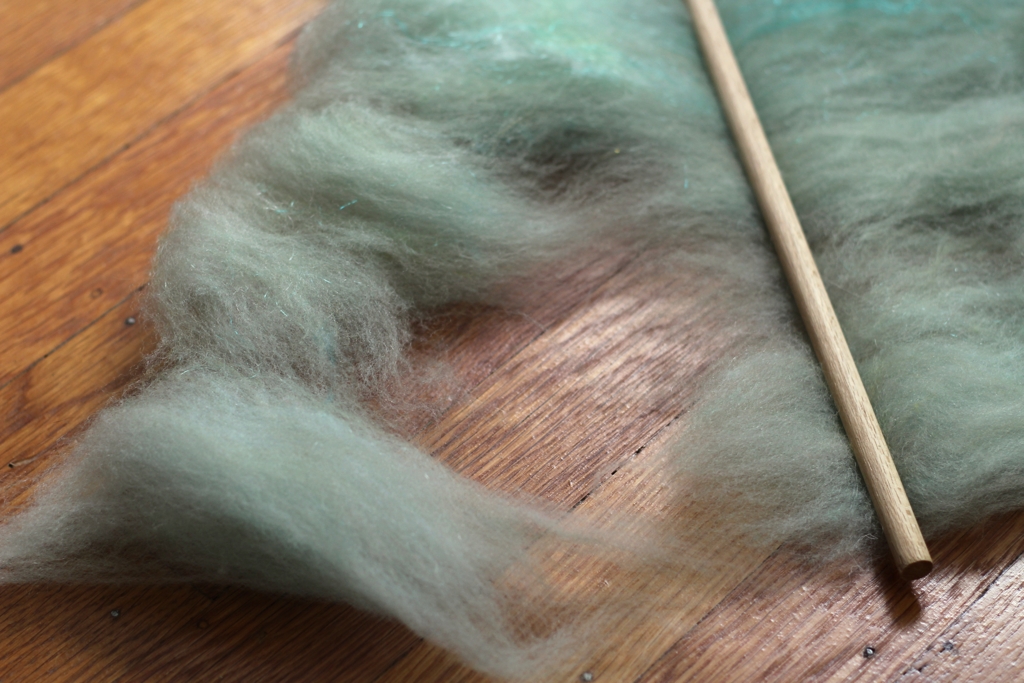
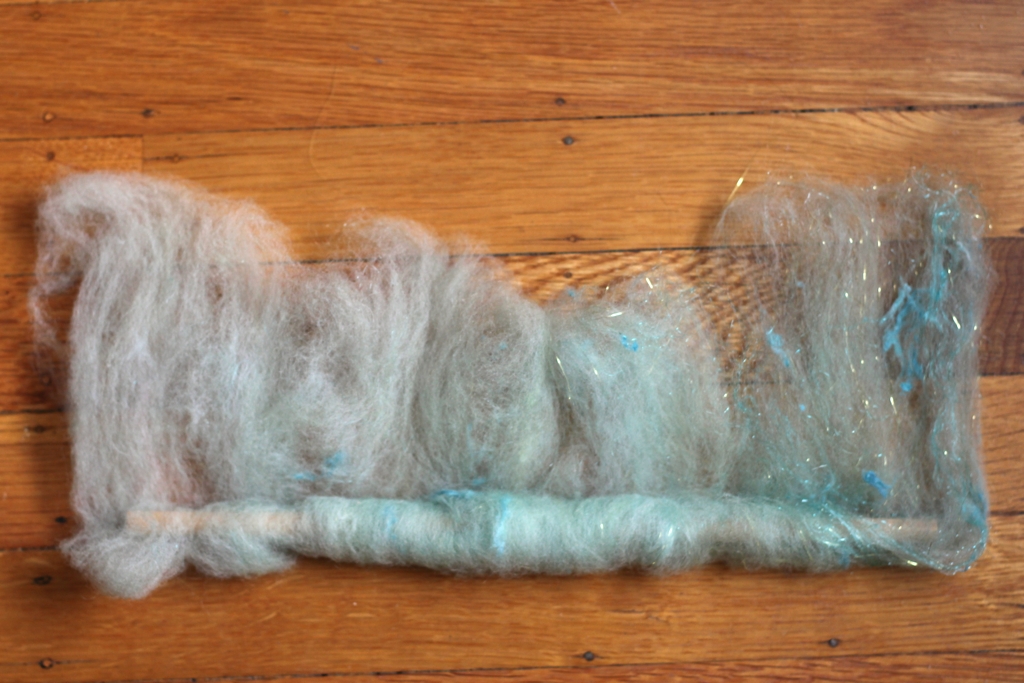
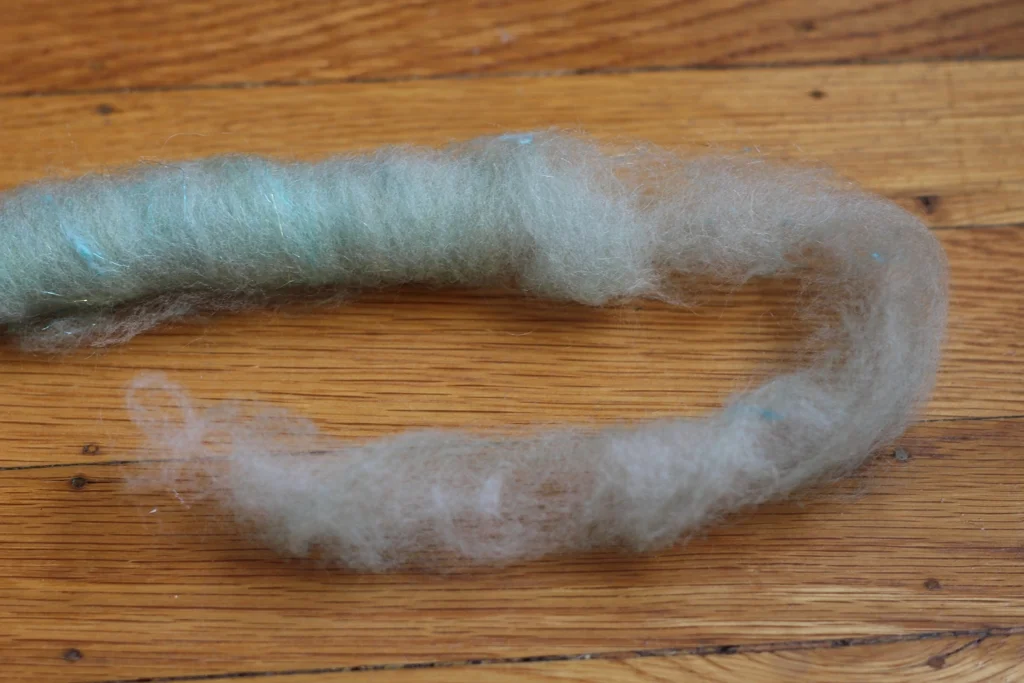
This is the same piece that was torn off in the above photo. I tugged and pulled it out to even the edges and make it easier to roll. When you’re happy with the shape and distribution, put the dowel on the bottom edge. Wrap the edge around the dowel and start rolling. If you're having a hard time holding the bottom edge, you can use a second smaller dowel to hold it in place. 

How to Make and Spin Fauxlags | withwool.com

After the fiber is all wrapped up, I like to roll it a few more times with a little extra pressure. Those last few rolls secure the outside edge of the strip and create a firmer fauxlag. I’m not trying to create a super dense prep - that would be hard to draft. The right amount of pressure keeps the fauxlag squishy yet firm which stops it from collapsing during spinning.

How to Make and Spin Fauxlags | withwool.com

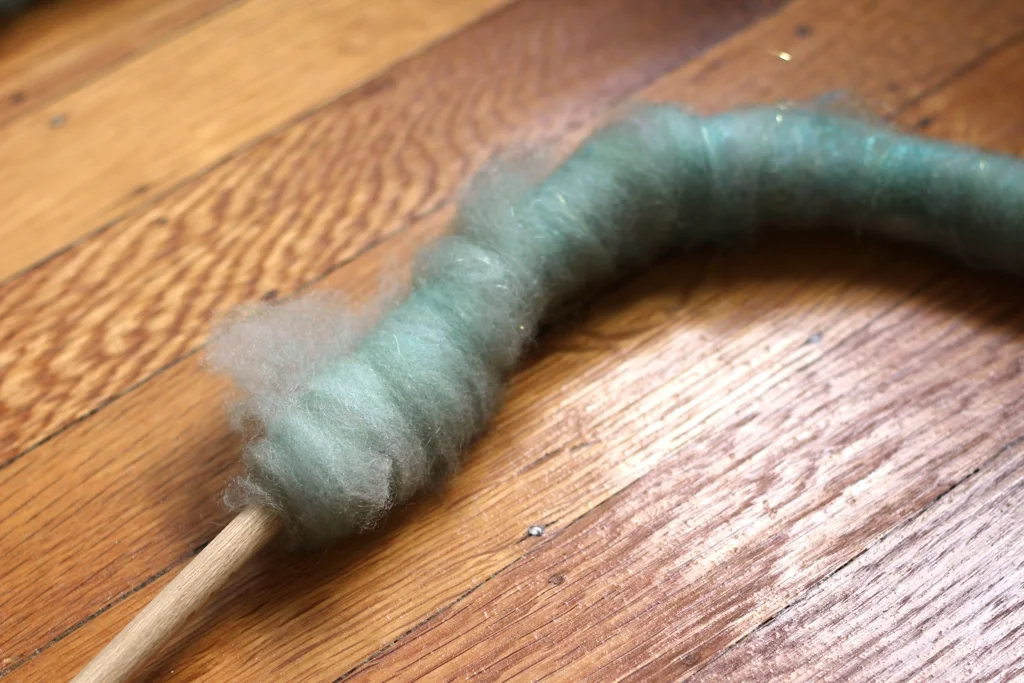
The last step is slipping the rolag off the dowel. Now repeat these steps to your heart’s content.

How to Make and Spin Fauxlags | withwool.com

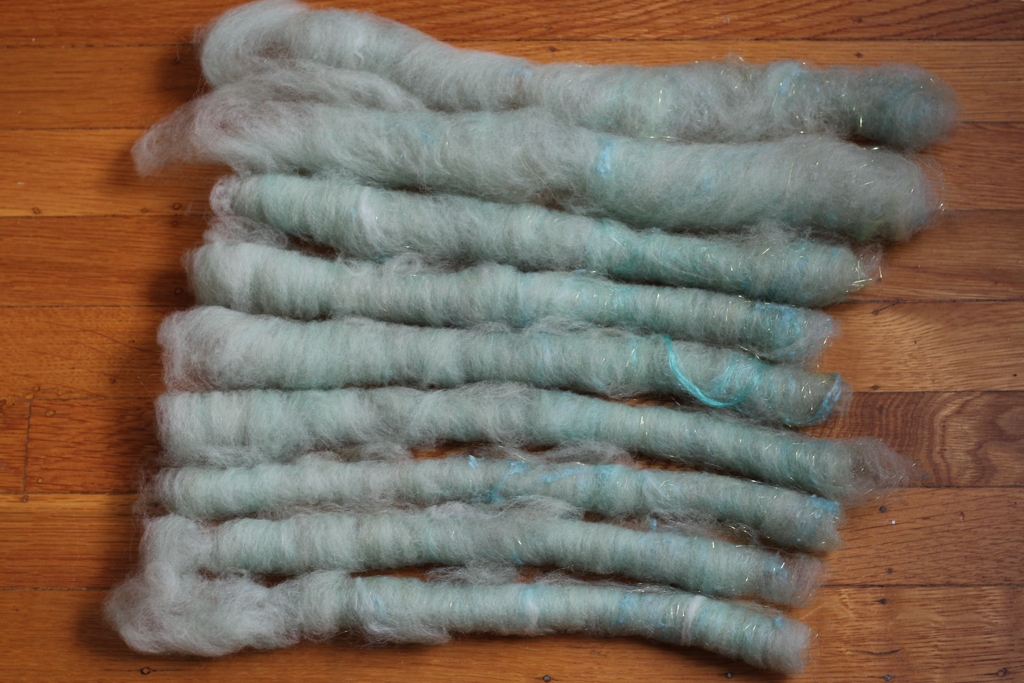
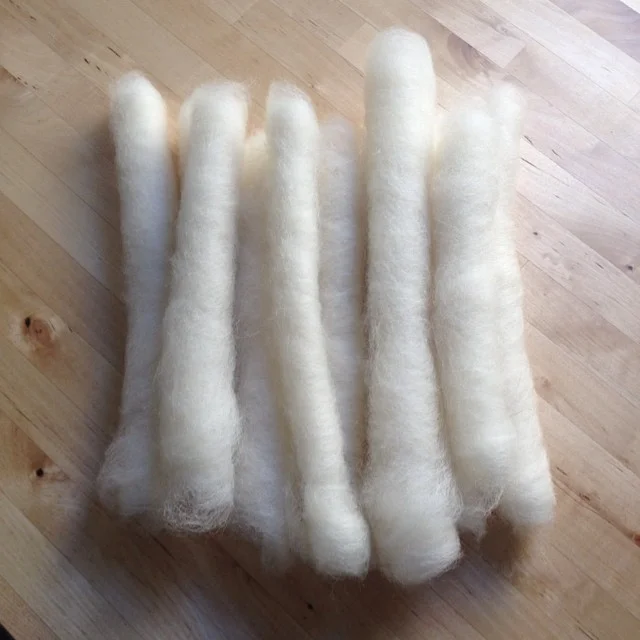
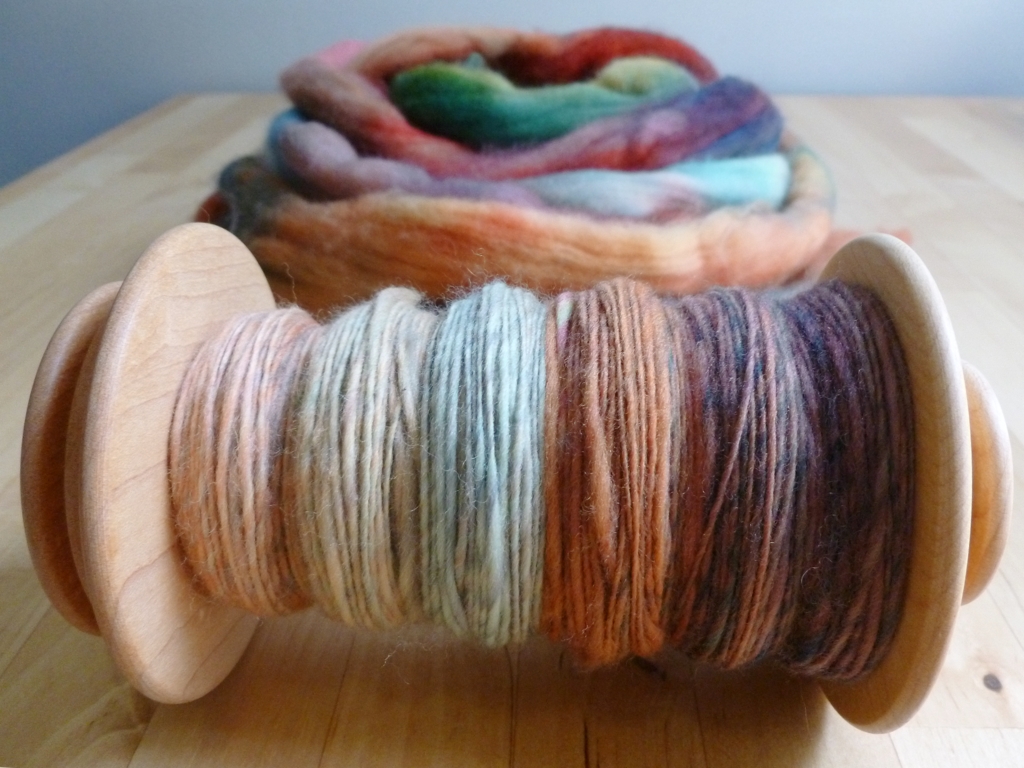
Here’s my finished batch. I got 9 fauxlags from this 1.1 ounce batt. The first two I made are a little thicker because I didn’t roll them as tightly - didn’t make any difference when I spun them up. 
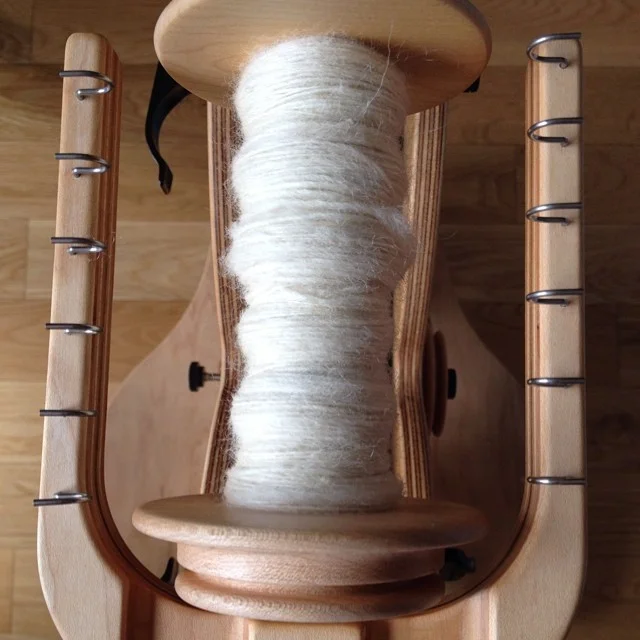
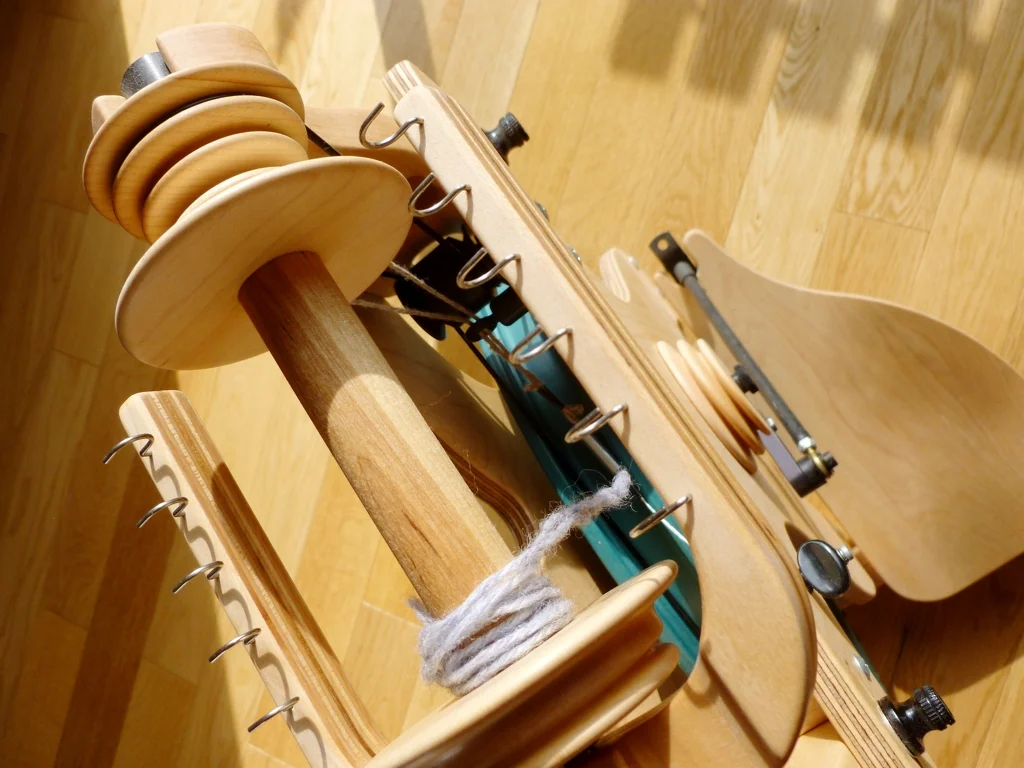
Time to spin!

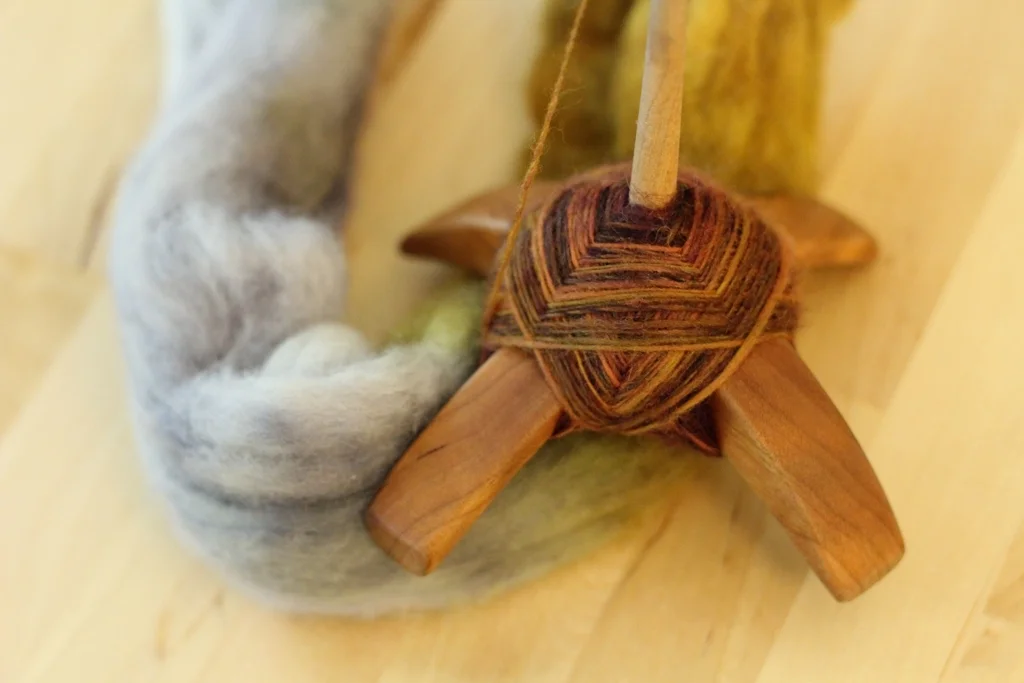
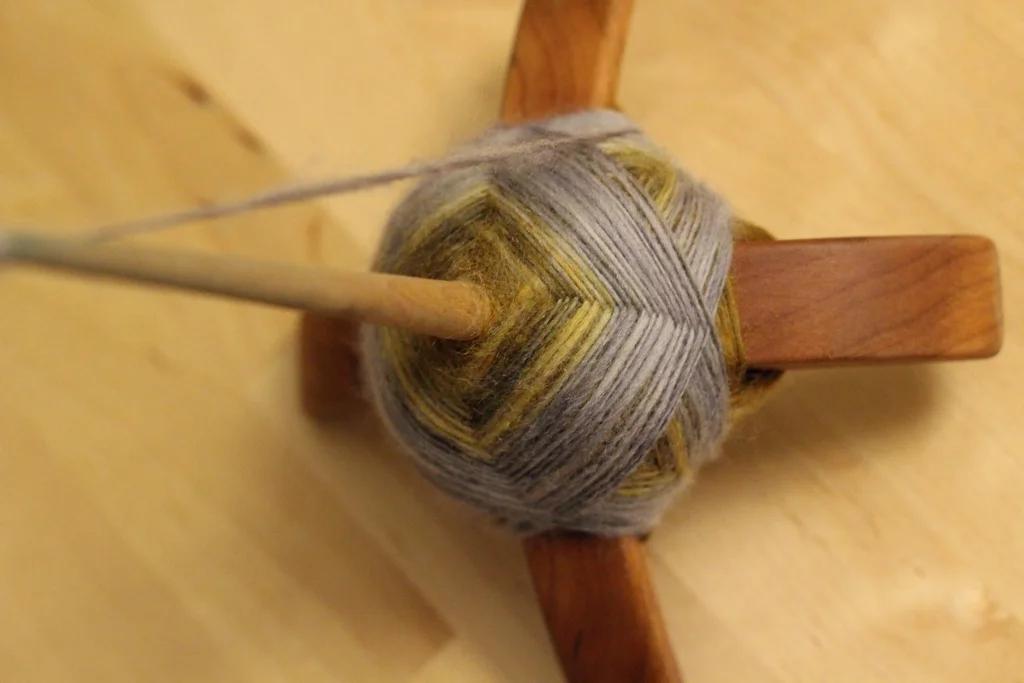
Pick an end and slowly pull it out to pre-draft the fauxlag like so. I draft just enough to join a piece to the leader or the previous fauxlag. Since the fibers are all rolled up together, long-draw is the best way to draft these beauties. 

How to Make and Spin Fauxlags | withwool.com

Thanks to the magic of tripods, cameras, and video editing software, I was able to put together a video of the spinning process. I hope this helps answer any questions about how to spin fauxlags and rolags. It’s my first video tutorial so let me know what you think!

The Spindle And The Wheel

Sunday, I was cleaning up all the browser tabs I’d left open from the past week. Most of them were longer articles I wanted to read, not skim, and videos that actually seemed worth watching. One of those unwatched videos was a 10 minute talk by Clive Thompson, The Pencil and the Keyboard: How The Way You Write Changes The Way You Think. He details the differences in how handwriting and typing affect your brain and why each is suited to different tasks, say note taking vs writing an article. It’s worth a watch. Near the end of the speech, around 9:25, Thompson says, “There was no individual tool that is perfect for any situation. What we really need is a lot of different cognitive tools in our tool kit. We need to be able to move back and forth between one mode to another…”

A week before watching said video, I felt the urge to spin. Not on my wheel, but on my turkish spindle which is a bit of a change. Since I got the Sidekick in September 2013, I have spun zilch on any of my spindles. Zero, nada, zip. Why the sudden change of heart? One of my spoils from Stitches West was 0.7 ounces of roving from Wonderland Dyeworks. The fiber was soft with beautiful color, and I wanted to enjoy spinning it for more than an a tv episode. So, out came the spindle instead of the wheel. This afternoon, I finally finished the single. Tomorrow, I’m plying back on itself with a spindle of course.

Looking at this single after taking such a long break from spindle spinning, I am very sure of one thing: the yarn I make with a spindle is entirely different from the yarn I make on a wheel. My spindle spun yarns are much the same, smooth and shiny, while my wheel-spun yarns are hairier and lacking the same luster. This all comes down to drafting. The only drafting method I’ve used with the spindle is the inch-worm forward draft because it’s only one that kept the spindle in the air. It isn’t called a drop spindle for nothing. The wheel let me try other drafting methods until I settled on a hybrid long-draw as my default. Just like in writing, in spinning there is “no individual tool that is perfect for any situation.” Sure, the wheel allows me to spin lots of different yarns - bulky or fingering, dense or airy, smooth or haloed - but I haven’t been able to replicate the yarn I spindle spin. To be fair, this is probably more my doing than the wheel’s. 

The reactions I get from both tools are fundamentally different. When working with a spindle, there’s an immediate knowledge of whether or not there’s enough twist. With the suspended spindle, either the single holds together or the fibers pull apart and the spindle hits the floor. There’s not much warning. Sometimes though, as the fibers slip, enough twist builds up in the thinned section to keep the spindle in the air. I’ll take it. Spinning at a wheel, the single is pulled away from me instead of towards my feet which makes the question of twist a little harder to answer. I’ve spun plenty of yardage that had enough twist to make it onto the bobbin but too little to actually hold together. Some of my most frustrating spinning moments have been pulling a single off the bobbin only to have it to fall apart over and over again as I’m feeding it though the orifice.

I once read a blog comment but where writer said they couldn’t wait to upgrade to a wheel from a spindle so that they could be a “real” spinner. With all the tutorials and articles focusing on wheels over spindles, I can understand where they’re coming from. Still, don’t discount the spindle. It’s been a valid tool for millennia, and it’s not going away any time soon. Just like the pencil and the keyboard are suited to different tasks, so are the spindle and the wheel. Being able to use move between them and use both, will allow us to do so much more than we could with just one.  

Handspun Corriedale

I’m glad I saved all the batts I made on the drum carder to spin during Tour de Fleece. Haven’t been able to spin all of them, but the batts I have spun have been worth the wait. They’re both fun to work with and very versatile. If you want a worsted yarn, you can spin them in one big chunk or tear them into strips like I did with the Mystery Batt. For a woolen yarn, you can tear batts across the “grain” and roll them into fauxlags (same as rolags which come off hand cards instead of a drum carder).

Corriedale-Rolags.jpg

The fate of my only Corriedale batt was being torn up and made into 11 ever so squishy fauxlags. I split them in half by weight and started spinning. Seems like I say this every time but I had so much fun working with these. Scout’s honor, fauxlags/rolags are my favorite thing to spin. It’s a shame that I don’t that work with them more often. Definitely a good thing that I also love the lofty woolen yarn fauxlags become.

Corriedale-Single.jpg

The finished yarn is squishy and nice even though this batch of Corriedale isn’t the softest. It’s even a consistent thickness. The thick and thin spots lend character instead of defining the skein as a whole. Looking forward to knitting it up once I’ve got the right pattern in hand. In the meantime, back to spinning through the last weekend of Tour de Fleece!

The Specs:

Fiber: 40g (1.41 oz) Corriedale

Yardage: 90 + 18

Weight: DK - Worsted

Dates: July 13 - 18, 2014

Spinning Color Bot

Color Bot arrived in my mailbox in March from the Spun Right Round fiber club. The green, blue, gold, and purple were right at home in my stash. The neon pink and red? Not so much. This bump definitely isn’t something I would have picked out for myself but it’s good to step out of one’s comfort zone every so often. Still, neon pink is light years outside of my comfort zone.

I’ve been trying to figure out how to spin it since opening the package. I wanted to downplay the pink while making the blues and green pop. Spin it fractal? Let it barber pole? Split it and let the fiber do what it will anyway? Even with fiber I’m not initially fond of, I usually love the final handspun but that didn’t seem likely this time. Neon pink just isn’t a color I’m drawn too or wear on a regular basis.

ColorBot-Divided.jpg

I had one other idea but immediately dismissed it - completely removing the pink/red. Would taking out the pink solve the problem? Definitely but it seemed like defeat. If I couldn’t spin colors, even colors I didn’t like, into something I thought was great, then I must be a failure as a spinner. But, I told myself, “I’m smart and have the internet at my fingers. I should be able to find some trick to spin all 4 oz in a badass skein of yarn.” What I found instead of this post on Woolen Diversions(interesting blog, by the way). She had a bump of fiber she wasn’t fond of either. So, she ripped out the colors she didn’t like and spun the ones that she did. Reading about her process gave me a new perspective. Maybe removing colors I didn’t like didn’t make me a failure. Maybe it wasn’t defeat. Maybe it was just another trick in a spinner’s toolbox. 

When I finally unchained the top, I ripped out the pink with gusto. The fiber was dyed in a clear repeat so getting the colors I wanted wasn’t hard.  There were just 3 oz left to spin and I decided to use those 3 oz to attempt one of my Tour de Fleece goals. Since I got my wheel last September, I’ve been trying to spin a fingering weight yarn. Come close over the past few months but haven’t spun anything smaller than sport weight. Then I saw this trick for spinning fine singles that involved threading the single across opposite flyer hooks which is supposed lessen the tension/slow the uptake. After spinning the first color repeat, my single is intentionally and consistently thin. It isn’t falling apart and I’ve only put enough twist to snap the single once or twice. Won’t know for sure if I’ve succeeded spinning a fingering yarn until after the singles are plied and the twist is set but I’m hopeful. If not, I’ll still end up with great yarn I actually want to knit. 

ColorBot-Single.jpg

Slow and Steady Tour de Fleece

Gwen-Erin-Mystery-Batt-Bobbin.jpg
Gwen-Erin-Mystery-Batt-Plied.jpg

Tour de Fleece is well underway with 8 days down and 13 left to go. This year, I’m doing things a little differently. As in previous years, I’m aiming to challenge myself and learn something new but at a rather relaxed pace. I’m not trying to spin all the things, clear out my fiber stash, or make myself spin every free moment of the day. In an afternoon, I might turn a batt into rolags and start spinning them that night or the next morning. No rush. The yardage isn’t exactly piling up but I get to spend more time enjoying the process. Plus, at the end of it all, there’s beautiful yarn waiting for me.

My goals are pretty simple.

  • Spin up the batts I made during my adventures with the drum carder. 
  • Spin new fibers. I’ve got Romney, Alpaca, Angora, a BFL/Silk/Angora blend, and silk hankies. All fibers that have been hanging out for far too long in my stash and I’m ready to try my hand at them. Bonus, I’ve turned a few of them into batts. 
  • Try new techniques and read up on spinning. Top technique on my list - A tutorial by Lisa Raynor that shows how pulling a single through several flyer hooks to lessen tension makes it easier to spin fine yarn. I haven’t yet been able to spin a fingering weight yarn on my wheel and this tip might get me one step closer. As for reading, I’ve got the latest issue of Ply to keep me occupied.

The relaxed pace of this year’s tour is growing on me and the last 2 weeks should be a breeze. How’s your Tour de Fleece spinning going? Achieving your goals or throwing everything to the wind?

5 Training Tips for Tour de Fleece

Spinning along with Tour de Fleece? Here are 5 tips to help get you started. | withwool.com

It’s almost time for Tour de Fleece which runs alongside the Tour de France. Starting July 5, there will be 3 weeks of spinning, watching the Tour de France, and more spinning. 2014 will be my third time take part. For my first Tour in 2012, I spun with a spindle and turned 18.9 ounces of wool into 5 skeins and 1,040 yards. I wasn’t as prolific in 2013 when I only spun 1 skein but it was 512 yards. I’m looking forward to this year since it’ll be the first Tour I’ll be spinning on my trusty sidekick. With a wheel, I’m hoping to leave my previous numbers in the dust and put a serious dent in my fiber stash. Also on the list is learning new yarn constructions and spinning new fibers. But first, there must be prep and training to make the most of and, more importantly, enjoy the Tour. So, a few tips for training before the Tour officially kicks off on July 5th:

Spinning along with Tour de Fleece? Here are 5 tips to help get you started. | withwool.com

Make a game plan. What are you going to spin? A sweater’s worth of wool? All those one off bumps of indie-dyed fiber? Do you want to learn a new technique? Try a new yarn construction? Spin a different fiber like silk or linen? Spin sock yarn or yarn for a specific project? If you’re spinning a sweater’s worth, sample the fiber and knit a swatch to make sure the final yarn matches the project. Also a good time to find out if you like spinning the yarn before devoting 3 weeks to it. 

Prep your fiber. If you’re spinning for a large project, split the fiber into manageable chunks, 1 oz or smaller. Take a break after spinning each ounce and your wrists will thank you. Plus, plying singles spun at the beginning with singles spun at the end will create a more consistent yarn.

Spindle or wheel, clean your gear. Spinning wheels need a good cleaning on a regular basis and prepping for Tour de Fleece is the perfect time. Give the wheel a good dusting and a little wax to keep the wood happy. Oil moving parts as necessary. This also a good time to inspect the wheel for any damage or replace loose drive bands and stretched out springs. If you need help, check out these links on wheel maintenance. As simple as spindles are, they need care and wood wax too. Now is also a good time to readjust bent hooks. 

Empty those bobbins. Or in the case of spindles, those straws and chopsticks. The more empty bobbins you have, the longer and more you can spin before you need to ply.

Find your team. I'm not saying that you have to sign up for any specific team to spin with. Just find a place where you feel comfortable sharing your progress, getting a pat on the back, and asking for help. Could be the Tour de Fleece group on Ravelry or Instagram or your own blog.

Spinning along with Tour de Fleece? Here are 5 tips to help get you started. | withwool.com

Heavenly Handspinning Herbal Wheel Wax

Spinning-Wheel-Cleaning-Start.jpg

Thursday afternoon, I put a silly horror movie, they do exist, on in the background and sat down to clean my wheel. The process wasn’t as difficult or time consuming as I had imagined it to be. Just detailed. First, I dusted every surface, crevice, and joint I could reach. Happy with the lack of dust, on went the wood wax.

Heavenly-Handspinning-Wheel-Wax .jpg

Thanks to a demo at a fiber guild meeting last year, I was able to buy some Heavenly Handspinning Herbal Wheel Wax from The Yarn Marm. The hardest part of whole process was getting the tin open. Somehow, I managed to not spill half the liquid contents prying of the lid. The wax had a pleasant smell and was easy to apply. I let it sit of 5 minutes before rubbing it off with a soft cloth. Now the wood has a wonderful luster and a layer of protection against dry, salty air. 

Oiling was a breeze since since only the footmen cranks and the bobbin ends on the flyer needed attention. 

Spinning-Wheel-Cleaning-Time.jpg

From start to finish the entire process only took about 50 minutes. The wheel looked beautiful and ready for a test spin. It spun effortlessly and quietly too. I’m looking forward to spinning a lot of yarn this year so I’m not going to wait months to clean it again. Gotta take care of my Sidekick after all. 

Spinning Wheel Maintenance

Dirty-Spinning-Wheel.jpg

Okay, I admit it. I’ve been a bad spinner by not properly babying my wheel. The first step is admitting you have a problem, right? When I first got my wheel, I knew it had to be maintained on a regular basis. The manual talked about oiling and protecting the wood and dusting of all things. Totally doable. But I haven’t done any of those things. Before you drag out the pitch forks and the torches to take my wheel away, know I’m mending my ways. I have oil, wood wax, and dusting cloths. I’m going to spend the afternoon giving my Sidekick a proper cleaning before I spin the first yarn of 2014. After all the work this wheel has done over the past few months, it definitely deserves a little love.

Dirty-Treadles.jpg

Since this is my first time ever deep cleaning a wheel, a little research was in order. I found some helpful articles and have a better idea of what to do. Maybe they’ll help you and your wheel out too. 

The Spinner’s Glossary by Lee Juvan  - Handy overall article with lots of photos, tips, and instructions for cleaning and protecting your wheel. 

How to Care for Your Spinning Wheel - Basic video tutorial for how to clean and protect a spinning wheel; goes through the process for 4 different wheels.

How to Size and Replace Drive Bands

Schacht’s Spinning Wheel Care Tips

The Care & Feeding of Spinning Wheels by Karen Pauli popped up frequently in my research despite being published in 1981. Might get my hands on a copy. 

Smith Rock Revealed

Spun-Abstract-Fiber-Targhee.jpg

Last month, I finally visited the local spinning guild. When I stepped out of my car, I had no idea where to go so I just followed the woman carrying a spinning wheel. There was yarn, fiber, spinning wheels, and spindles all over the place. Yep, I was definitely in the right place. The meeting and people were great so I wasted no time joining up. There were even a couple local vendors selling fiber and supplies. Resistance was futile and I bought 4 oz of Targhee dyed by Abstract Fibers. The reds, browns and oranges of Smith Rock are a bit outside my usual color spectrum but were exactly what I wanted.

Abstract-Fiber-Targhee-Smith-Rock.jpg

 I split the fiber in half lengthwise and started spinning singles for a 2-ply yarn. The Targhee was wonderfully soft and drafting was easy so I was able to focus on the color as it moved through my fingers. The Bearded One noticed it too. Subdued red might not be my first color choice but it’s definitely his. He called dibs on the finished yarn. He denies it but he definitely called dibs. 

In knitting there’s a “rule” that says if don’t like something about your project, you should fix it immediately instead of pretending it’s okay for another thousand stitches. If it’s bothering you, the only difference those thousand stitches are going to make is that you’re going to have go through them first to get something you’re truly happy with. It’s a good rule. Saves time, energy, and hassle. I motion that this rule should apply to spinning and life in general too. It’s better to fix something immediately than to make a mistake worse by pretending it didn’t happen or that it’s just fine as it is. Who seconds?

Abstract-Fiber-Plying-Ball.jpg

The reason I bring this “rule” to your attention is that we can all stand to be reminded of it from time to time. I certainly could have used the reminder when I started plying this yarn. Sometimes the colors matched but, most of the time, it was a wild barber pole. I kept telling myself I liked it and it would come together in the end. Unfortunately, the more I looked at the plied yarn, the more I didn’t like it. The only fix was un-plying the yarn and doing detailed surgery to get the colors to match. Leaving the yarn as is and shoving it into the back of the closet just wasn’t an option. Un-plying, separating the singles, and matching the colors more than doubled the amount of time I spent on this yarn. The whole misadventure involved a spinning wheel, a cardboard box, a spindle, a ball winder, scissors, and felting. A few days later I had a well matched ball of singles ready for their fourth trip through the spinning wheel.

Spun-Abstract-Fiber-Smith-Rock.jpg

 All the extra work was worth it. The finished yarn is wonderful, soft, and there’s no need to shove it into a closet. The Bearded One agrees since the colors are great and look good on him. I can’t wait to knit it up as we figure out what to make with 430 yards of worsted weight. 

My New Sidekick

Schacht-Sidekick-Spinning-Wheel.jpg

Yes! It finally happened. After months of research and reading reviews; after many more months saving up, not once, but twice, I finally bought my dream spinning wheel, a Schacht Sidekick!

Schacht-Sidekick-Flyer.jpg

When I started looking to buy my first wheel, I knew I wanted something that was compact, easy to travel with, versatile, and easy to use. After reading numerous reviews and watching videos, the Sidekick seemed to fit the bill perfectly. Despite having never seen one in person, I started saving up. Last Monday, September 23,  I held my breath and finally ordered a Sidekick from Village Spinning and Weaving.

Schacht-Sidekick-Flyer-Side.jpg

The blessedly few days of Wheel Watch 2013 were definitely exciting but nothing compared to that last day when the sound of every truck brought the possibility of getting my hands on my new wheel.  It finally arrived late Wednesday evening right before it was time to start cooking. Safe to say that dinner happened later than usual that night. It’s been less than a week but, so far, the Sidekick has met and exceeded all of my expectations. I’m absolutely in love and glad I’ve made the jump from spinning exclusively on spindles.

Schacht-Sidekick-Quick-Release.jpg

My first time spinning on the Sidekick was only the second time I’ve ever spun on a wheel. The first time was for 15 minutes during a mini lesson at Yarnhouse Studios, a lovely knitting, spinning, and weaving shop in Opelika, AL. That was a year ago to boot! After reading all the instructions in the box and setting up the wheel, I spent a few minutes treadling just to get used to the motion and rhythm. Then I had to figure out how to thread a leader through the flyer and the orifice. Then figure out why the yarn wasn’t being taken up onto the bobbin. Then, SUCCESS!, I was spinning yarn  on my new wheel. It was lumpy and bumpy and thick and I was pretty sure I’d be spinning unintentional “art yarn” for awhile; however, by the end of 2 oz, the single was fairly even and consistent.

Schacht-Sidekick-Wheel.jpg

I’ve since chain plied and finished that first skein and gone on to spin 2 more skeins in just 4 days. My last spindle-spun skein of yarn took over 3 weeks so this new found productivity is amazing. After hours of spinning and 3 skeins of yarn, I’m even in love with my Sidekick. Wish I’d gotten one ages ago and I’m looking forward to spinning on it for years to come.

Schacht-Sidekick-Maiden.jpg

How To Ply Leftover Singles

PlyingLeftovers1.jpg

 In a perfect world, we would spin singles with equal yardage and have none left over after plying. I’ve heard tales of this happening to a few lucky individuals but, for the rest of us, there’s going to be extra. Those last few, or not so few, yards sit on bobbins or spindles or straws or chopsticks while we forget about them completely for the next project. That is until we need that spindle or ran out of straws for extra yarn. I know that I have plenty of un-plied singles from when I first started spinning and had no idea what to do with the extra. My last few spinning projects have also left me with leftovers and I’m tired of them taking up space in my spinning box. The remaining yardage can easily be turned into a 2-ply yarn since the hard work of drafting is already done. 

The leftover single can have a lot more yardage than you think. A plied mini-skein can give you a little breathing room on the final rows of a project or be enough to knit a small trinket - like a Christmas ornament or bookmark. Plus, the mini skeins are cute and perfect for petting on a stressful day.

PlyingLeftovers2.jpg

Wind the yarn off the spindle (or bobbin or straw) into a center pull ball. You can use a ball-winder, a nostepinne, or your hand. Just go slowly or risk snapping more delicate singles.

PlyingLeftovers3.jpg
PlyingLeftovers4.jpg

Once wound, pull out the end from the center and the outside. Tie them together in a knot and you’re ready to start plying with a spindle or a wheel.

PlyingLeftovers5.jpg

The ends will pull out smoothly in the beginning but, as more of the singles move to the spindle, the ball will start to collapse. Go slowly and keep an eye out for potential tangles.


PlyingLeftovers6.jpg

Let the fresh yarn rest for 24 hours before picking something small to skein up the yarn before dunking it in a bath. I used two small lamps and a book for a third un-pictured, mini skein.

PlyingLeftovers7.jpg

Finally plied and finished, the yellow skein has 13 yds and the blue has 29 yds. I haven’t quite figured out what I’ll do with these skeins but, in the meantime, they’ll look cute on my desk.