Spinning Wheel Maintenance

Dirty-Spinning-Wheel.jpg

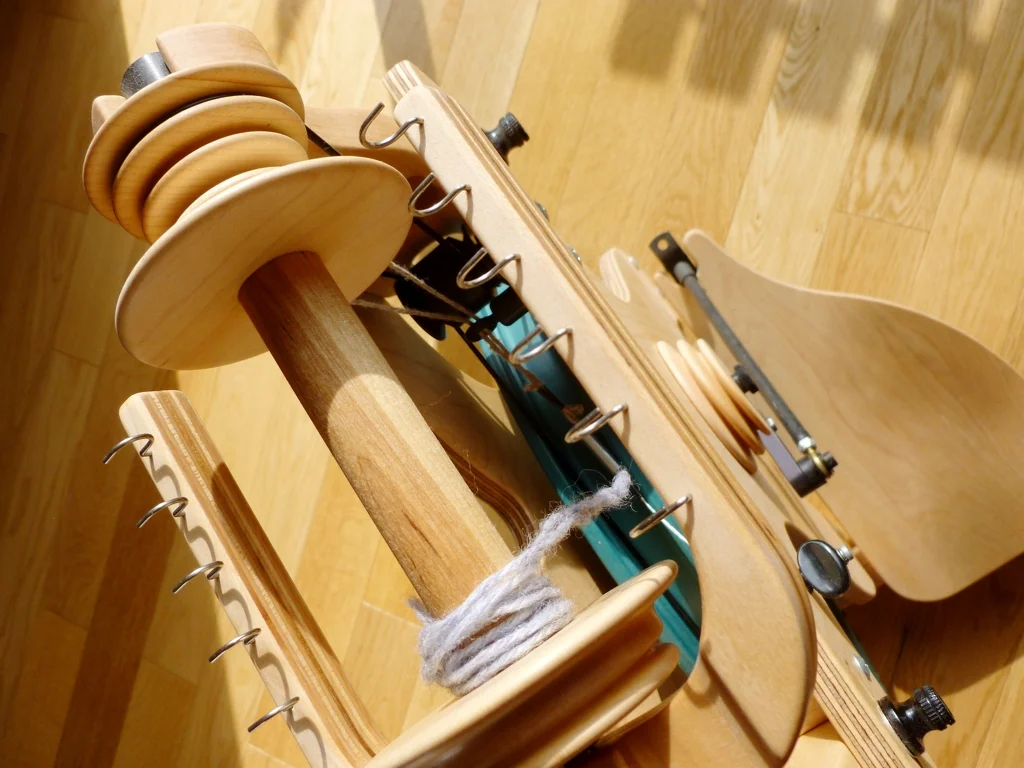
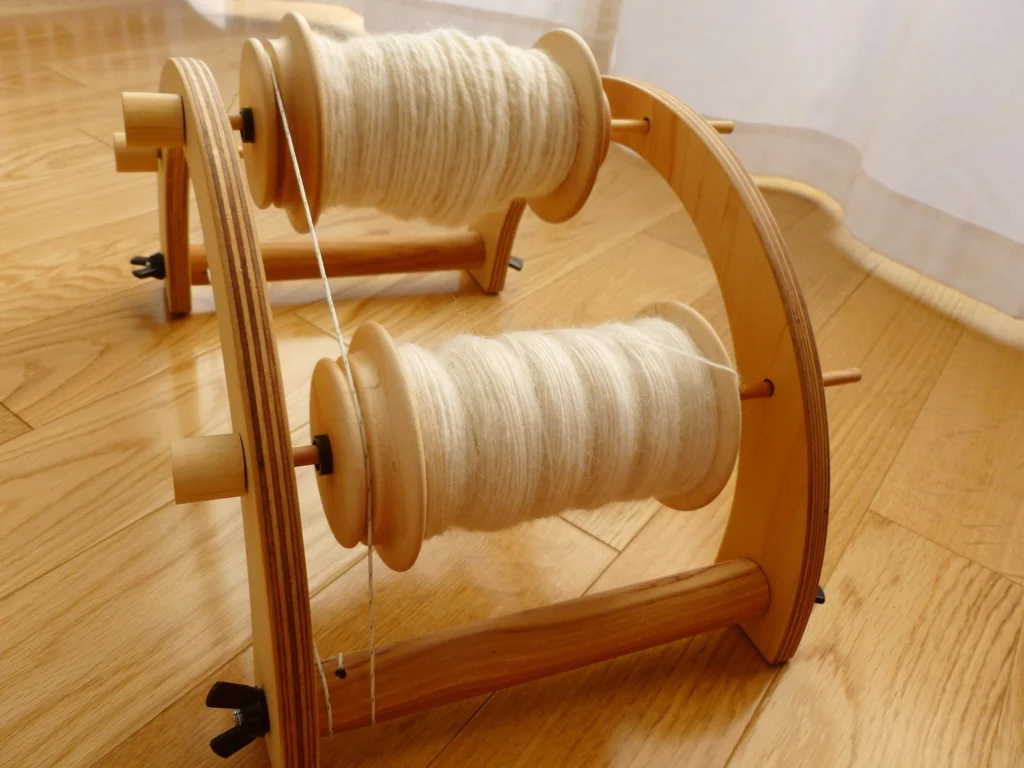
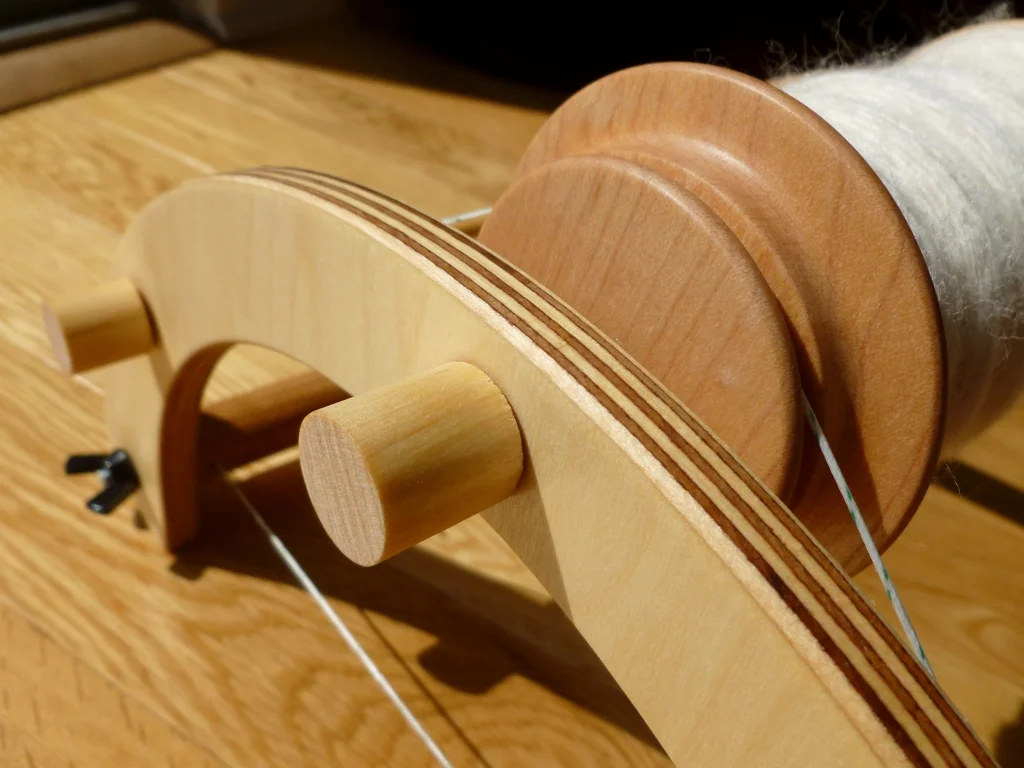
Okay, I admit it. I’ve been a bad spinner by not properly babying my wheel. The first step is admitting you have a problem, right? When I first got my wheel, I knew it had to be maintained on a regular basis. The manual talked about oiling and protecting the wood and dusting of all things. Totally doable. But I haven’t done any of those things. Before you drag out the pitch forks and the torches to take my wheel away, know I’m mending my ways. I have oil, wood wax, and dusting cloths. I’m going to spend the afternoon giving my Sidekick a proper cleaning before I spin the first yarn of 2014. After all the work this wheel has done over the past few months, it definitely deserves a little love.

Dirty-Treadles.jpg

Since this is my first time ever deep cleaning a wheel, a little research was in order. I found some helpful articles and have a better idea of what to do. Maybe they’ll help you and your wheel out too. 

The Spinner’s Glossary by Lee Juvan  - Handy overall article with lots of photos, tips, and instructions for cleaning and protecting your wheel. 

How to Care for Your Spinning Wheel - Basic video tutorial for how to clean and protect a spinning wheel; goes through the process for 4 different wheels.

How to Size and Replace Drive Bands

Schacht’s Spinning Wheel Care Tips

The Care & Feeding of Spinning Wheels by Karen Pauli popped up frequently in my research despite being published in 1981. Might get my hands on a copy. 

Review: Schacht’s Industrious Collapsable Lazy Kate

Schacht-Lazy-Kate-and-Bobbins.jpg

Once I started filling up the bobbins from my new spinning wheel, it became abundantly clear that I needed a lazy kate. Or at least something to act as a lazy kate. A chopstick stabbed into a piece of styrofoam was the first thing shoved into service. It mostly worked. My second homemade lazy kate was a slightly too big box with holes poked in the side and, you guessed it, chopsticks holding the bobbins. It worked pretty well except for when the chopsticks fell out of the holes, which was often. Many an innocent single was broken in that foul contraption. I was all too happy to replace it with an actual lazy kate, Schacht’s Industrious Collapsible Lazy Kate.  

Before I clicked the “Buy” button, I thought about what I’d need from a lazy kate to benefit my spinning and fit into my available space. The kate would need to hold at least 3 bobbins, have adjustable tension, and pack small for travel. It also needed to sturdy and reasonably priced. After combing through Etsy and various spinning shops, Schacht’s lazy kate met all of my requirements for $60. Done.

Disassembled-Schacht-Lazy-Kate.jpg

The kate arrived at my door in lightning speed in a very flat envelope. Things were looking good already. After a few glamour shots, I put the kate together without tools and quickly put it to use. Schacht’s lazy kate is a vast improvement over my box and chopstick combo. Bobbins no longer went flying and they spun easily. Tensioning is easy too thanks to a spring and the two center dowels. Just loosen the wing nuts, twist a dowel, and tighten up the nuts. I’ve even managed to adjust the tension while my hands were full with chain-plying singles. 

Assembled-Schacht-Lazy-Kate.jpg

The Industrious Collapsable Lazy Kate is well built and of great quality. I’m not worried about breaking any of the pieces or repeatedly assembling and disassembling it. Assembled, the kate feels very durable in my hands. The size is nice too since it can easily fit 3 standard Schacht bobbins or 3 bulky bobbins. Even with as much as the kate can hold, it still packs flat and would be very easy to travel with. Just be careful not to lose any of the small pieces like the wing nuts or the rubber rings that secure the bobbin rods. Honestly, the small removable pieces are the only downside to this design. You could get away without the rubber rings but it’d be harder to compensate for missing wing nuts.

Schacht-Lazy-Kate-with-Bobbin.jpg

As far as looks go, the wood and finishing match Schacht’s Sidekick and Ladybug spinning wheels. Same minimalist style too. It feels like I have a matching set when I use the my Sidekick and kate together.

At just $60, I’m glad I picked Schacht’s Kate over both more expensive kates and those at the same price point. I’m sure I’ll be using it for years to come.

My New Sidekick

Schacht-Sidekick-Spinning-Wheel.jpg

Yes! It finally happened. After months of research and reading reviews; after many more months saving up, not once, but twice, I finally bought my dream spinning wheel, a Schacht Sidekick!

Schacht-Sidekick-Flyer.jpg

When I started looking to buy my first wheel, I knew I wanted something that was compact, easy to travel with, versatile, and easy to use. After reading numerous reviews and watching videos, the Sidekick seemed to fit the bill perfectly. Despite having never seen one in person, I started saving up. Last Monday, September 23,  I held my breath and finally ordered a Sidekick from Village Spinning and Weaving.

Schacht-Sidekick-Flyer-Side.jpg

The blessedly few days of Wheel Watch 2013 were definitely exciting but nothing compared to that last day when the sound of every truck brought the possibility of getting my hands on my new wheel.  It finally arrived late Wednesday evening right before it was time to start cooking. Safe to say that dinner happened later than usual that night. It’s been less than a week but, so far, the Sidekick has met and exceeded all of my expectations. I’m absolutely in love and glad I’ve made the jump from spinning exclusively on spindles.

Schacht-Sidekick-Quick-Release.jpg

My first time spinning on the Sidekick was only the second time I’ve ever spun on a wheel. The first time was for 15 minutes during a mini lesson at Yarnhouse Studios, a lovely knitting, spinning, and weaving shop in Opelika, AL. That was a year ago to boot! After reading all the instructions in the box and setting up the wheel, I spent a few minutes treadling just to get used to the motion and rhythm. Then I had to figure out how to thread a leader through the flyer and the orifice. Then figure out why the yarn wasn’t being taken up onto the bobbin. Then, SUCCESS!, I was spinning yarn  on my new wheel. It was lumpy and bumpy and thick and I was pretty sure I’d be spinning unintentional “art yarn” for awhile; however, by the end of 2 oz, the single was fairly even and consistent.

Schacht-Sidekick-Wheel.jpg

I’ve since chain plied and finished that first skein and gone on to spin 2 more skeins in just 4 days. My last spindle-spun skein of yarn took over 3 weeks so this new found productivity is amazing. After hours of spinning and 3 skeins of yarn, I’m even in love with my Sidekick. Wish I’d gotten one ages ago and I’m looking forward to spinning on it for years to come.

Schacht-Sidekick-Maiden.jpg

Recently...

Over the past 2 weeks or so, I've been spending a fair amount of time with my new spindle, a 3" and 2.2 oz Schacht Hi-Lo. It's so much better than my old spindle and I'm really enjoying it. So far, my forays into spinning have included lots of youtube videos and two awesome books: Spinning in the Old Way by Priscilla Gibson-Roberts and Respect the Spindle by Abby Franquemont. Both cover spindle spinning and, while there is a bit of overlap, come at the subject from very different directions. I've been reading and referring to both of them a lot in the past few weeks and they've been very helpful.

In Respect the Spindle, one of the tips, when trying to learn how to use a spindle, is to spend 15-30 minutes a day spinning. I've managed to stick with it pretty well and, at this point, I've spun about 140 yards. Most of it has been thick and thin singles which I'm totally in love with and completely in awe of. It's hard for me to believe that I made this awesome, mostly cushy stuff.  It's even usable and I've been racking my brain trying to come up with a way to use it. Especially that brown skein. It's 54 yards of awesome.

All this this practice spinning seems to working. My hands are better at drafting the fiber and my singles are much more consistent. I'm even moving beyond "park and draft" if only for a few seconds at a time. I can't wait to see how this will progress over the next 2 weeks.