Origami Stars
/
Now that my Christmas cards are in the mail and winging their ways across the States, it’s time to show off the goodness inside: origami ornaments. I like to make ornaments every year for the tree and add them as special touches with friends’ gifts. This year, I’m taking a break from knitted leaves, birds, stockings, mittens, and pom-poms for origami. There’s no lack of holiday knitting around here and origami is a nice change. The ornaments are much faster to fold than to knit, easy to make, and just the right size to mail to friends across the country.
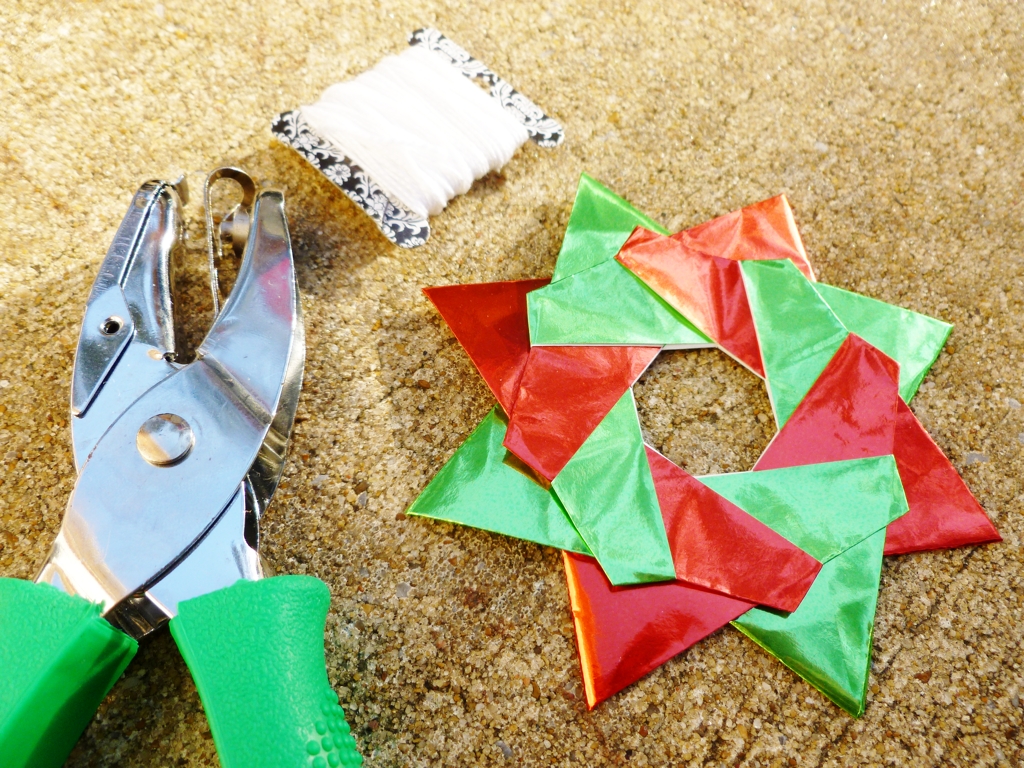
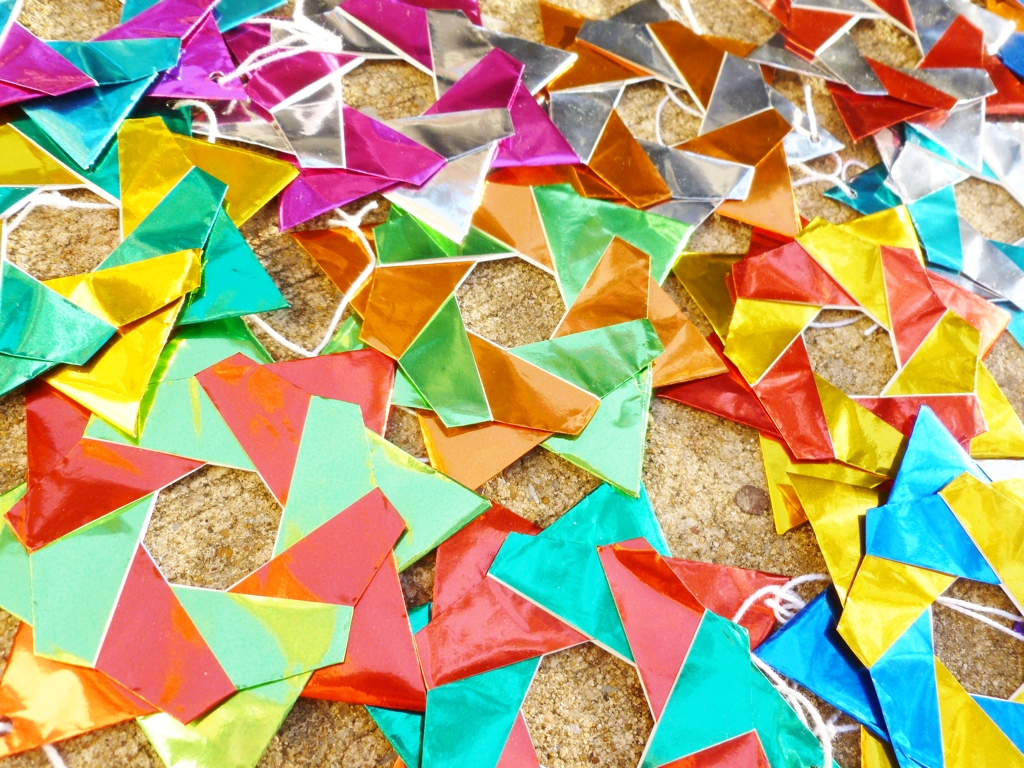
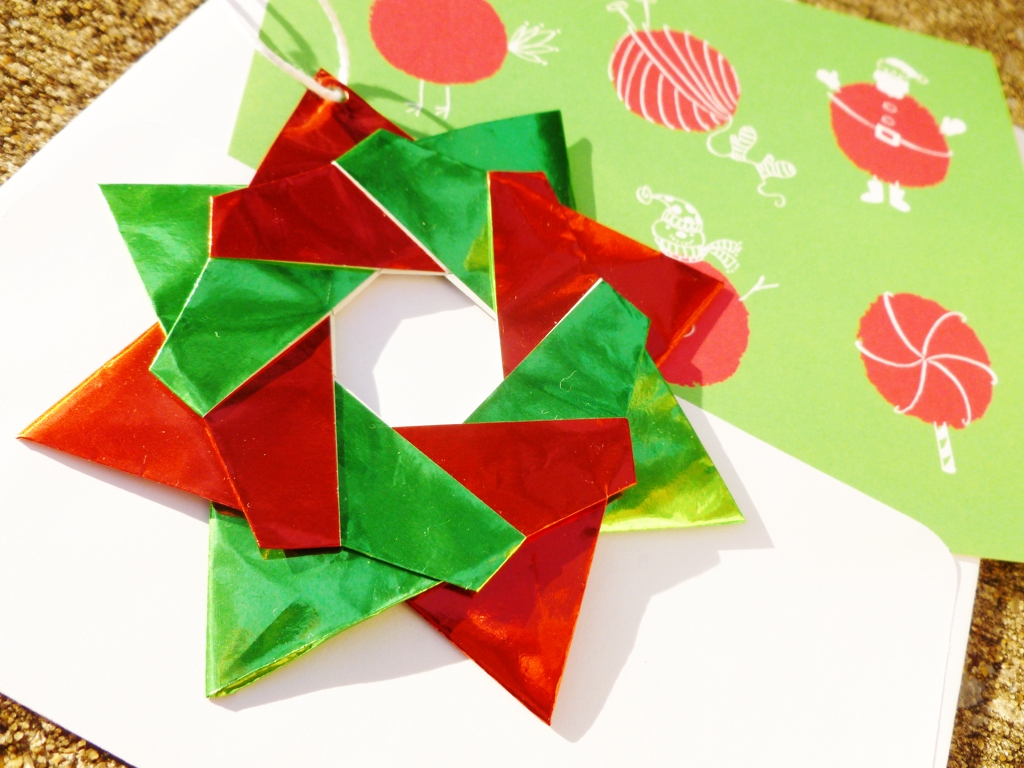
There are tons of instructions for origami stars across the internet and I fell for the Robin Star by Maria Sinayskaya. This video helped clear up some of the more complicated parts of the folding and assembly. I used 3” foil origami paper and the completed stars came out 4” across. The only thing I changed was to tuck the “triangle”, that is normally folded behind all layers, under the last layer to hide the paper’s wrong side. Once all the stars were folded, a hole punch (an awl would work too) and some craft thread quickly turned the bunch into ornaments.
After folding 20 of these stars I have a few tips :
- Don’t wait to the last minute. The stars are quick to make but won’t just appear in your hands. I made mine over the course of a week.
- Assembly line the process. Once I’d picked the paper for a particular star, I worked the same fold on all the pieces before moving to the next step. Seemed to make the whole process go a lot faster.
- Practice first. Before I started using the small, foil squares, I practiced making the stars from larger paper. I was able to memorize the steps and make sure the process wasn’t too finicky before making the real thing.