How to Un-Ply Yarn
/Plying is magic. You can combine 2 or more strands or even just one and turn them into something beautiful and balanced. So, why would you ever want to un-ply yarn? Well, plying doesn’t always turn out the way you think it will. Maybe after plying 2 singles together, you realize that they would look much better chain-plied. Or, the colors barber pole instead of matching up. If you’re working with a commercial yarn, you could split the plies to use for sewing seams, attaching buttons, or embroidery. I un-plied a skein of handspun because I’m stubborn and and wanted to the colors to match up.
In order to make un-plying a less tedious process, you’ll need:
- the yarn to un-ply - a few yards or a few hundred
- a spinning wheel or spindle
- a lazy kate or a small cardboard box and knitting needle combo to act as a lazy kate
- something to wrap freed singles around - small balls or origami stars or a ball winder
1. With the spinning wheel or a spindle, remove twist by spinning the yarn in the opposite direction of the plying. For commercial yarn which is generally plied to the left, spin to the right. Remove as much of the ply twist as possible without adding any extra twist to the singles.
2. Set up the bobbin or cop on the kate. If you’re using a lazy kate, separate the plies and pull them to opposite sides of a bobbin rod. If you’re using a box, cut slits in the cardboard for each single and pull them all through. In this tutorial, I’m splitting 2 plies but you can also take apart 3 or more plies with the same method.
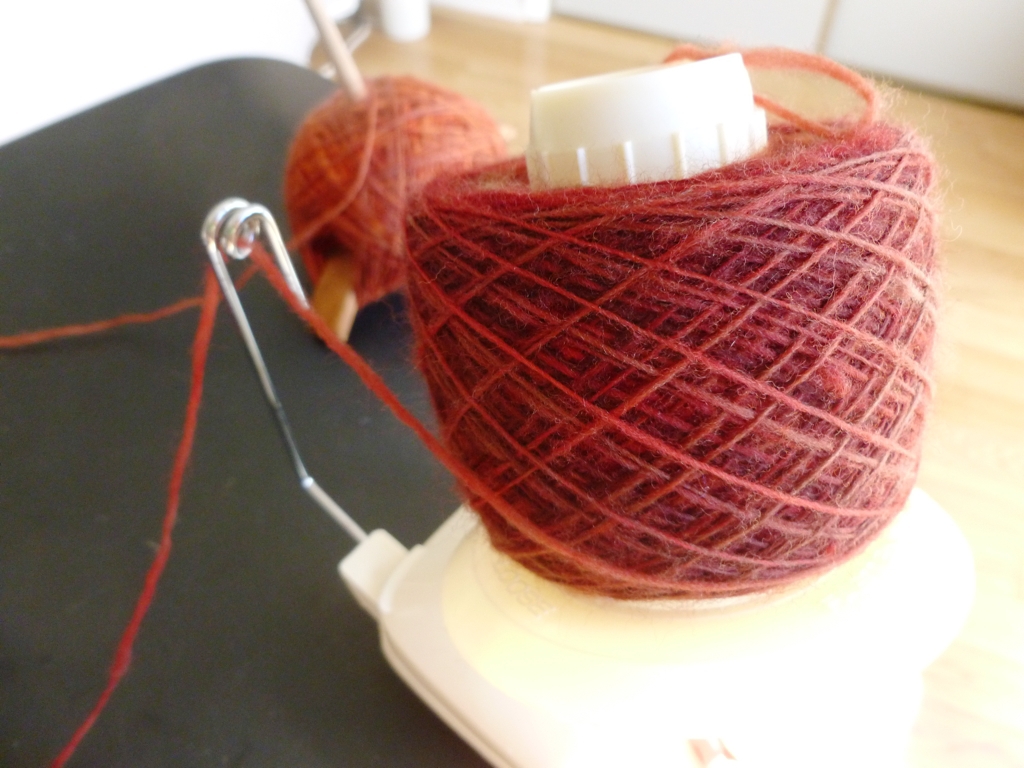
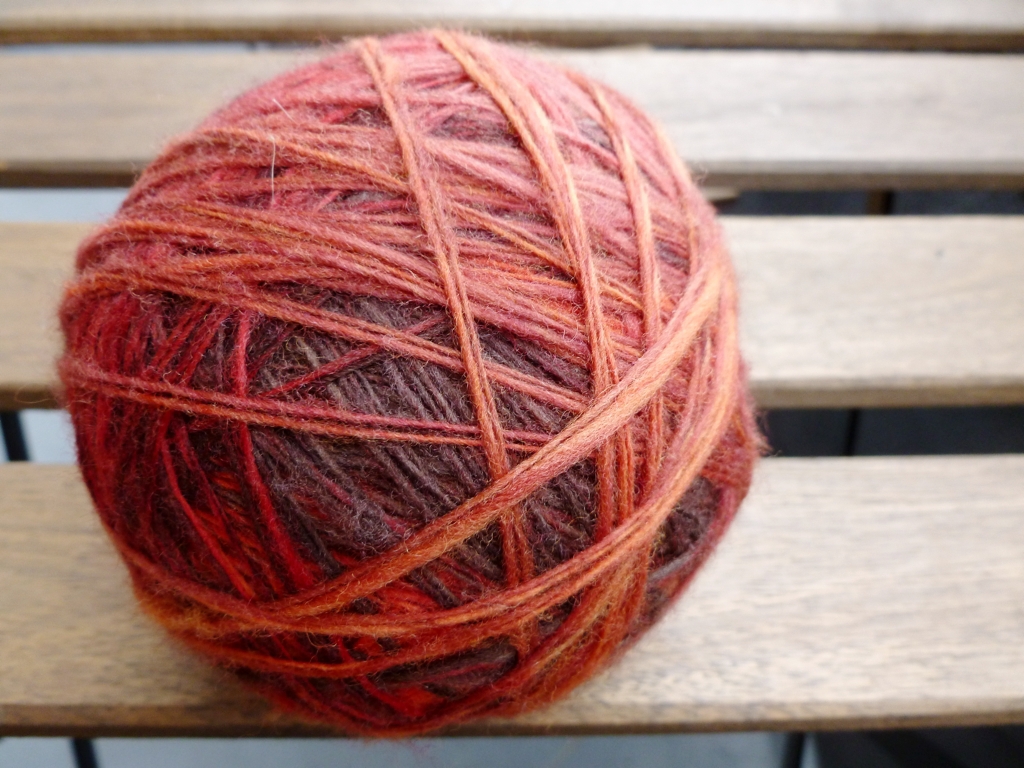
3. Evenly pull on the singles to prevent tangles and start wrapping. One single went to the ball winder the other was wrapped around a turkish single.
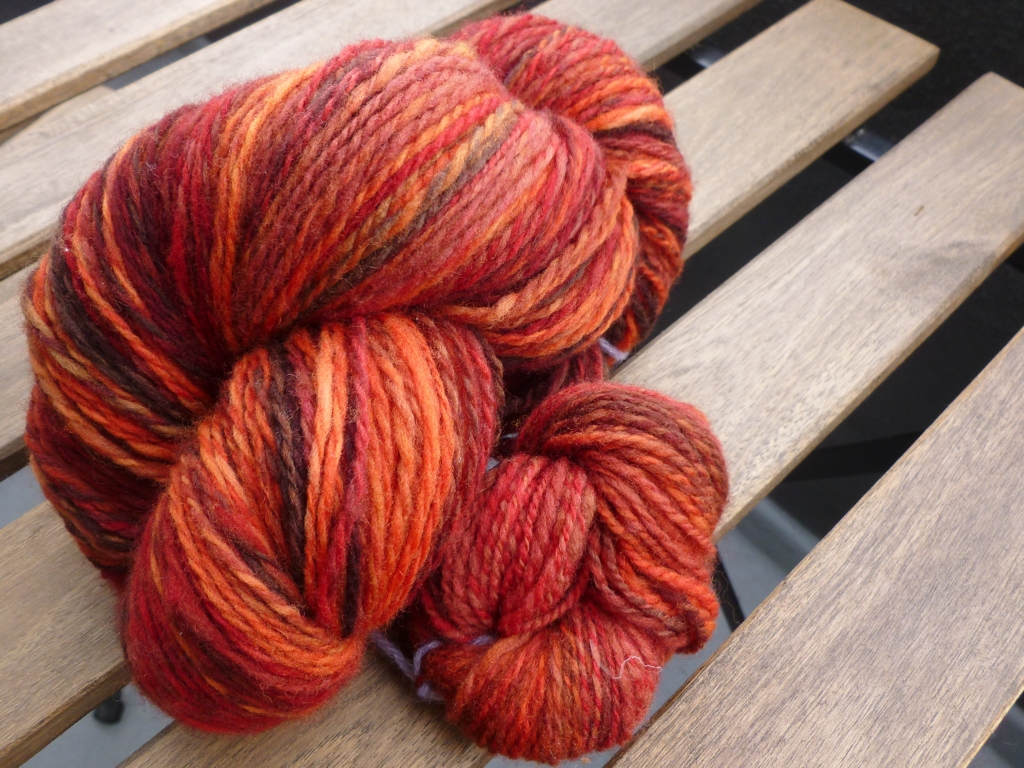
When you’re finished, you’ll have at least 2 tangle free singles to work with. Sew on some buttons, embroider, or ply them together all over again. These singles went under the scissors to match up the colors before a second attempt at plying. Definitely worth the effort and the time.


