How to Measure Knitting Gauge in Ribbing
/Knowing your gauge for a knitting project is important. There’s no doubt about it. But how do you measure gauge when you’re not knitting something in stockinette? And why do patterns list gauge in stockinette when the project is covered in cables or ribbing or slip stitches?
Why is the gauge listed in stockinette?
Patterns usually measure gauge in stockinette because the author is assuming that if you can match their gauge in stockinette, then you’ll be able to match gauge in the pattern’s specific stitch. Plus, it’s also a lot easier to measure stitches and rows on stockinette than on a more complicated stitch pattern. Less room for a miscount that way.
How to measure gauge in a rib pattern
There are plenty of patterns that list gauge in the dominant stitch pattern of the project too. The specific stitch pattern to swatch will be mentioned with the gauge info. If there’s no stitch pattern listed, the gauge is taken over stockinette.
So what do you do when the stitch pattern is ribbing? Whatever the specific pattern - 1x1, 2x2, 4x2, etc - ribbing is stretchy and the purl stitches hide in the back. How you check gauge will depend on 1 of these 3 words: unstretched, stretched, or blocked. I’m going to include the usual caveat, washing and drying your swatch the same way as the final project will help you get a more realistic measurement.
If the pattern says to measure the ribbing gauge unstretched: Put the knitting on a flat surface and count both knit and purl stitches over the length listed with the gauge info. 2” and 4” are the most common.
If the pattern say to measure the ribbing gauge stretched (or slightly stretched): Generally, this instruction means to pull the ribbing apart enough so that the purl stitches become clearly visible, but they are not pulled tight. You’ll probably need to pin the swatch out to get a true stitch count. Then count the stitches to find your gauge.
There’s a little room for interpretation with this instruction because one knitter might find that the listed gauge too loose or too tight. Or, if you’re substituting a different yarn, said yarn might not behave the same way as the one used in the pattern sample.
If the pattern says to measure the ribbing pattern blocked: Let’s not confuse the general definition of blocking - washing and drying your knitting to help it be a specific shape or size, not necessarily stretching it - with the word “blocked” as written here. In this specific case, blocking means to wash and dry the ribbing while pulling the ribbing out until it looses it’s stretchiness. It’s important to pin the swatch out to the measurements listed in the pattern while its drying. Then once the swatch is dry and the pins removed, measure the gauge.
An Example of Measuring Ribbing Gauge:
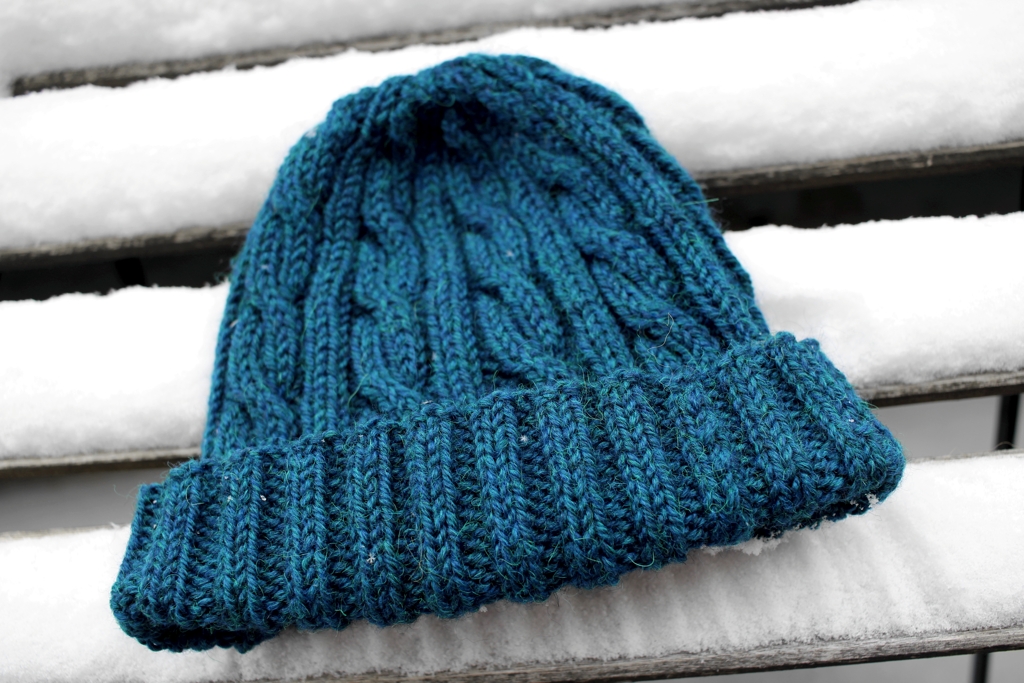
My Windbreaker hat pattern is based entirely in 2x2 rib, even the cables. So, I wrote the gauge like this:
13 sts and 13 rows = 2” in 2x2 rib, unstretched
The hat is worked in worsted weight yarn, and 13 stitches seems like way too many to be in 2” at first glance. “Unstretched” is the keyword here. Since the measurement is taken over unstretched ribbing, all those purl stitches hiding in the back are counted. The stitches per inch would be very different had the gauge been listed as “stretched”.
Sign up to the With Wool Weekly newsletter to get the Windbreaker pattern for FREE. You’ll also get news about new patterns, blog posts, tutorials, and a roundup of fiber arts links. Plus, get special discounts and bonuses just for subscribers.
With Wool Weekly
Spam is bad. There's none of that here.


