
How To Make A Blocking Board
/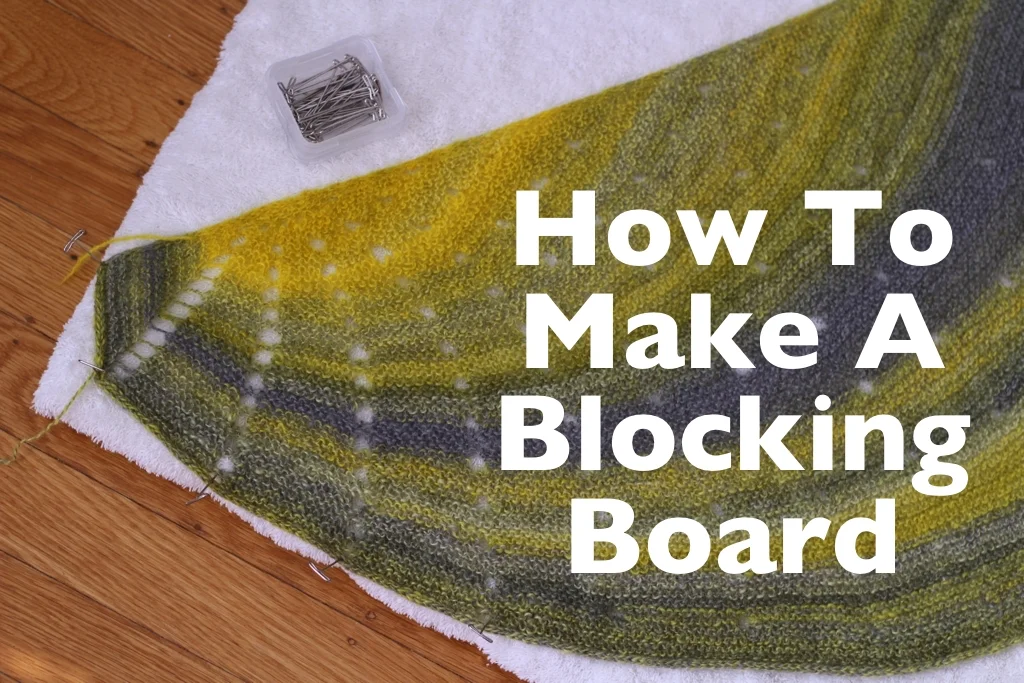
What happens when you have to block your knitting (shawl, lace, mitts, color work, what have you) and are completely lacking in pin-ready space? You make your own blocking board. After finally binding off a small shawl I was ready to block it, but I’d just moved to a place without carpet. I couldn’t take over the bed or furniture either with wet garter stitch and pointy pins. Foam mats weren’t in the cards either. The good news was that moving left me with plenty of boxes that I could use instead. If you’re in a similar spot, here’s what you’ll need:
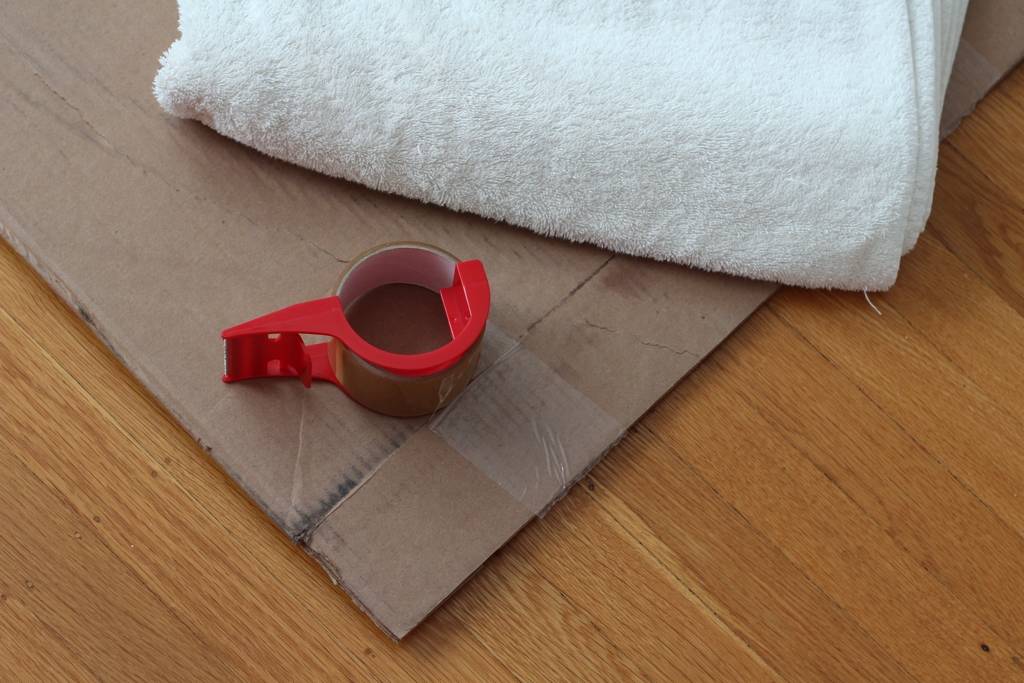
One large cardboard box (mine was 41.5” x 27” flattened)
A towel large enough to cover the box
Packing or Mailing Tape
Scissors or Knife
Step 1: If you can still put stuff inside the box, it’s time to change that. Cut the tape holding it together and flatten out the box.
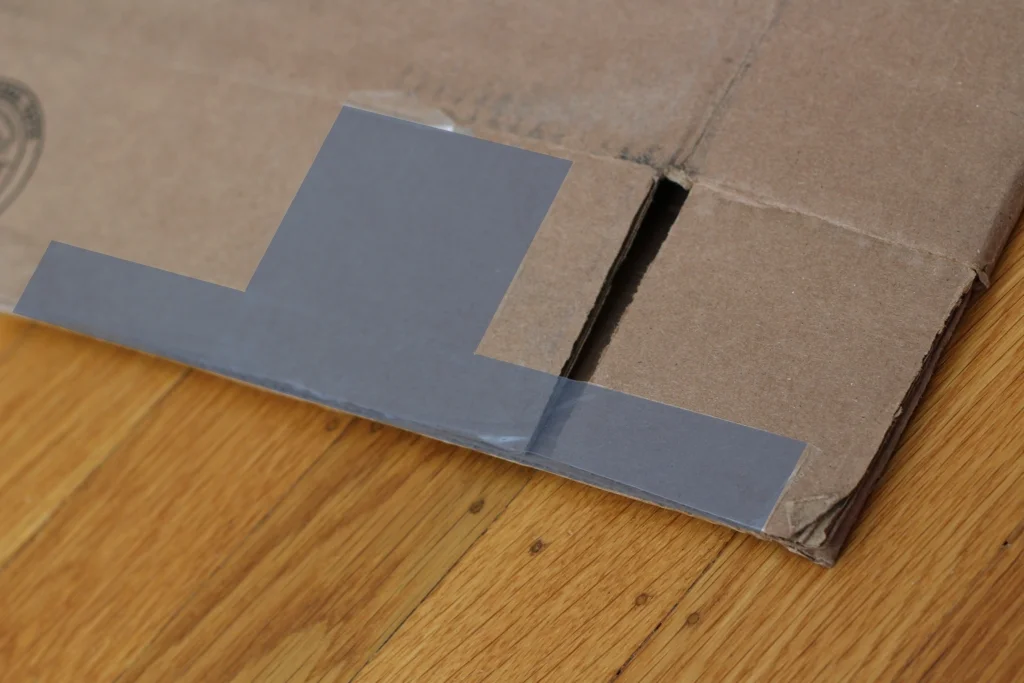
Step 2: Tape the box’s edges together like so. The two layers of cardboard will be thick enough to support pins and stretched out knitting.

Step 3: Wrap up the box/now board in the towel. If the towel’s bigger than the box, fold over the edges and tape them in place.
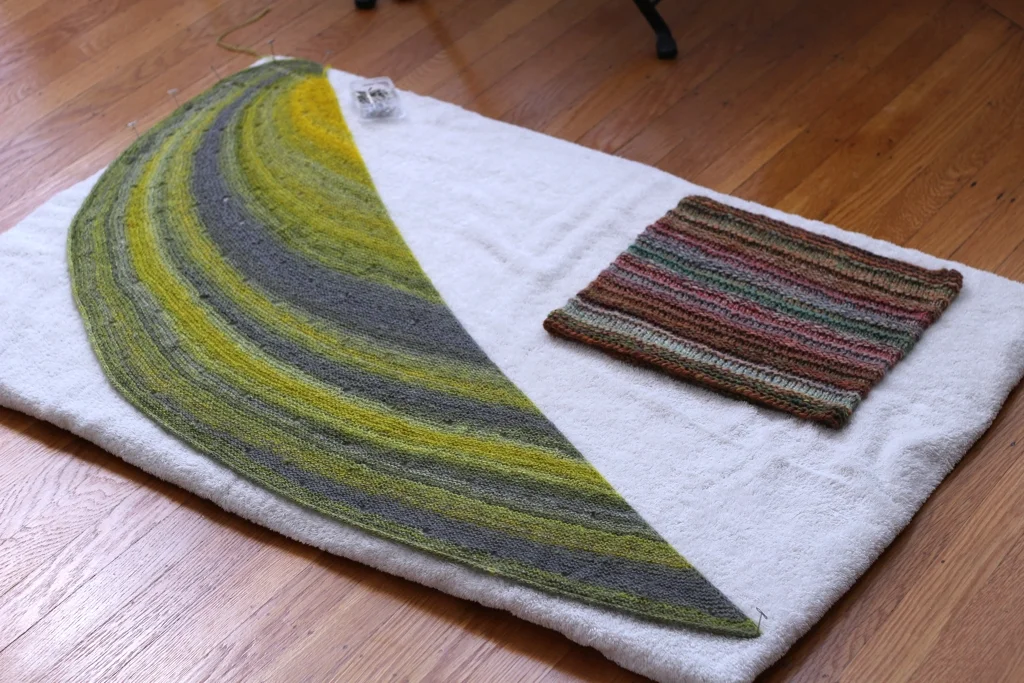
There you have it! One DIY blocking board ready for pins and knitting. Mine seemed no worse for wear after a couple of days with a shawl and a cowl pinned to it. Can see myself getting a fair bit of use out this blocking board before I need to upgrade.

